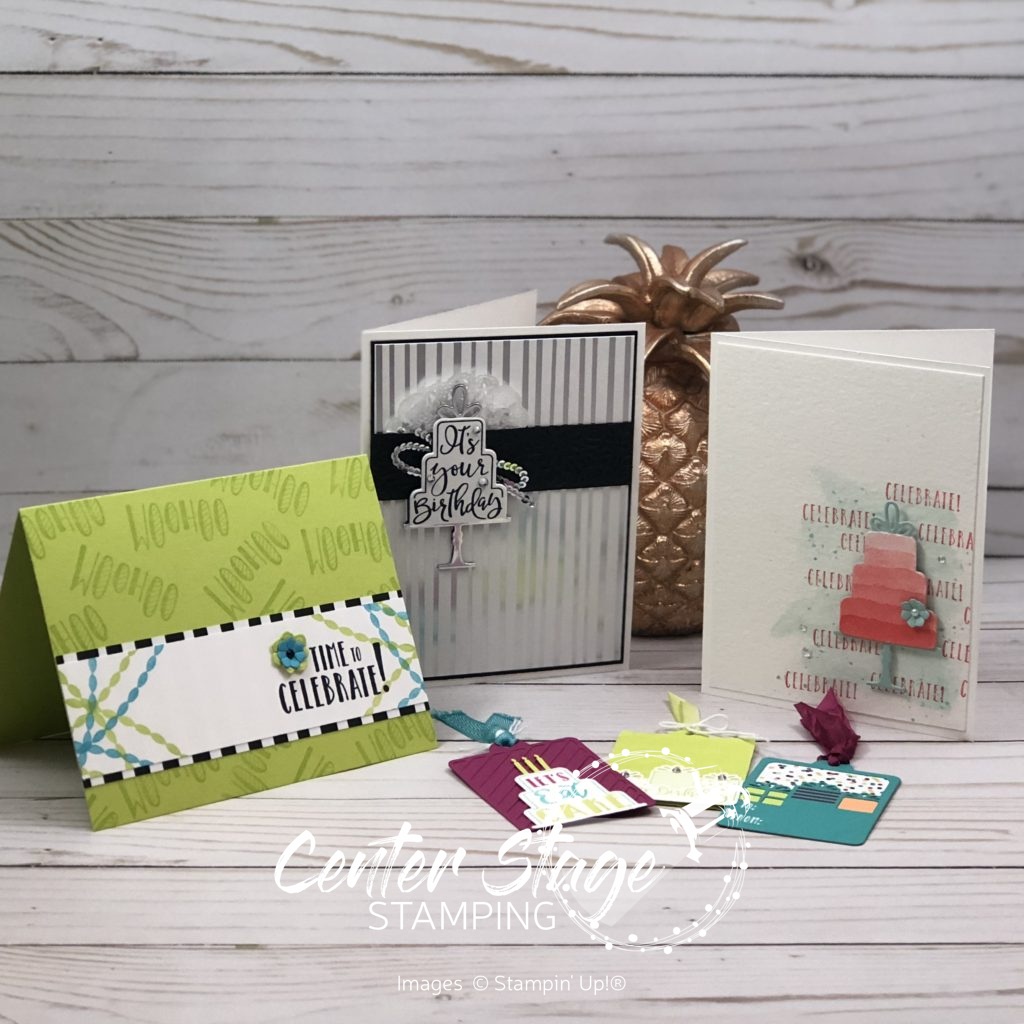
Blog Hop

stamp review crew: waterfront

Welcome back to another Stamp Review Crew blog hop!  I’m so glad you have joined us as we put the Waterfront stamp set in the spotlight.  This set is a lot of fun to play with and creates wonderful watercolor style landscapes and more when you let your creativity cut loose.  I have to admit, I have had the set for several months, but this is the first time I have created anything with it.  I assure you, it won’t be the last!
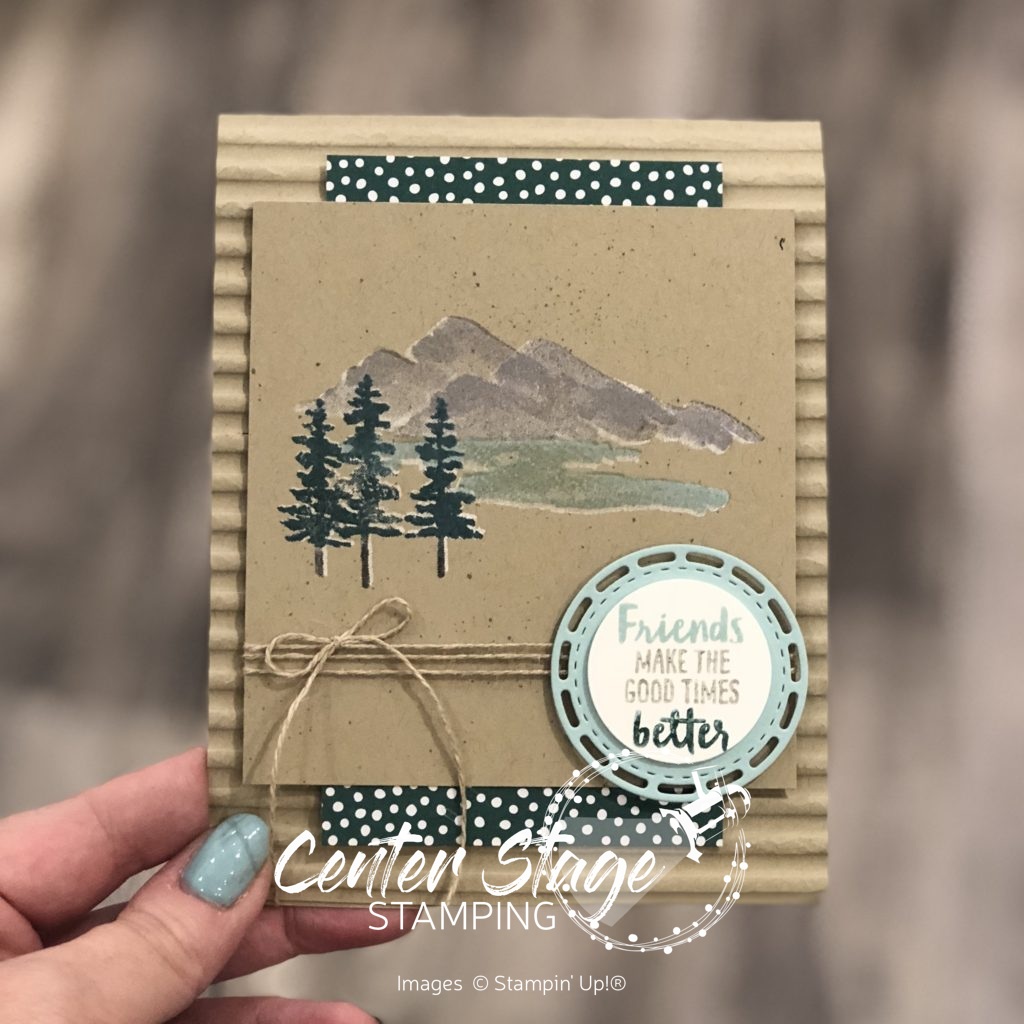
Waterfront: Friends make the good times better - Center Stage Stamping

For this card, I stamped the mountains, lake and trees first in Whisper White craft ink on Crumb Cake card stock and let it completely dry.  Once dry, I stamped over the images with the colors Gray Granite, Pool Party and Tranquil Tide (with a little Early Espresso for the tree trunks).  Since the stamps are photopolymer, it made lining up the images a breeze.  I didn’t try to line them up perfectly.  The bits of white peeking out give some nice highlights. I layered the image panel on a piece of Tranquil Tide dots from the ’17-’19 In Colors Designer Series Paper stack.  The front of the card base was run through the NEW Corrugated Dynamic Textured Impressions Embossing Folder.  Isn’t it just AMAZING!  I can tell it will be used A LOT!

I used Stampin’ Write markers to ink the sentiment stamp and layered it on a Pool Party circle cut from the Stitched Labels Framelits.  Then adhered it over a bit of Linen Thread wrapped around the image panel.

I had been watching an episode of Murder She Wrote when I came up with the idea for this next card.  I hand an image in my mind of a quaint painting hanging on a weathered cottage wall,  Here’s what I came up with:
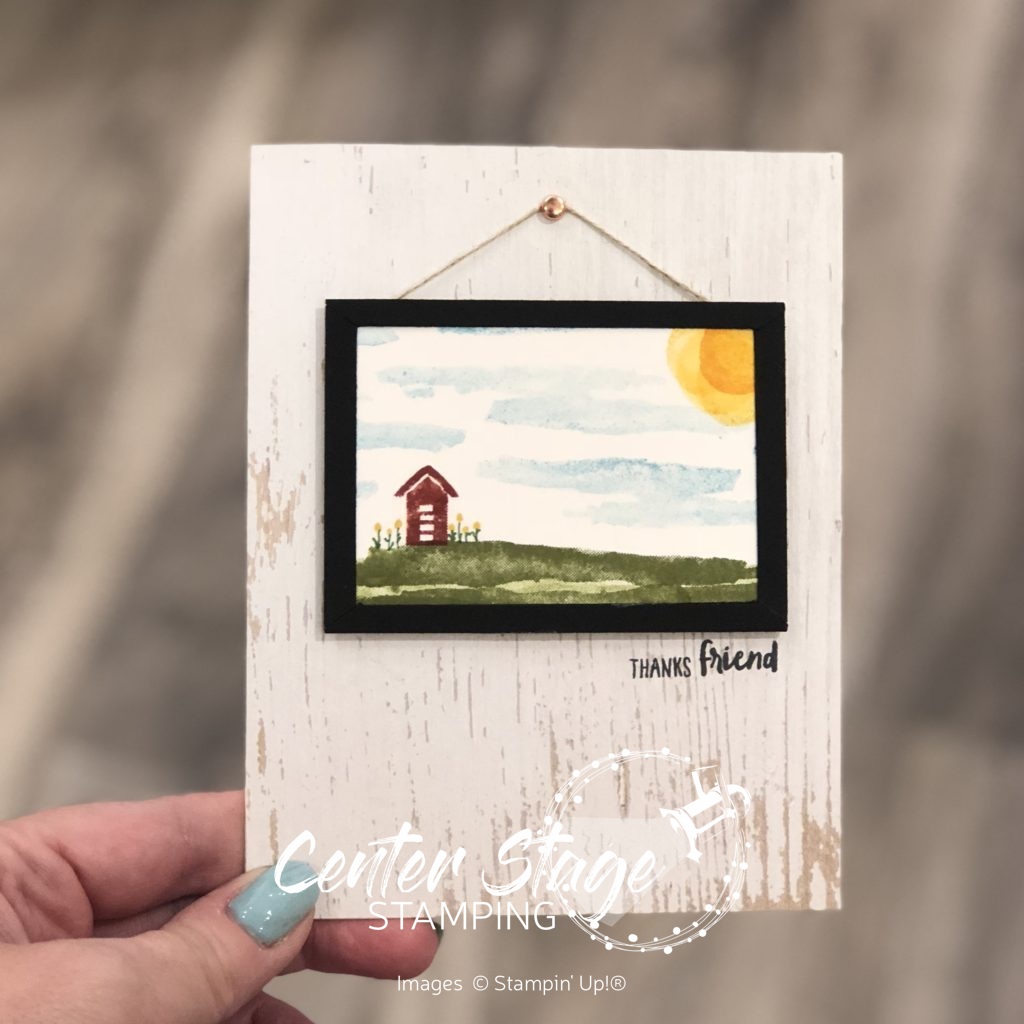
Waterfront: thanks friend - Center Stage Stamping

I covered the card base with a piece of the Wood Textures designer series paper – seriously, my FAVE!  I stamped the scene on a piece of thick Whisper White card stock.  I hand drew the flowers with Stampin’ Write markers.  Then I framed the painting.  First I cut a pice of Basic Black card stock the same dimension as my “painting”.  Next, I cut diagonally corner to corner both directions.  Finally, I trimmed about 1/4″ off the outer most edge of each triangle.  Here is a picture to help you see what I did.
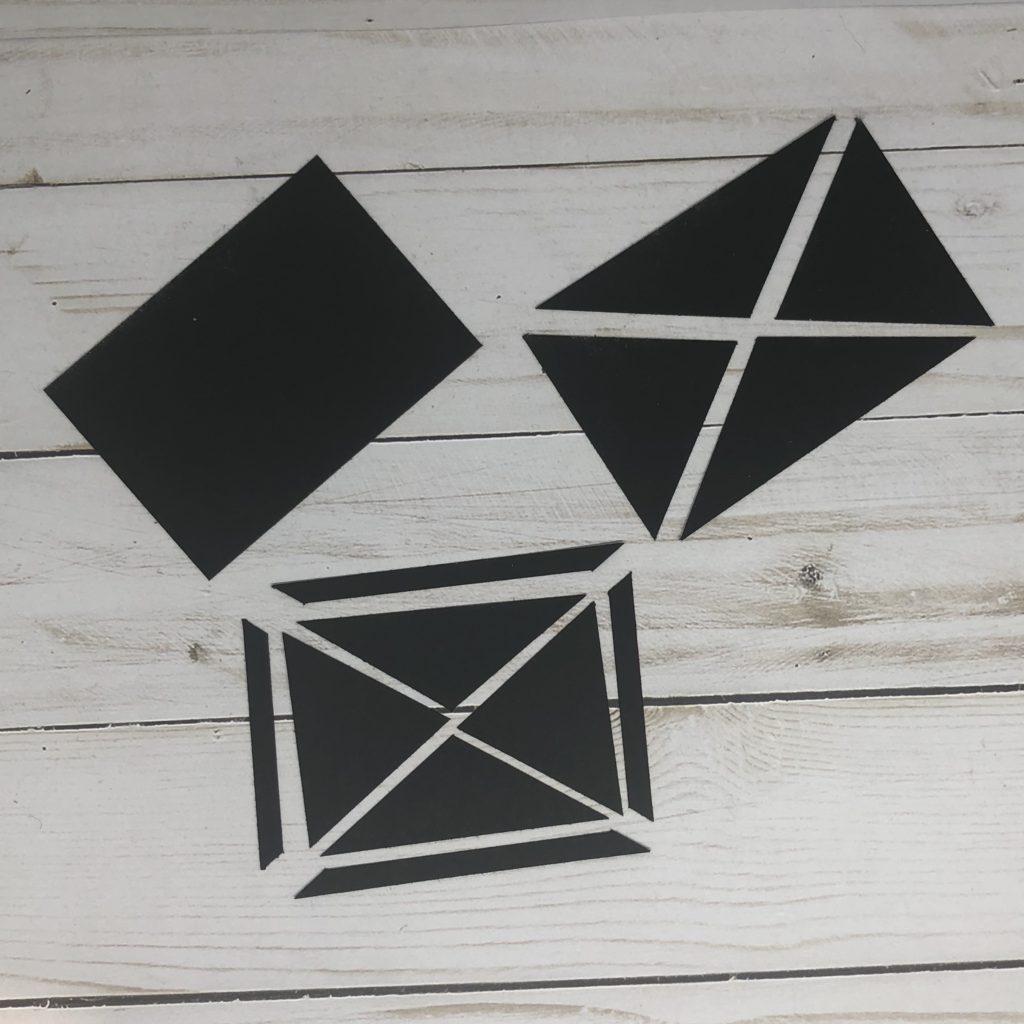
I could have just mounted the “painting” on a piece of Basic Black and called it good.  But this way, I get the mitered corners like a real frame.
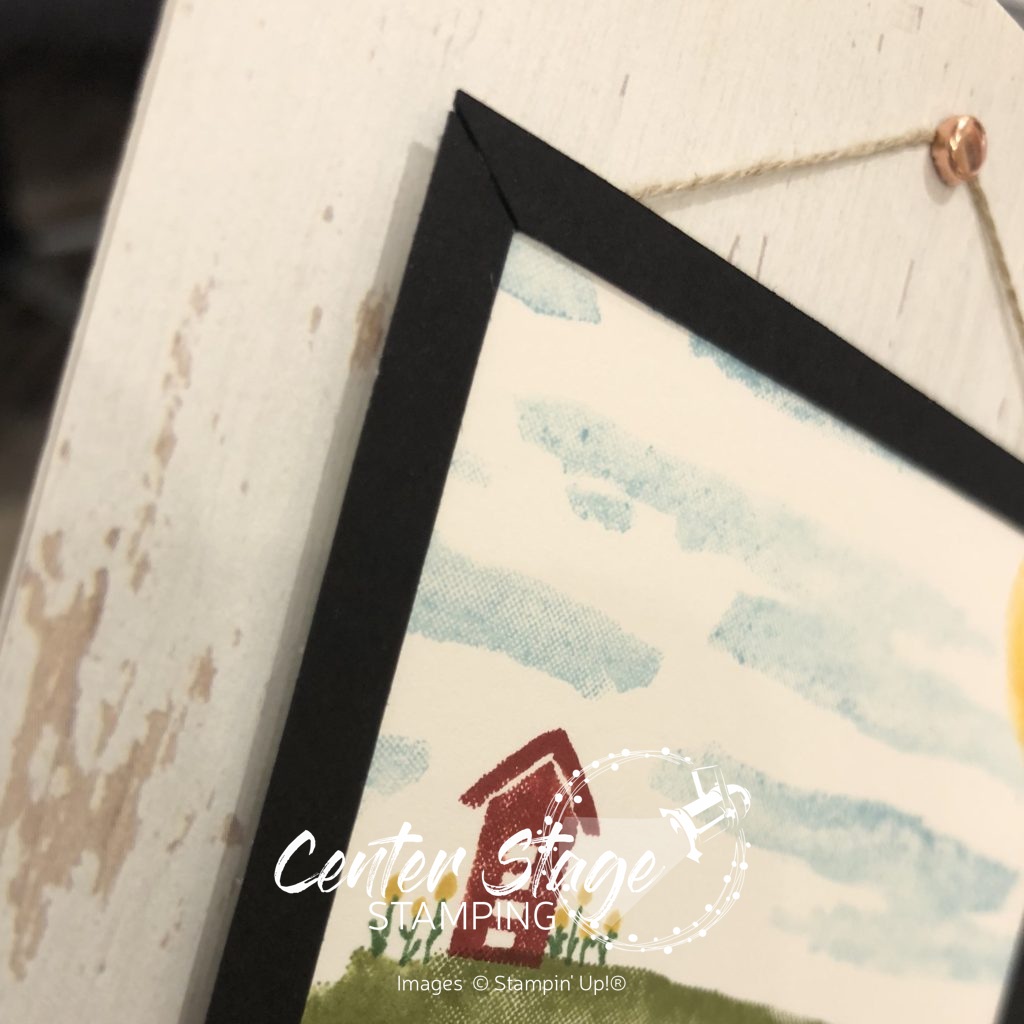
Waterfront: thanks friend close up - Center Stage Stamping

It’s a really small detail and most probably won’t notice it, but I thought it was neat.

If you started this blog hop from the beginning, I am the final stop.  If you picked it up somewhere in the middle, make sure you go around and check out all the great inspiration with the Waterfront stamp set!  From here you can go back to Heidi or on to Debra

*The Stamp Review Crew is a group of International Stampin’ Up! demonstrators who want to show you how much you can do with ONE stamp set. Each edition the SR Crew will showcase a new featured stamp set. Each stop along the hop will show you a different idea, or ideas using that set!**


That’s a wrap for now.  I hope you will come back and join me in putting a spotlight on creativity!


Share with your friends:

stamp review crew: varied vases

The Stamp Review Crew is hopping again and this time we are putting Varied Vases in the spotlight!  This is such a fantastic set.  I love the little vases and flowers.  The coordinating Vases Builder punch makes it even better.  I had played with set quite a bit when it first came out.  Check out this post or this one for even more Varied Vases inspiration.  This time, I wanted to try a different approach with this set.

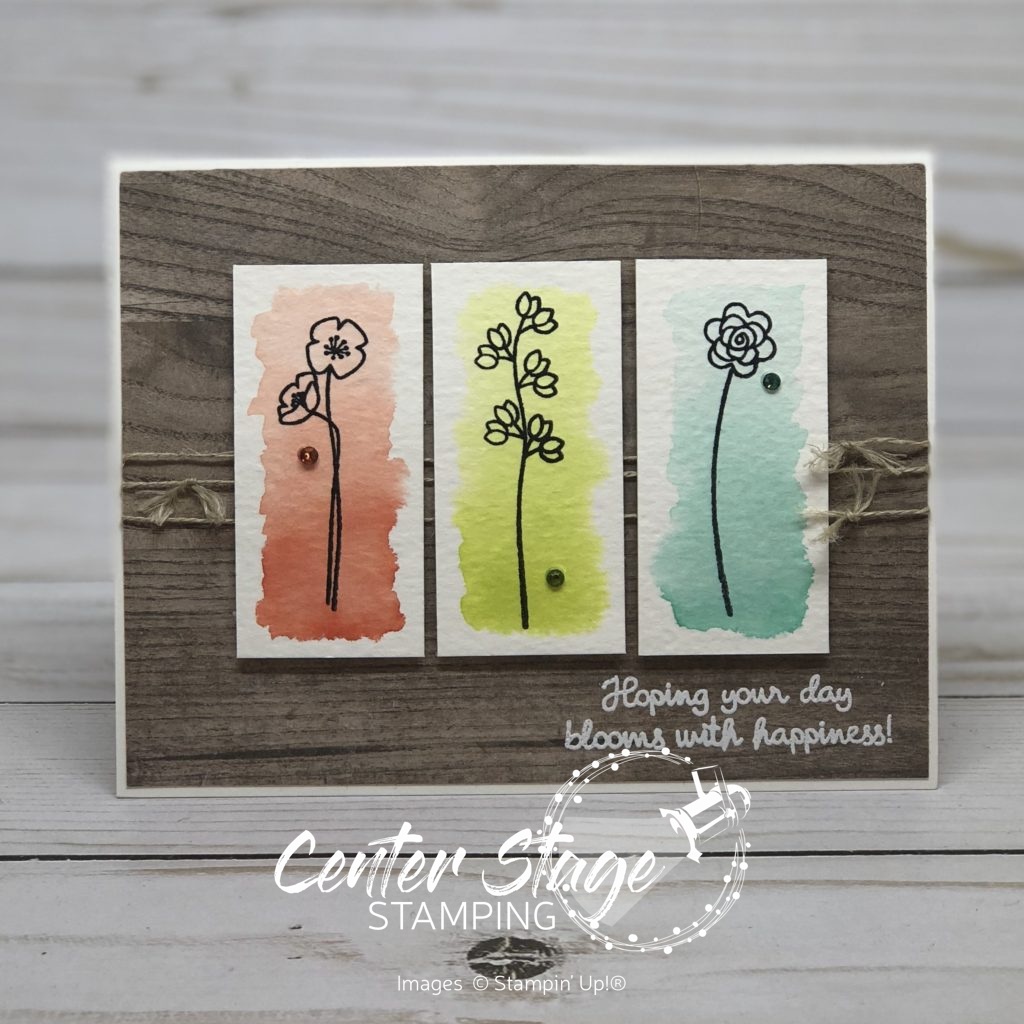
Hoping your day blooms with happiness - Center Stage Stamping

For my first card, I chose to let the sweet flowers take center stage.  I started with a gradient watercolor wash on three small panels of watercolor paper.  i used Calypso Coral, Lemon Lime Twist and Coastal Cabana.  Once completely dry, I stamped the flowers on each panel with Memento Black ink. I adhered a panel of Wood Textures DSP on a Whisper White card base which I had wrapped three rows of Linen Thread. The sentiment is stamped and embossed in white on the bottom of the Wood Textures DSP.  I adhered the three flower panels with dimensionals for some added depth.  I finished off with a little rhinestone one each panel.  I colored these with Stampin’ Blends markers – Calypso Coral, Granny Apple Green, Bermuda Bay.

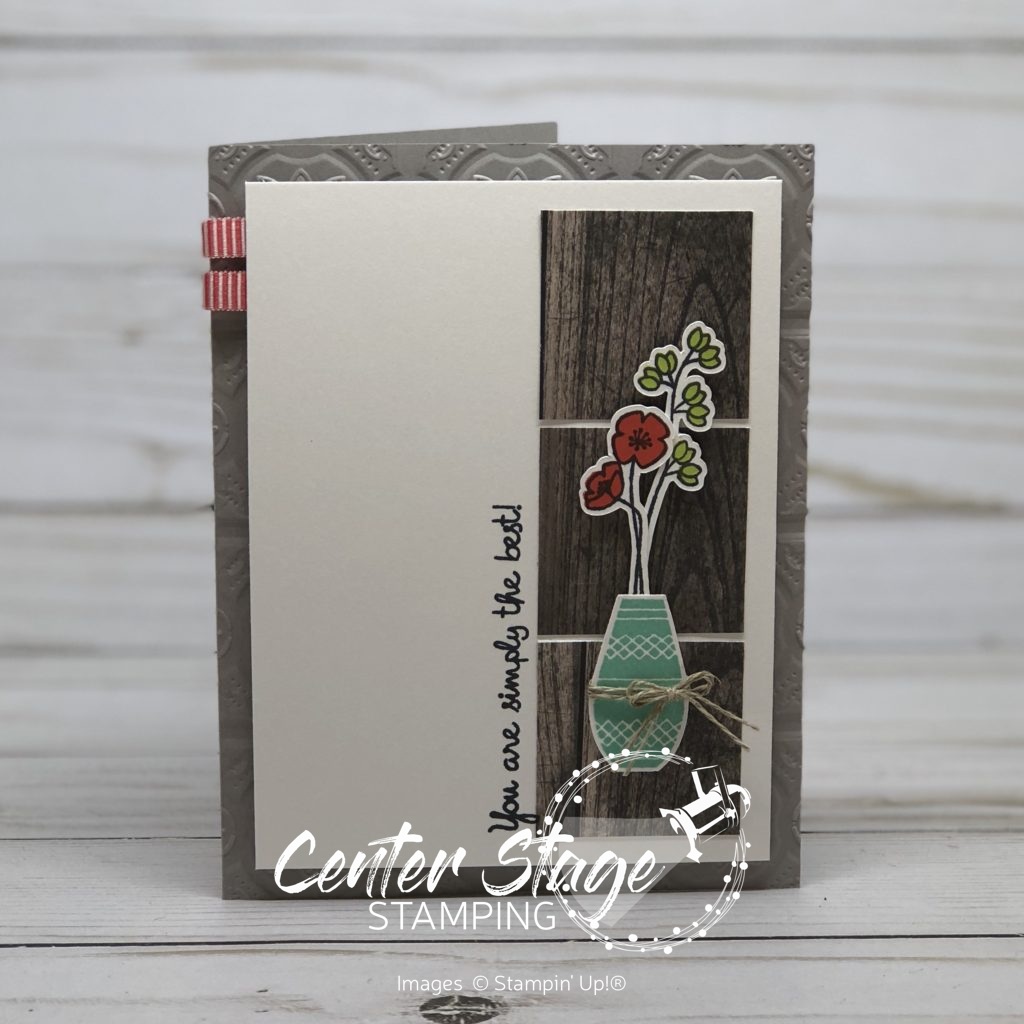
You are simply the best - Center Stage Stamping

My next card brings back the Wood Textures DSP.  I think it is a great pairing with Varied Vases.  I stamped the Vase in Coastal Cabana, punched it out with the Vase Builder punch and wrapped a bit of Linen Thread around it.  I stamped the flowers in Memento Black, Poppy Parade and Lemon Lime twist and cut them out.  (Full disclosure, I cut them out with my Scan-n-Cut.) I layered all of this on a Whisper White panel and stamped the sentiment along the edge of the Wood Texture DSP squares.  I added two little Poppy Parade Ribbon loops before gluing the Whisper White layer to the Gray Granite card base.  Notice the texture on the card base?  I ran it through the NEW Tin Tile Dynamic Textured Impressions Embossing Folder.  This folder is in the Stampin’ Up! 2018 Holiday catalog!  It is really awesome!

That’s a wrap for me.  I am the final stop on the blog hop, so if you started at the beginning, you have seen all of the amazing Varied Vases projects.   You can go forward to Charlet, the first stop of the blog hop. Or you can go back to Mickey and work your way back around.  If you started the hop somewhere in the middle make sure you continue on so you don’t miss any of the fantastic inspiration!  And as always, you can find the blog hop archives over on the Stamp Review Crew blog.

**The Stamp Review Crew is a group of International Stampin’ Up! demonstrators who want to show you how much you can do with ONE stamp set. Each edition the SR Crew will showcase a new featured stamp set. Each stop along the hop will show you a different idea, or ideas using that set!**

Thanks for stopping by! Happy Stamping!

Share with your friends:

stamp review crew: rooted in nature

I’m super excited to be joining the Stamp Review Crew this month! What’s that? What is the Stamp Review Crew? We are an international group of Stampin’ Up! demonstrators that gets together to do a blog hop on the first and third (and sometimes on a fifth) Monday of each month. For each hop we choose a single stamp set to put center stage, and then we work our creative magic! All of the hops are archived on the Stamp Review Crew blog.  So, if you every need some extra inspiration, head on over HERE and check them out.  If you are following the hop in order, you should have arrived here from Anne at The Stampin’ Schach.

For this hop, we are putting Rooted in Nature in the spotlight.  What a beautiful set!  I got to work with this set this spring when I made display samples for Stampin’ Up! On Stage Milwaukee.  You can see some of those projects in this post.

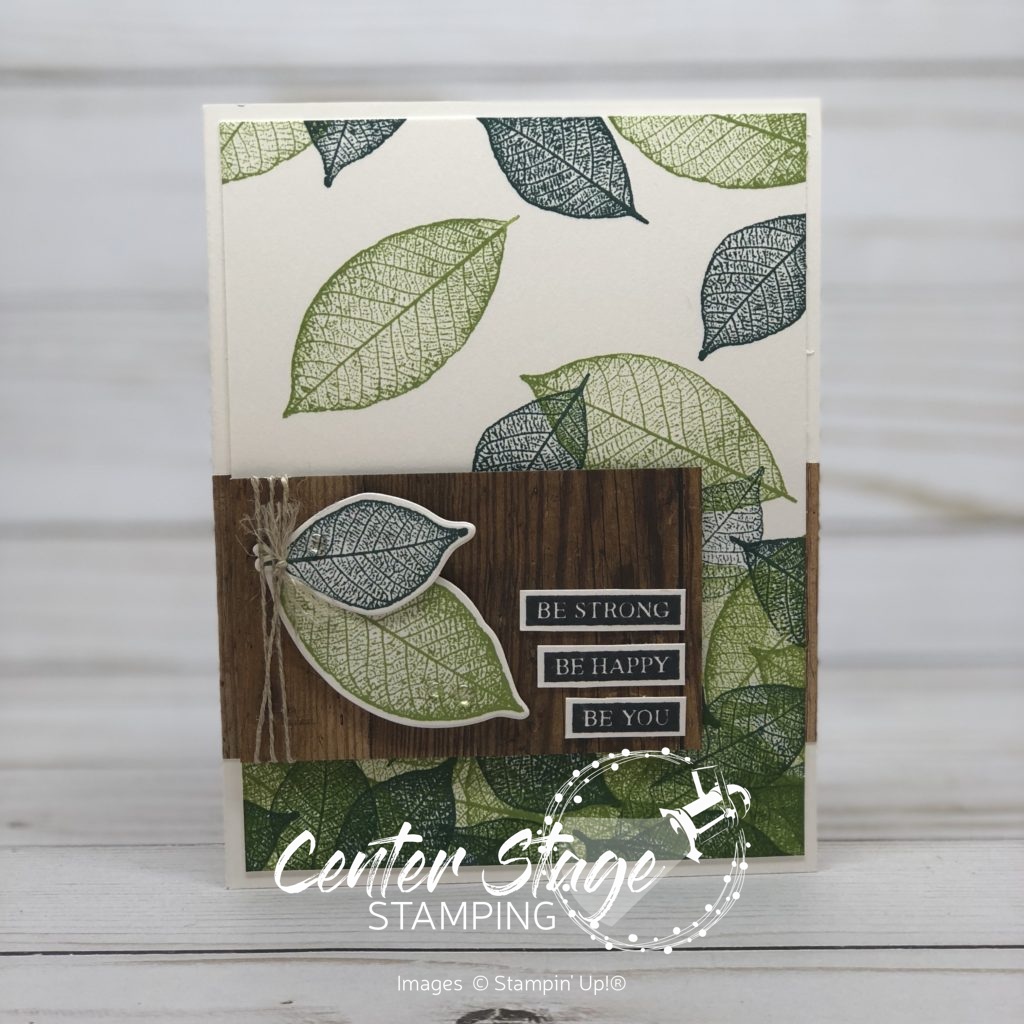
This time I decided to go for a bolder look by stamping the leaves in Granny Apple Green and Tranquil Tide.

Be strong - Center Stage Stamping

I was going for the feeling of falling leaves so I kept them more sparse at the top and layered them heavily at the bottom. The Wood Texture DSP made me think of a fence.  I did use one retired item – the clear epoxy dots.  I just loved the idea of dew drops on the cut out leaves.

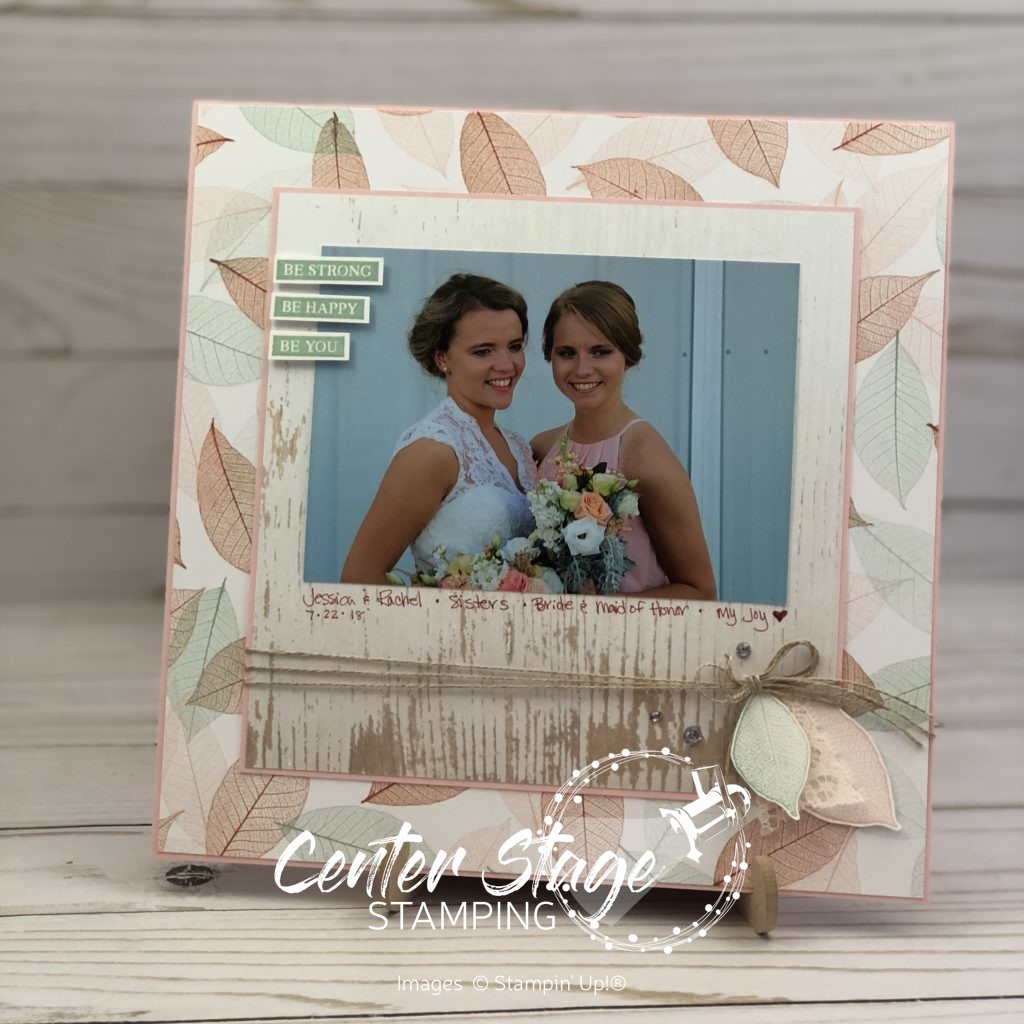
I’m also sharing my absolute favorite project I have made with this set.  This scrapbook page features one of my favorite pictures of my two daughters from my oldest’s wedding last summer.  I am so proud to be Momma Bear to these two beauties.

Be Strong - Center Stage Stamping

Well, if you started at the beginning, I am the last stop on the blog hop.  I hope you have enjoyed all the great projects that have shone a spotlight on Rooted in Nature! From here, you can head back to Anne’s blog or go on to Heidi’s(the start of the blog hop). If you started somewhere in the middle, make sure you check out all the other blogs.  There are some fantastic projects out there!

That’s a wrap for now!  Happy Stamping!

Share with your friends:

carnival of colors blog hop

It’s good to be back blog hopping with My Inky Friends.  This time we are spotlighting some of the fabulous NEW Stampin’ Up! colors.  Stampin’ Up! has done a color revamp and it is fabulous!  They have introduced ten BRAND NEW colors and brought back six former In Colors to the core color families.  Plus there are five BRAND NEW In Colors!  So. Much. Color!!!  I LOVE IT!!  You may have arrived here from Yapha if you are following the hop in order. (or from Sharleen if you are being wild and crazy and doing the hop backwards).

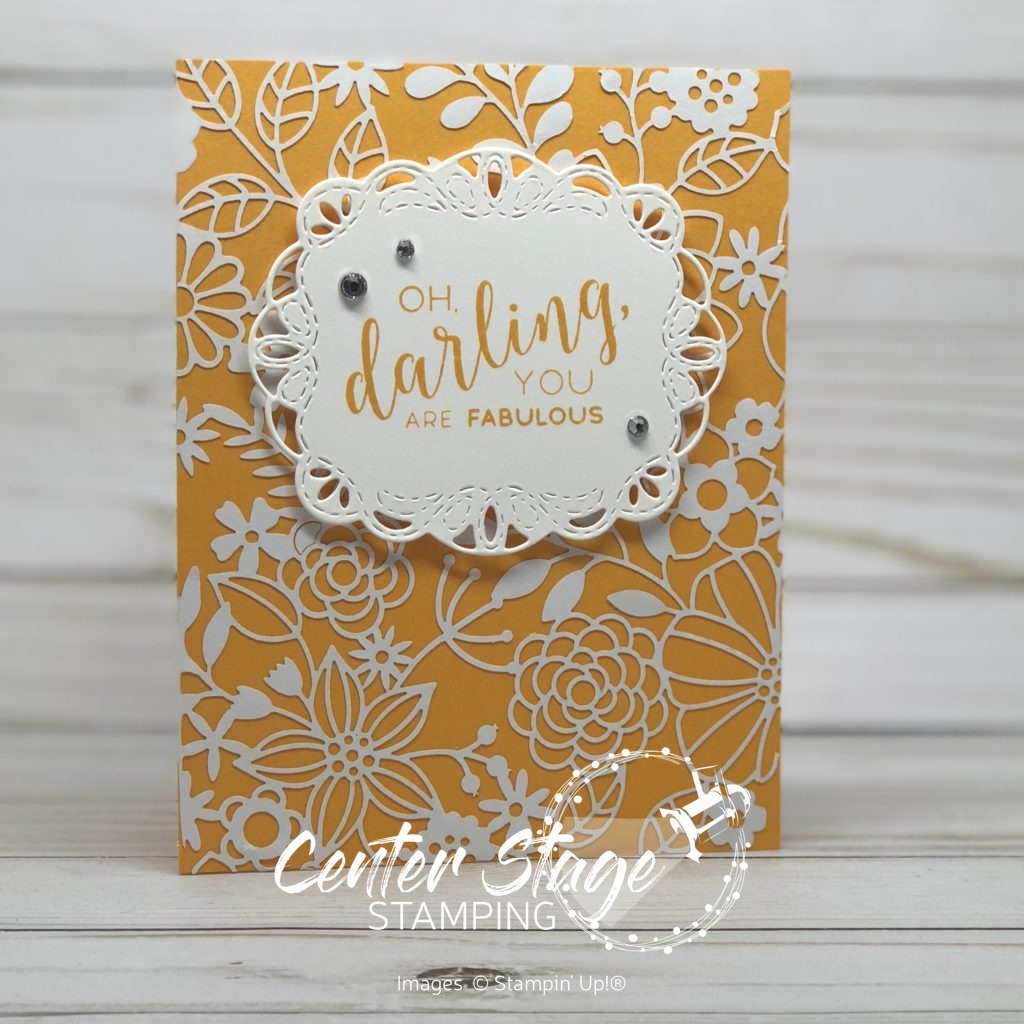
Today, I get to put the NEW Mango Melody center stage.  This is such a fantastic cheerful color.  This first card let’s this color introduce itself with the help of the Delightfully Detailed Laser-cut Specialty Paper.

Darling you are fabulous - Center Stage Stamping

The sentiment is from the Stitched All Around stamp set.  I cut out the label from the coordinating framelit set, Stitched Labels.  between the framelits and the Laser cut paper, the work is done for you!  Just throw on a few rhinestones for some added bling and voila!

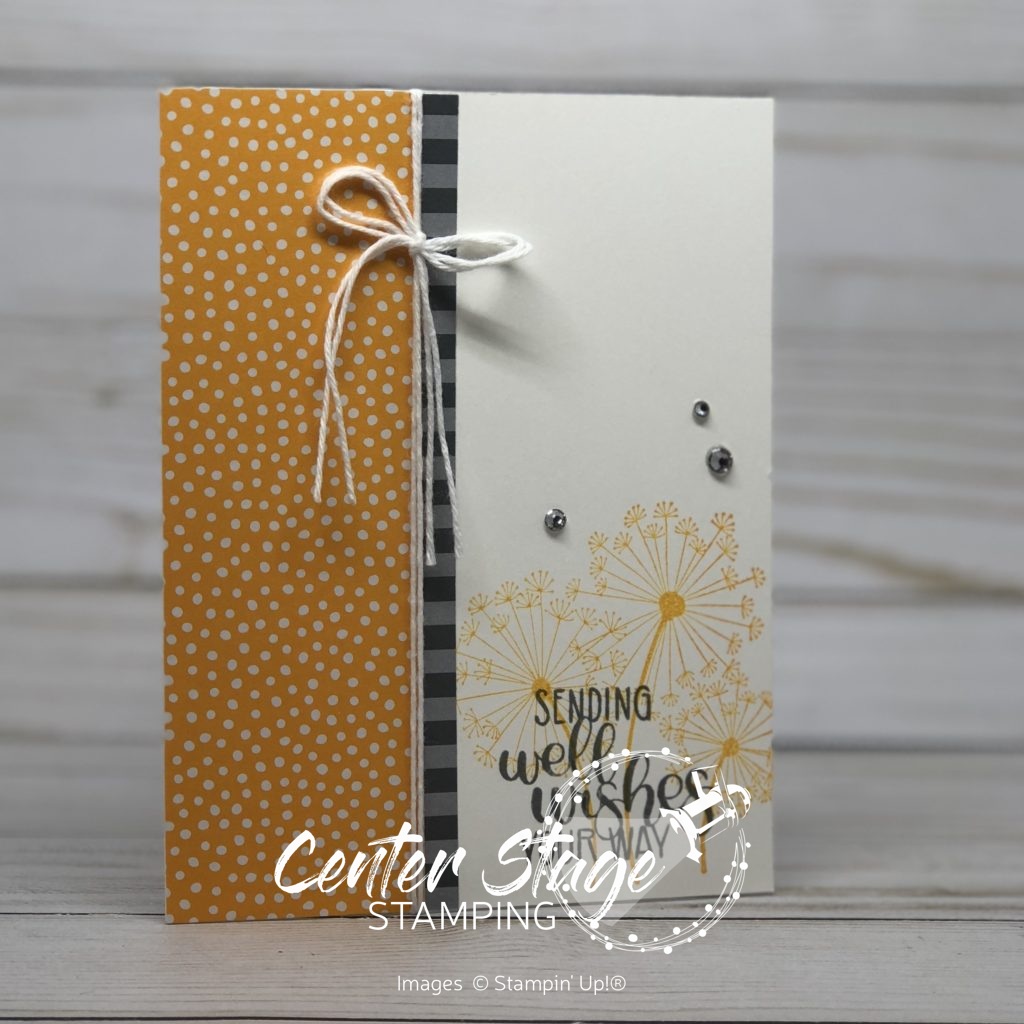
For the next card, I added in a bit of Basic Gray and the Dandelion Wishes stamp set.

Sending Dandelion Wishes your way - Center Stage Stamping

The patterned paper strips are from the new 6″x6″ Designer Series Paper, Brights and Neutrals.

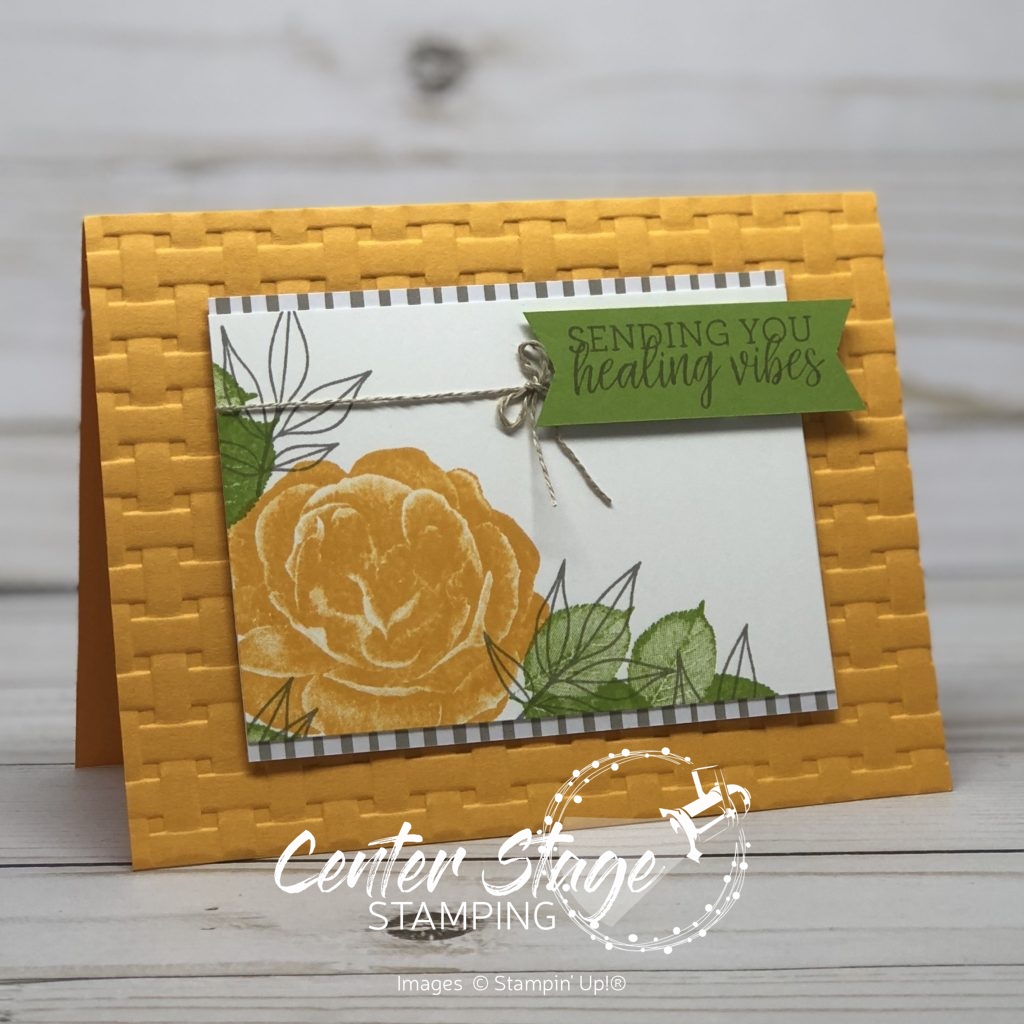
For the last card, I cast Mango Melody with fellow NEW colors Gray Granite and Granny Apple Green.  They take the stage with the Healing Hugs stamp set.

Healing Vibes - Center Stage Stamping

The card base is embossed with the Basket Weave 3D Dynamic Textured Impressions Embossing Folder. This cheerful color combo should brighten anyones day!

Now, head on over to Sharleen.  She has some great projects featuring the new In Color, Pineapple Punch.  Be sure to follow the full blog hop circle for great color inspiration!

Thanks for stopping by! Happy Stamping!

-Mary


Share with your friends:

inky friends: a fond farewell

Welcome to the Inky Friends: A Fond Farewell blog hop.  We are taking time to put some great retiring sets center stage one last time.  If you are following the hop order, you have arrived here from Sarah’s Ink Spot.  Weren’t her No Bones About It projects fun?  I love those dinosaurs.  Make sure to make your way through the entire hop and check out the other great projects.  I am putting Sweet Cupcake in the spotlight.  Mmmmm – cupcakes.  These are some of my favorite projects that I created with this set.  They look almost good enough to eat.

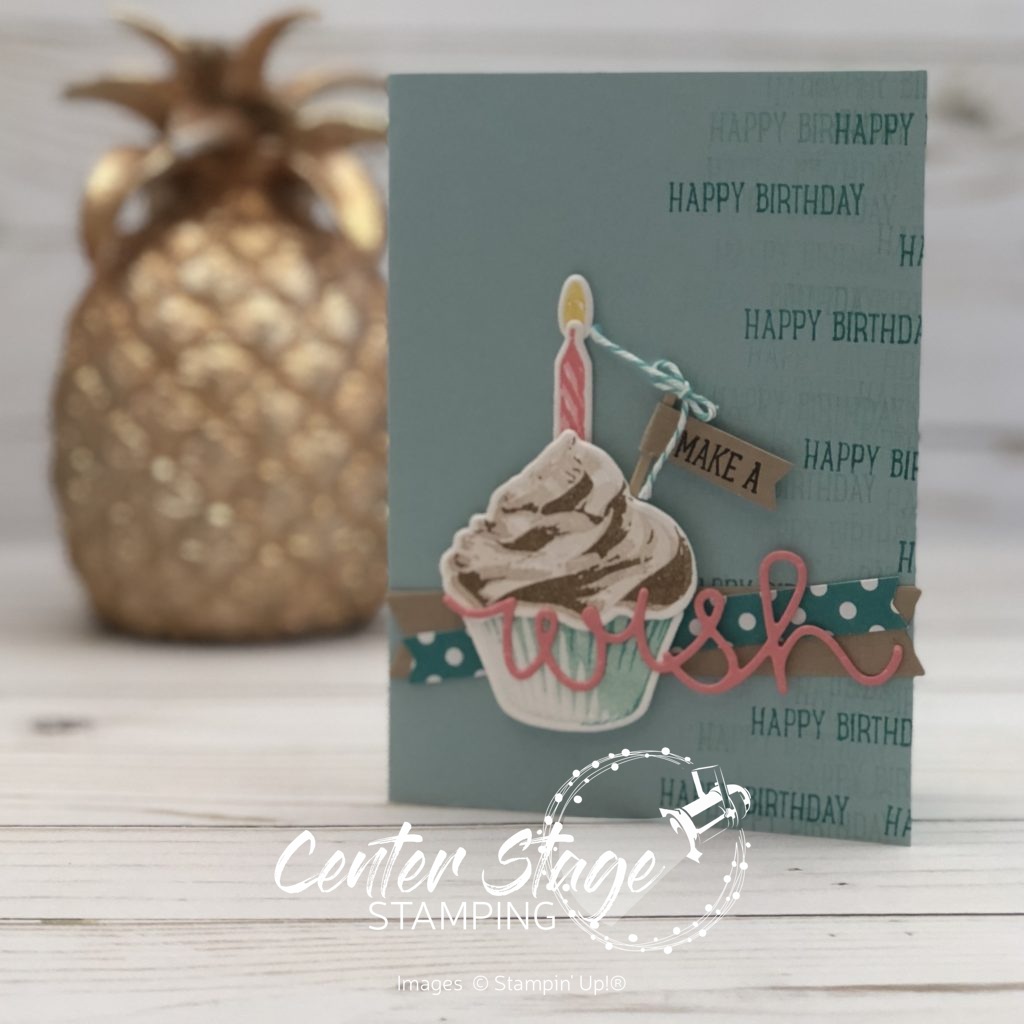
Sweet Wish - Center Stage Stamping

This is my absolute favorite card I ever created with the Sweet Cupcake set.  I paired the set with the coordinating framelits.  There are so many fun details on this one – the depth from the die cuts, the banners layered under the cupcake, the little flag.  What a great birthday wish.

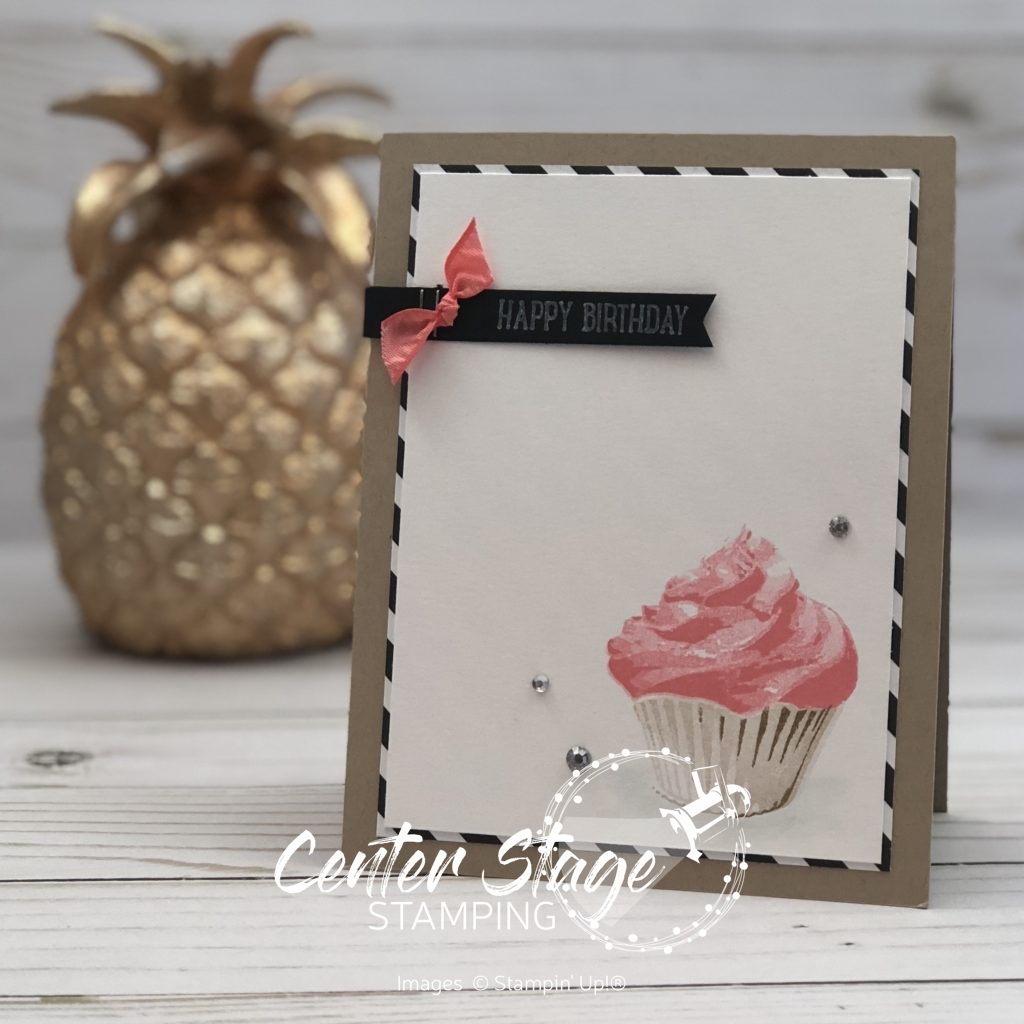
Sweet Cupcake - Center Stage Stamping

I chose to leave a lot of white space on this one to let that yummy cupcake pop.  The shading the various layers of stamps give it is so cool.  I did a light watercolor wash shadow underneath the cupcake to help ground the image.

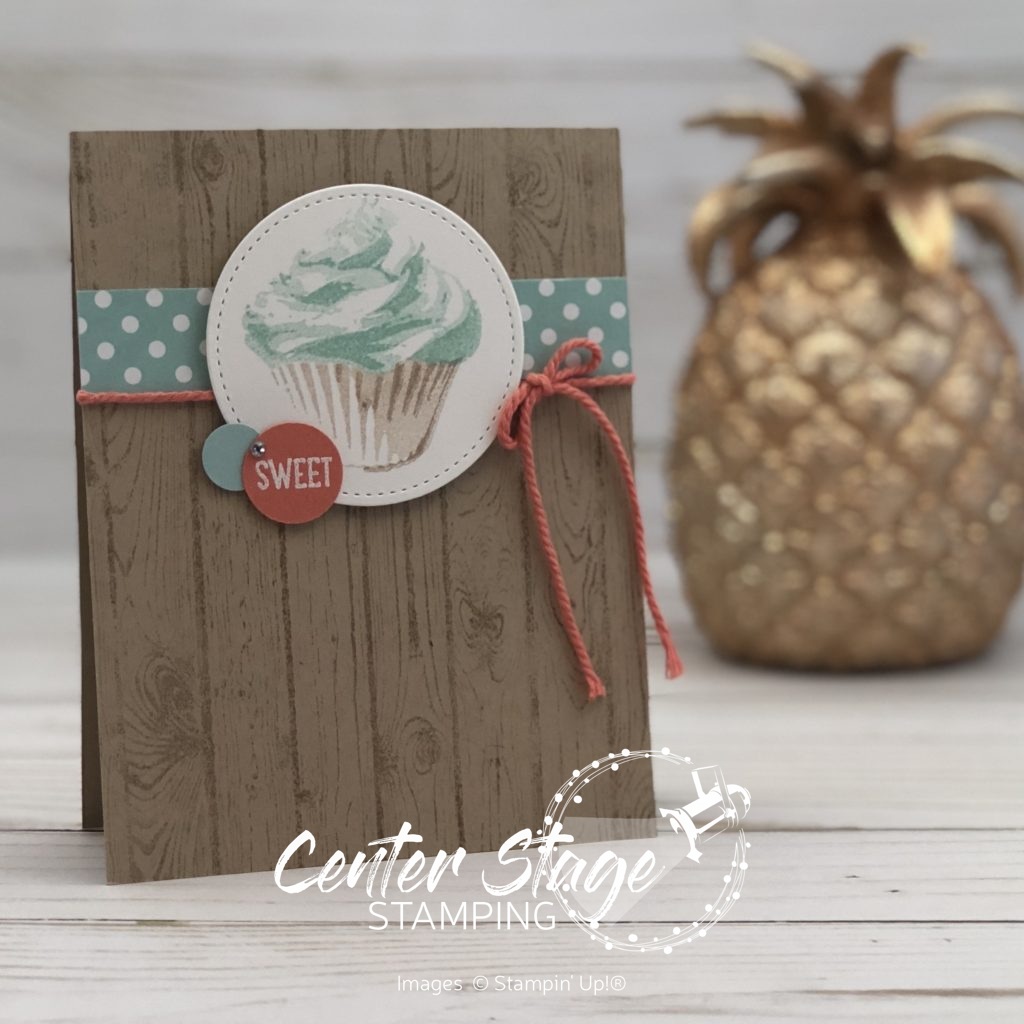
Cupcake Sweet - center Stage Stamping

I love polkadots.  I used the three circles to play off the polkadot pattern paper.  A simple thick bakers twine bow and a tiny rhinestone balance the delicate feel of this card.  This is one set that is staying in my stamp collection!

Thanks for stopping by!  I’m sending you over to Rhonda and her projects with Basket of Wishes.  Enjoy your journey through the rest of the blog hop and bid a fond farewell to some great stamps sets.


Share with your friends:

Hidden Gems Blog Hop

I’m back with my Inky Friends for another Blog Hop.  This time we are featuring Hidden Gems – sets that are often overlooked in the annual Stampin’ Up! calendar. Be sure to make your way through all of the stops on our hop.  You may find a new favorite set or two along the way.

I am featuring Celebration Time.  This set is a lot of fun for birthday projects and the coordinating framelits add to it’s versatility.

Celebration Time - Center Stage Stamping

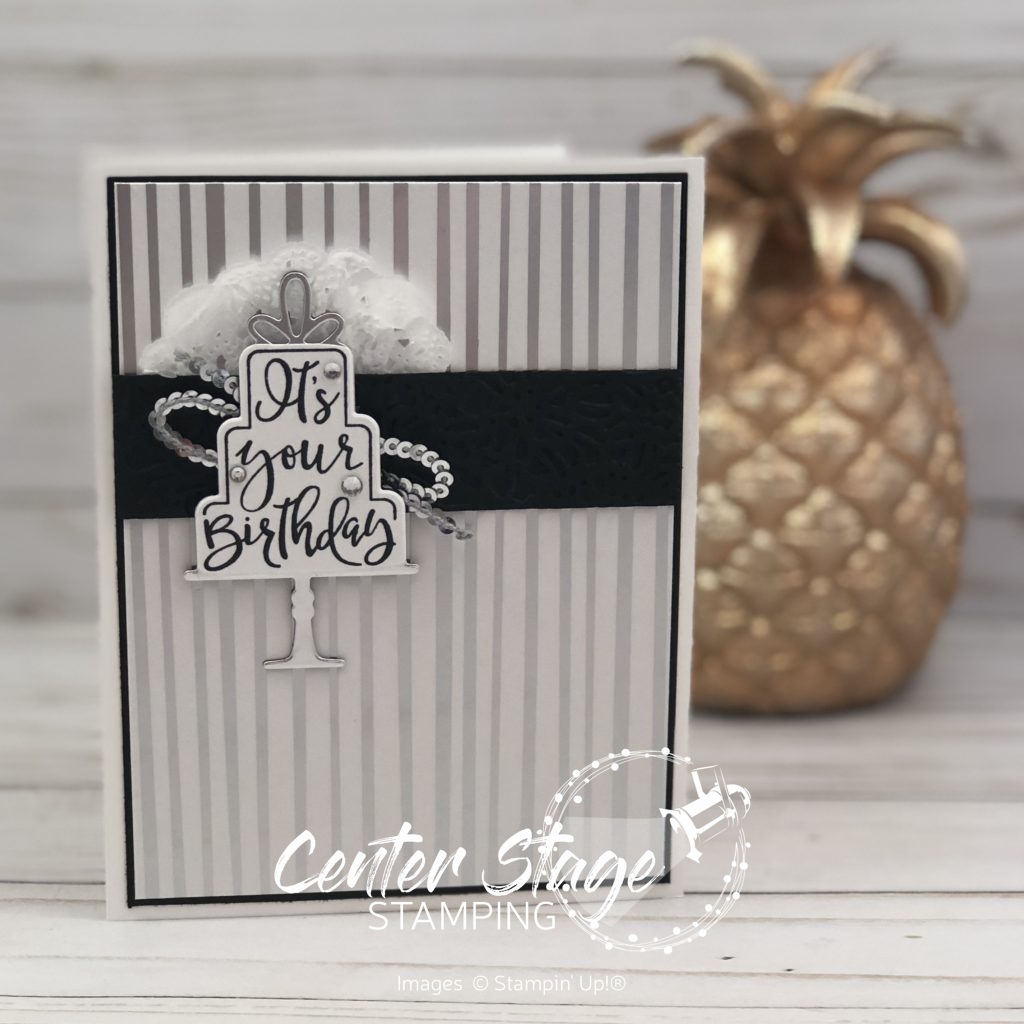
This first project has a very classy look thanks to the silver stripes from the Sale-A-Bration Springtime Foils Specialty DSP.  The black panel is embossed with the Petal Pair Textured Impressions embossing folder.  I couldn’t get it to photograph well.  I cut out the cake framelit in silver and white (which had been stamped with the sentiment).  I trimmed off the bow and base on the white and layered it on the silver.  A paper doily, some silver sequin trim and a few rhinestones finish off this elegant card.

Celebration Time - Center Stage Stamping

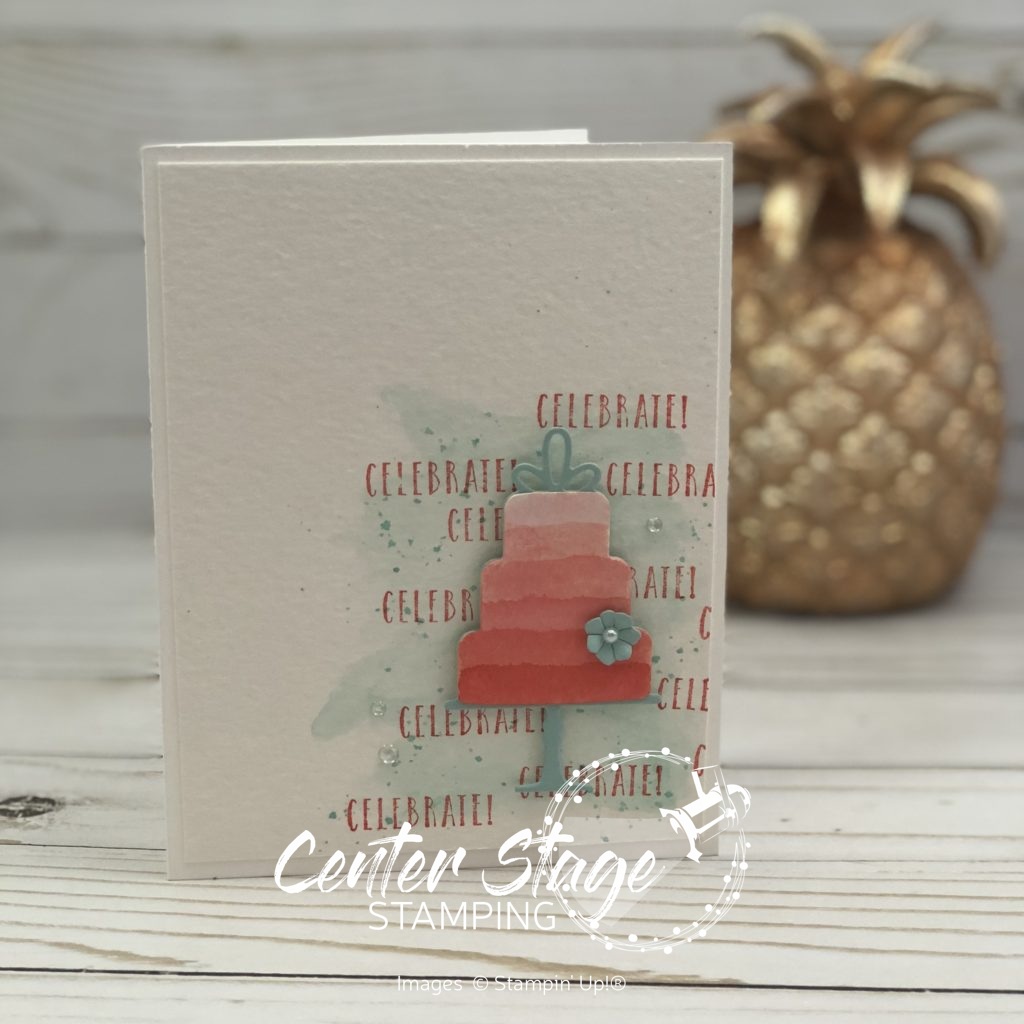
For this next card, I played around with some watercoloring.  I started with a wash of Pool Party on panel of watercolor paper.  Once it was dry, I stamped “celebrate” in Calypso Coral.  I flicked some Bermuda Bay ink from my aquapainter for a little more depth.  For the cake I cut out the framelit in Pool Party and Watercolor paper. I Slowly built up layers of Calypso Coral to create the ombre look on the cake.  The little flower is actually on of the pieces for the top of the party hat. There are also a few of the clear epoxy shapes scattered on the card.  Simple, but fun!

Celebration Time - Center Stage Stamping

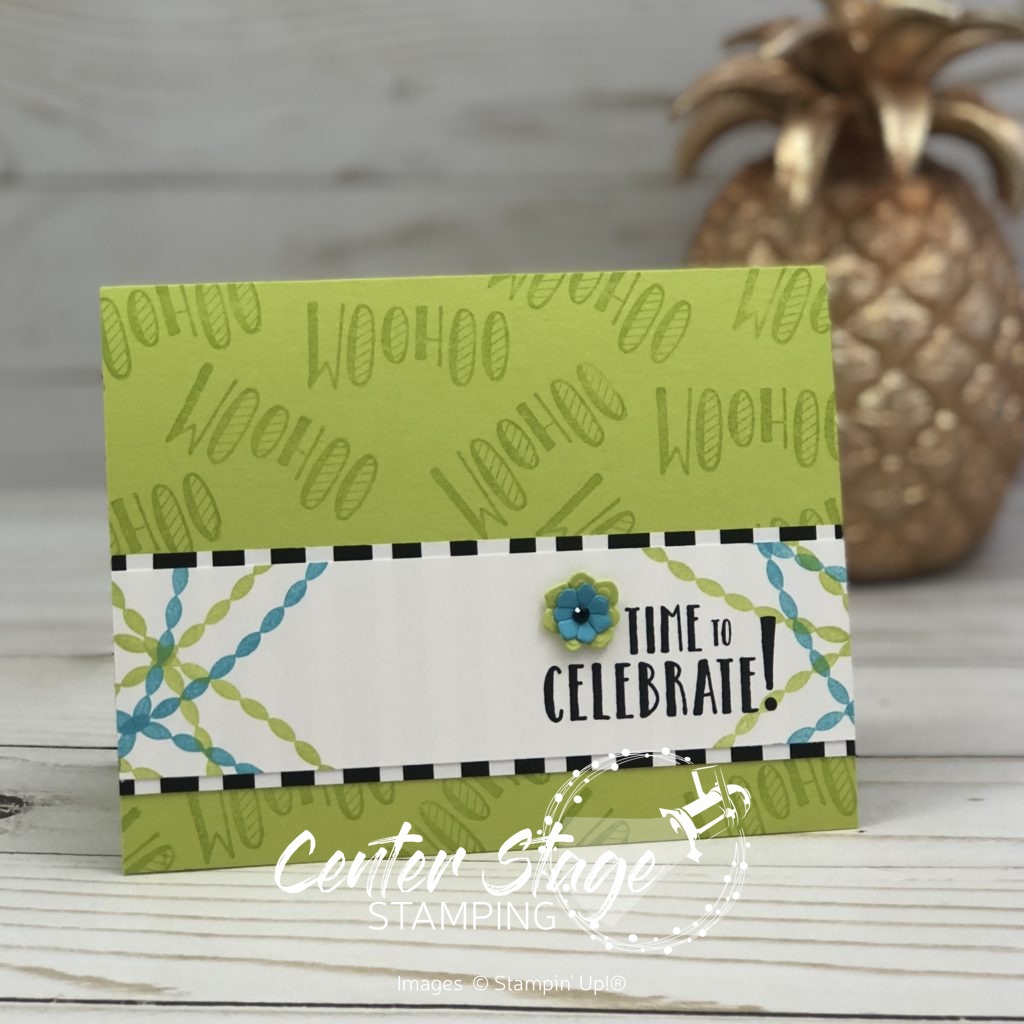
This time I decided to focus on some of the bolder images in the set.  Pair them with Lemon Lime Twist and Tempting Turquoise and you have a bold, fun card.  This flower was created using both of the tops for the party hat.

Celebration Time Tags - Center Stage Stamping

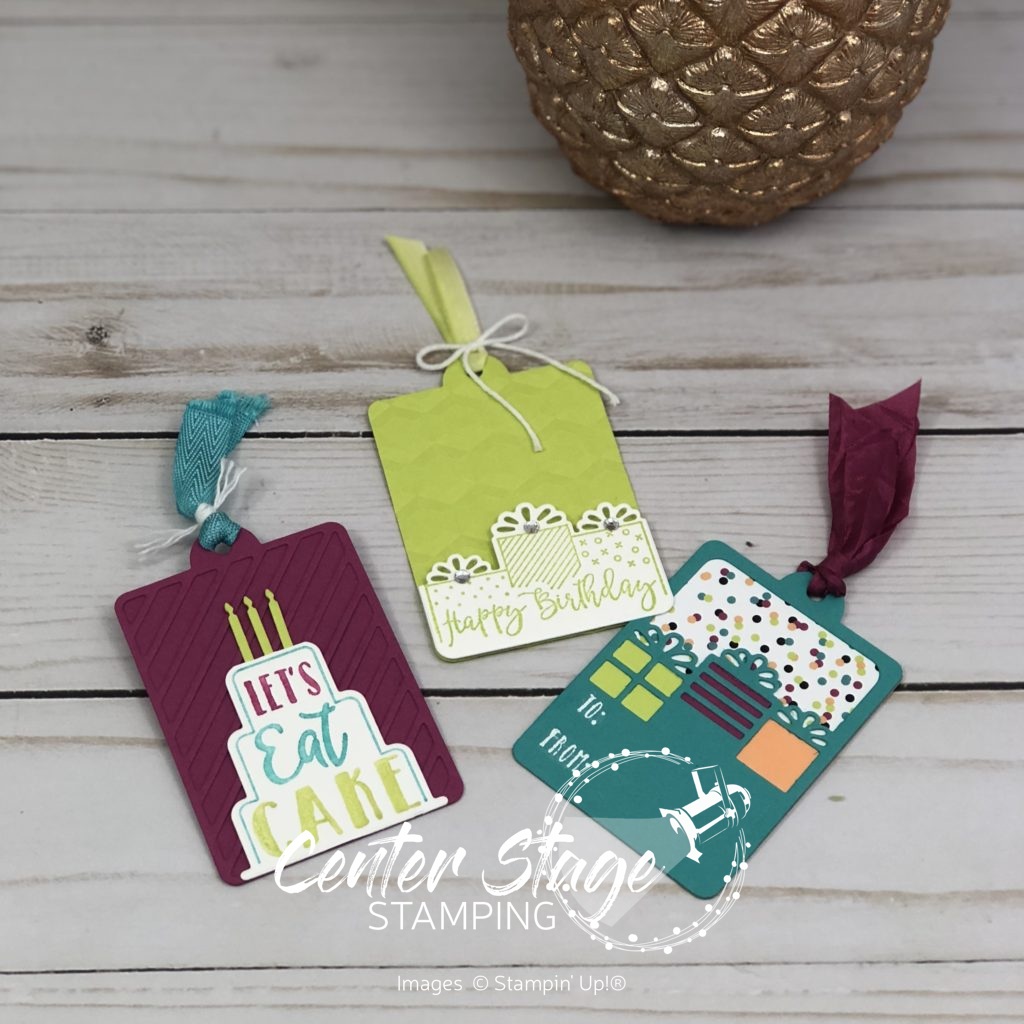
For my final project, I made some fun gift tags.  I hope you see what a great set Celebration Time is.

Celebration Time - Center Stage Stamping

I now send you over to Mickey Roberts  featuring Pocket Full of Sunshine. Don’t forget to check out all of the other great sets along the hop.  Or you can click on the previous button and go to Sharleen and her Jar of Love.

Share with your friends: