• Center Stage Stamping

dear friend

I was playing around with the P.S. You’re the Best stamp set.  I just love the typewriter.  I started by adhering a panel of the Share What You Love DSP to a Whisper White card base.  I set this inside a folded piece of vellum card stock to soften the DSP some.

Dear Friend, P.S. You're the Best - Center Stage Stamping

I colored this cute little typewrite with Mint Macron Stampin’ Blends.  Seriously, these markers are the BEST!  It is so easy to get great shading and depth.  I added a Petal Pink watercolor wash on the “paper”.  Once it was completely dry, I stamped the sentiment.  I popped this up with dimensionals on a piece of Wood Textures DSP that I had punched notches out of with my 1/2″ circle punch and wrapped with Linen Thread.  I finished up with three of the Share What You Love Artisan Pearls.

This makes me think of an author working away at a quaint little cottage with a wonderful flower garden.  Like maybe where L.M. Montgomery might have written Anne of Green Gables.  Yeah, I like that.

That’s a wrap for today.  Thanks for stopping by!  Be sure to come back and join me again as I put a spotlight on creativity!

stamp review crew: varied vases

The Stamp Review Crew is hopping again and this time we are putting Varied Vases in the spotlight!  This is such a fantastic set.  I love the little vases and flowers.  The coordinating Vases Builder punch makes it even better.  I had played with set quite a bit when it first came out.  Check out this post or this one for even more Varied Vases inspiration.  This time, I wanted to try a different approach with this set.

Hoping your day blooms with happiness - Center Stage Stamping

For my first card, I chose to let the sweet flowers take center stage.  I started with a gradient watercolor wash on three small panels of watercolor paper.  i used Calypso Coral, Lemon Lime Twist and Coastal Cabana.  Once completely dry, I stamped the flowers on each panel with Memento Black ink. I adhered a panel of Wood Textures DSP on a Whisper White card base which I had wrapped three rows of Linen Thread. The sentiment is stamped and embossed in white on the bottom of the Wood Textures DSP.  I adhered the three flower panels with dimensionals for some added depth.  I finished off with a little rhinestone one each panel.  I colored these with Stampin’ Blends markers – Calypso Coral, Granny Apple Green, Bermuda Bay.

You are simply the best - Center Stage Stamping

My next card brings back the Wood Textures DSP.  I think it is a great pairing with Varied Vases.  I stamped the Vase in Coastal Cabana, punched it out with the Vase Builder punch and wrapped a bit of Linen Thread around it.  I stamped the flowers in Memento Black, Poppy Parade and Lemon Lime twist and cut them out.  (Full disclosure, I cut them out with my Scan-n-Cut.) I layered all of this on a Whisper White panel and stamped the sentiment along the edge of the Wood Texture DSP squares.  I added two little Poppy Parade Ribbon loops before gluing the Whisper White layer to the Gray Granite card base.  Notice the texture on the card base?  I ran it through the NEW Tin Tile Dynamic Textured Impressions Embossing Folder.  This folder is in the Stampin’ Up! 2018 Holiday catalog!  It is really awesome!

That’s a wrap for me.  I am the final stop on the blog hop, so if you started at the beginning, you have seen all of the amazing Varied Vases projects.   You can go forward to Charlet, the first stop of the blog hop. Or you can go back to Mickey and work your way back around.  If you started the hop somewhere in the middle make sure you continue on so you don’t miss any of the fantastic inspiration!  And as always, you can find the blog hop archives over on the Stamp Review Crew blog.

**The Stamp Review Crew is a group of International Stampin’ Up! demonstrators who want to show you how much you can do with ONE stamp set. Each edition the SR Crew will showcase a new featured stamp set. Each stop along the hop will show you a different idea, or ideas using that set!**

Thanks for stopping by! Happy Stamping!

Back on Broadway

I’m back today with another Broadway Bound Suite project.  What can I say, I REALLY like this suite!

Never to old to wish - Center Stage Stamping

Isn’t that marquee framelit die awesome!  It has holes in it for perfect placement of the metallic pearls.  And, can we talk about the Lemon Lime Twist striped paper!?  LOVE IT!!  The bold stripes are a great base for the marquee greeting.  The photopolymer stamps make lining up the greeting a breeze.

Well, I guess I better get back to work packing up two kids to move off to college later this week. So, that’s a wrap for now.  Happy Stamping!

inky friends: suite designs blog hop

Welcome back!  I excited to be part of My Inky Friends Suite Designs Blog Hop!  This time we are putting a spotlight on various product suites in the 2018-19 Stampin’ Up! catalog.  I am thrilled to put the broadway Bound suite center stage! (I know, you are all so surprised that i would pick that suite.  What can I say?  Somethings are just meant to be!)  This dramatic suite can be found on page 69.

Let’s start with this fun project pairing.

Golden Broadway Birthday - Center Stage Stamping


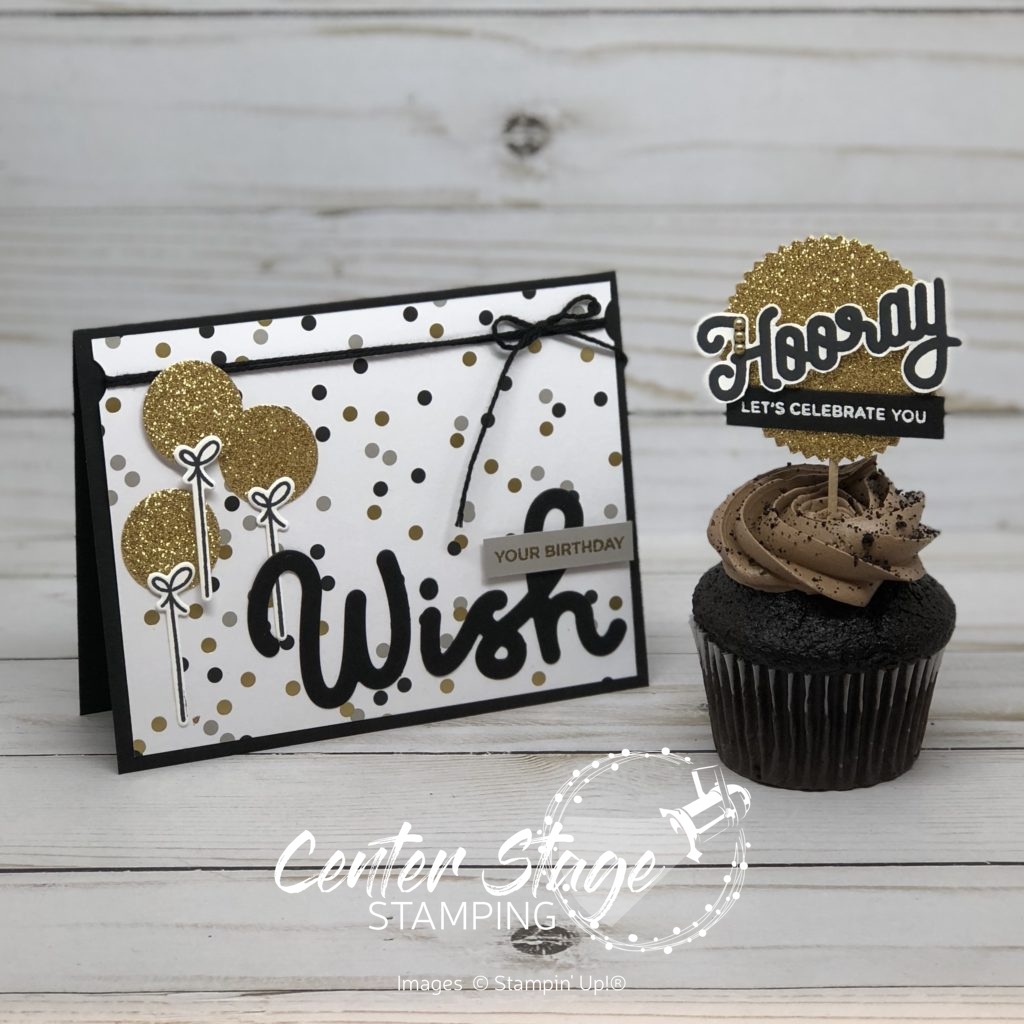
Who wouldn’t love to get a birthday treat like this.  The gold foil in the Broadway Bound designer series paper brings out that Broadway sparkle!

Hooray cupcake - Center Stage Stamping

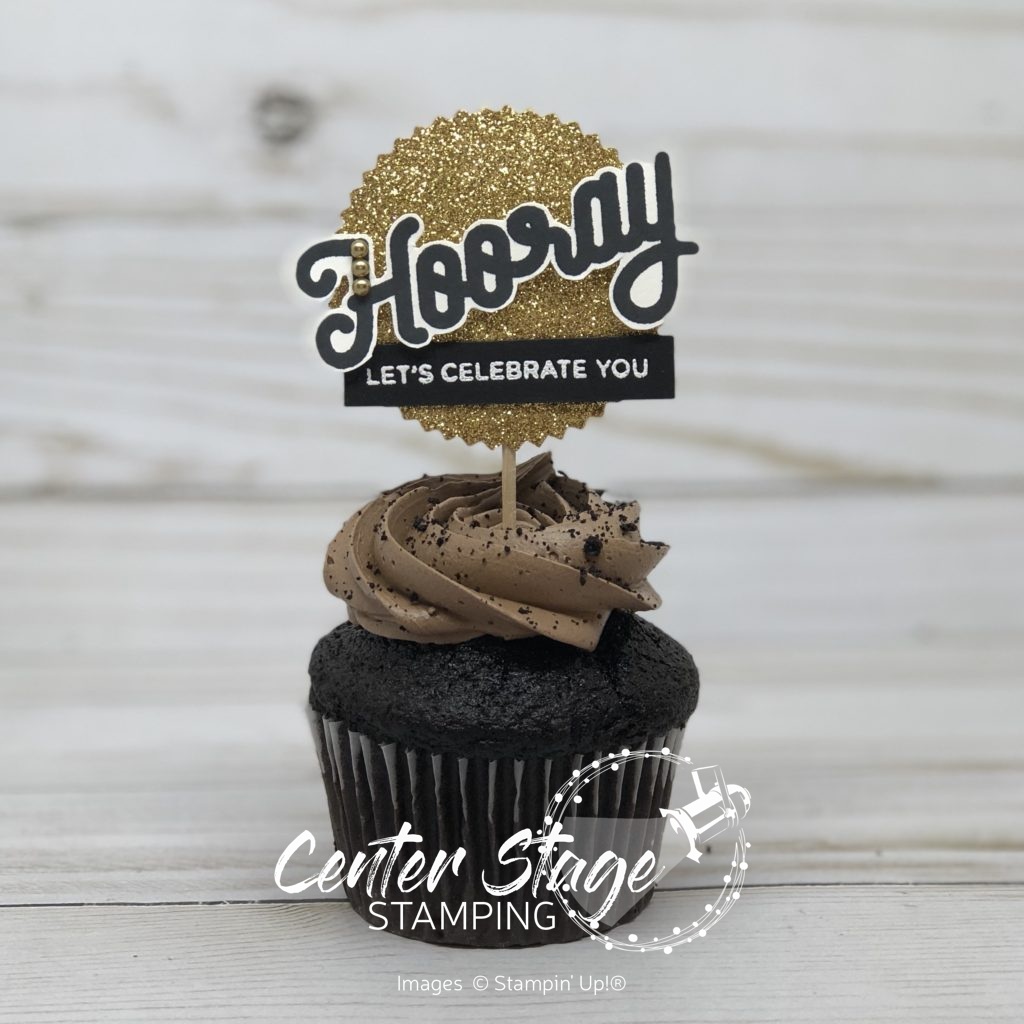
First off how awesome is this cupcake topper?  A bit of gold glimmer paper punched with the Starburst punch makes a great base for the fun greeting. A few gold Metallic Pearls are a great finishing touch.

Broadway Wish card - Center Stage Stamping


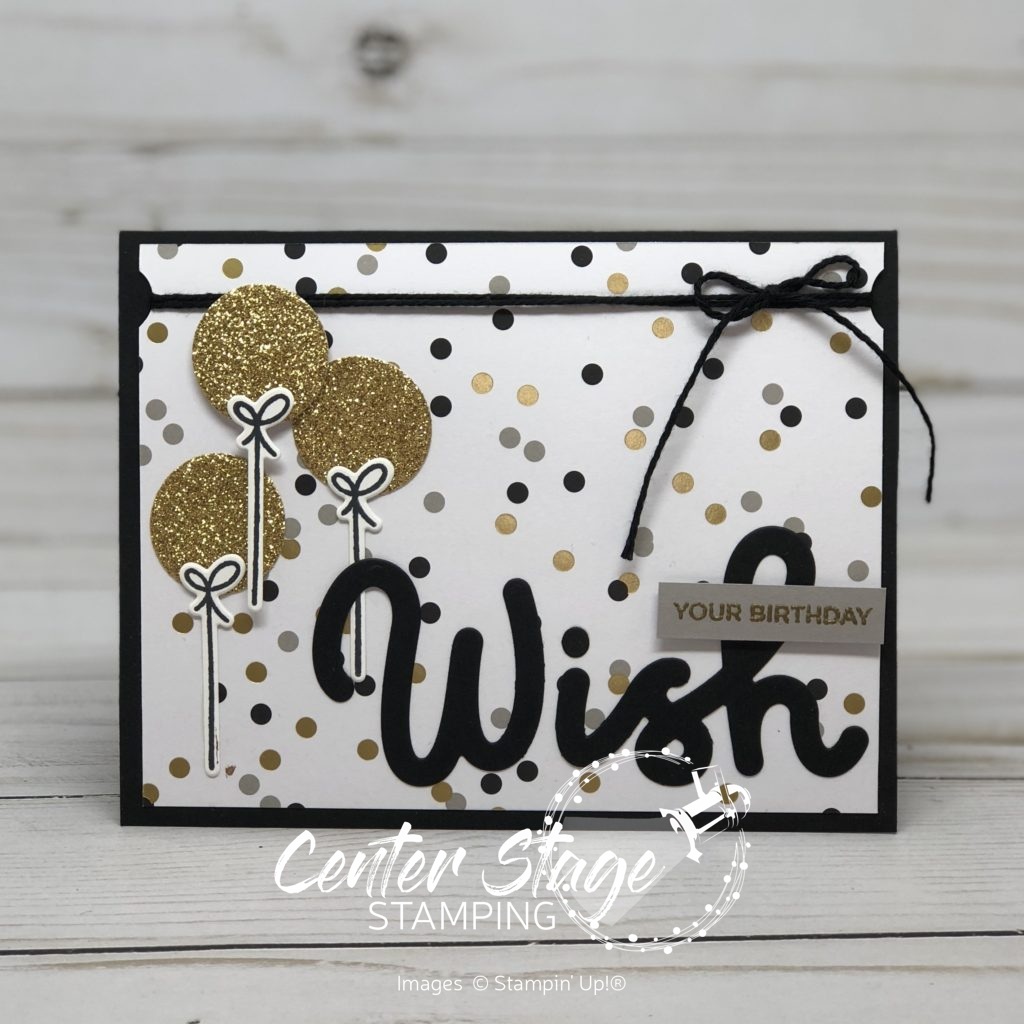
The gold shimmer cut from the Broadway Lights Framelits balloons make this a great coordinating card for the cupcake treat.

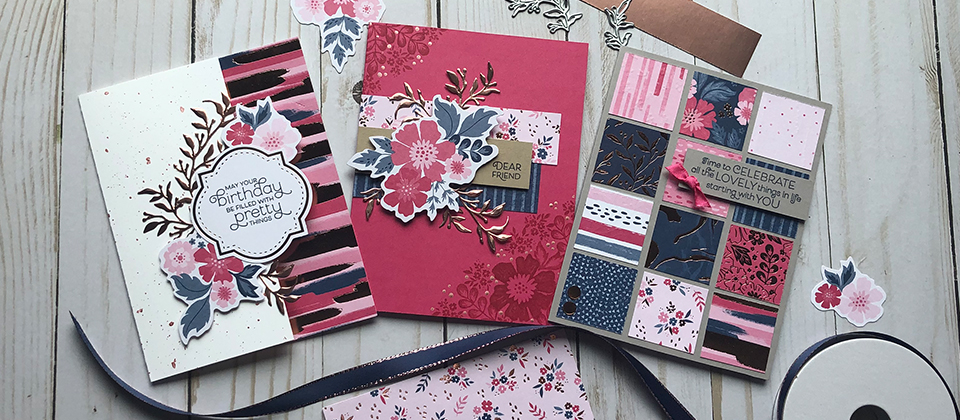
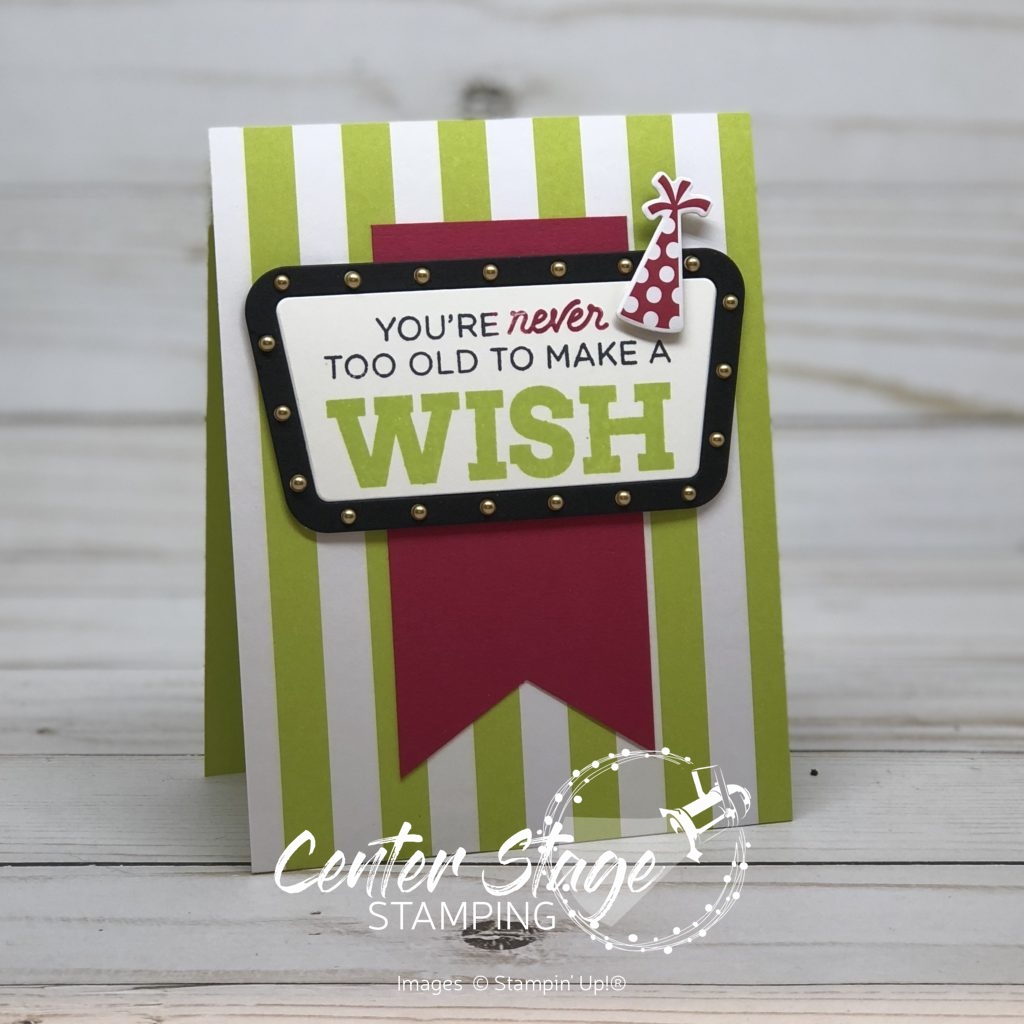
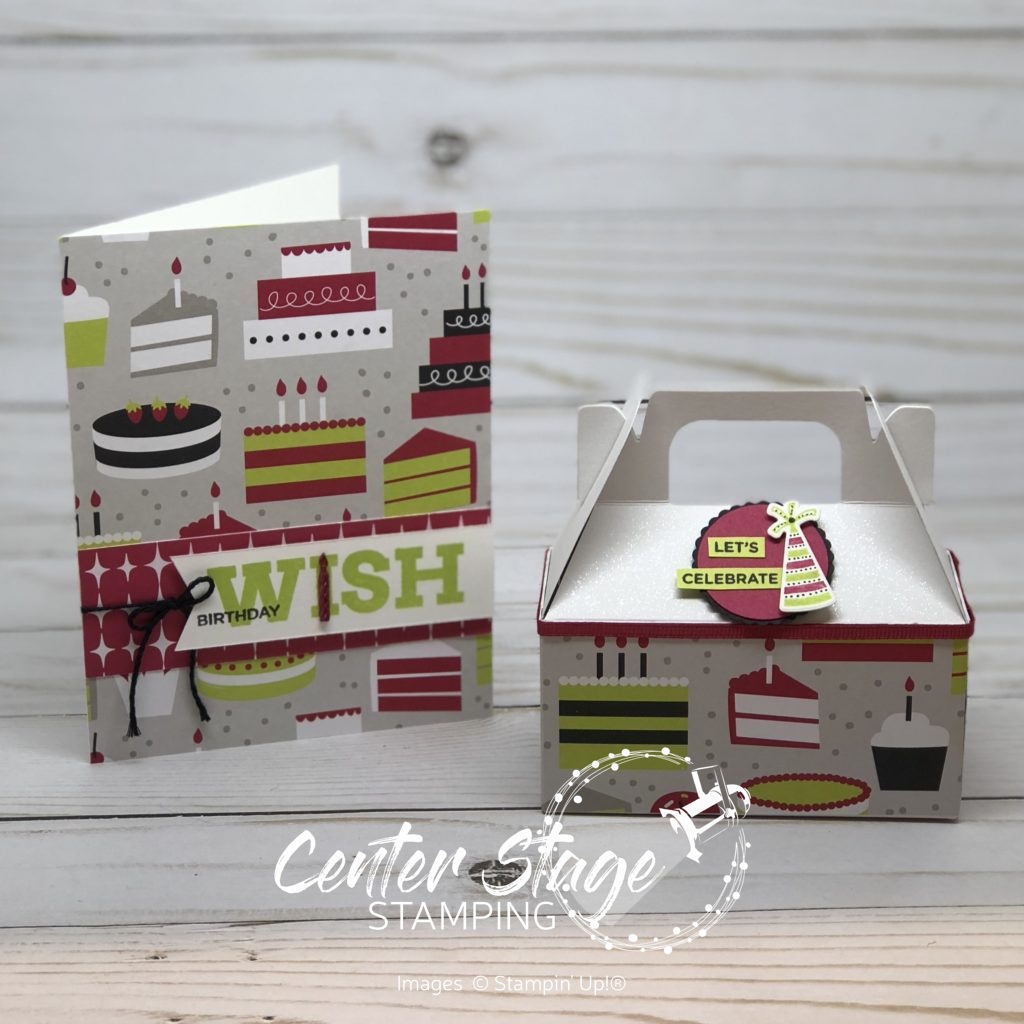
This next pair of projects Brings out the Bold colors of Lovely Lipstick and my favorite, Lemon Lime Twist,

Broadway Wish set - Center Stage Stamping

Here is a closer look at the gift box.

let's celebrate gift box - Center Stage Stamping

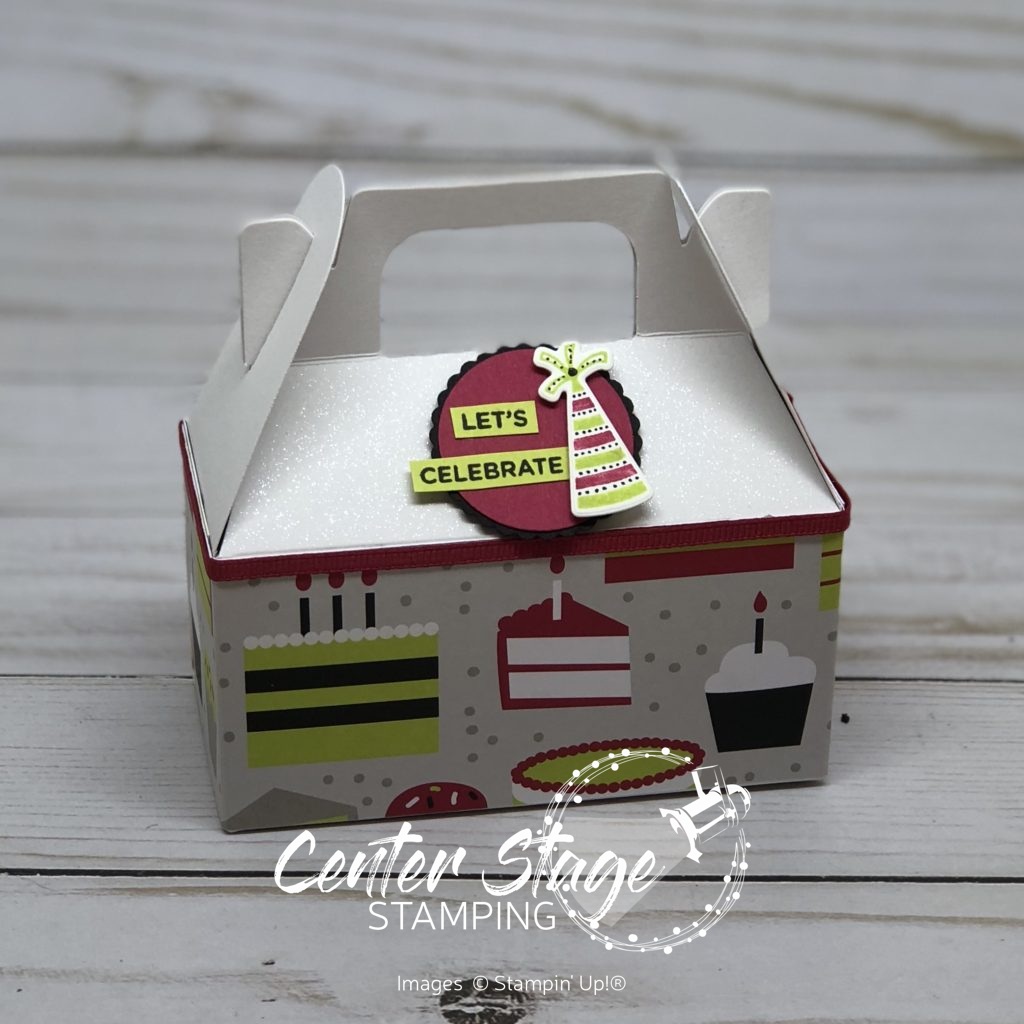
I started with one of the Lustrous White Mini Gable Boxes.  I wrapped the bottom with the cake pattern from the Broadway Bound dsp.  I glued some Lovely Lipstick 1/8″ Grosgrain Ribbon around the top.  The greeting on the box is layered as follows: 1-3/8″ scallop circle in Basic Black, 1-1/4″ circle in Lovely Lipstick, the hat die cut from the Broadway Lights Framelits (I added the black dots with a Basic Black Stampin’ Write Marker).  I stamped the sentiment on Lemon Lime Twist card stock and cut it apart and adhered to the circle.  This element is added to the box with dimensionals.

Broadway Birthday Wish card- Center Stage Stamping

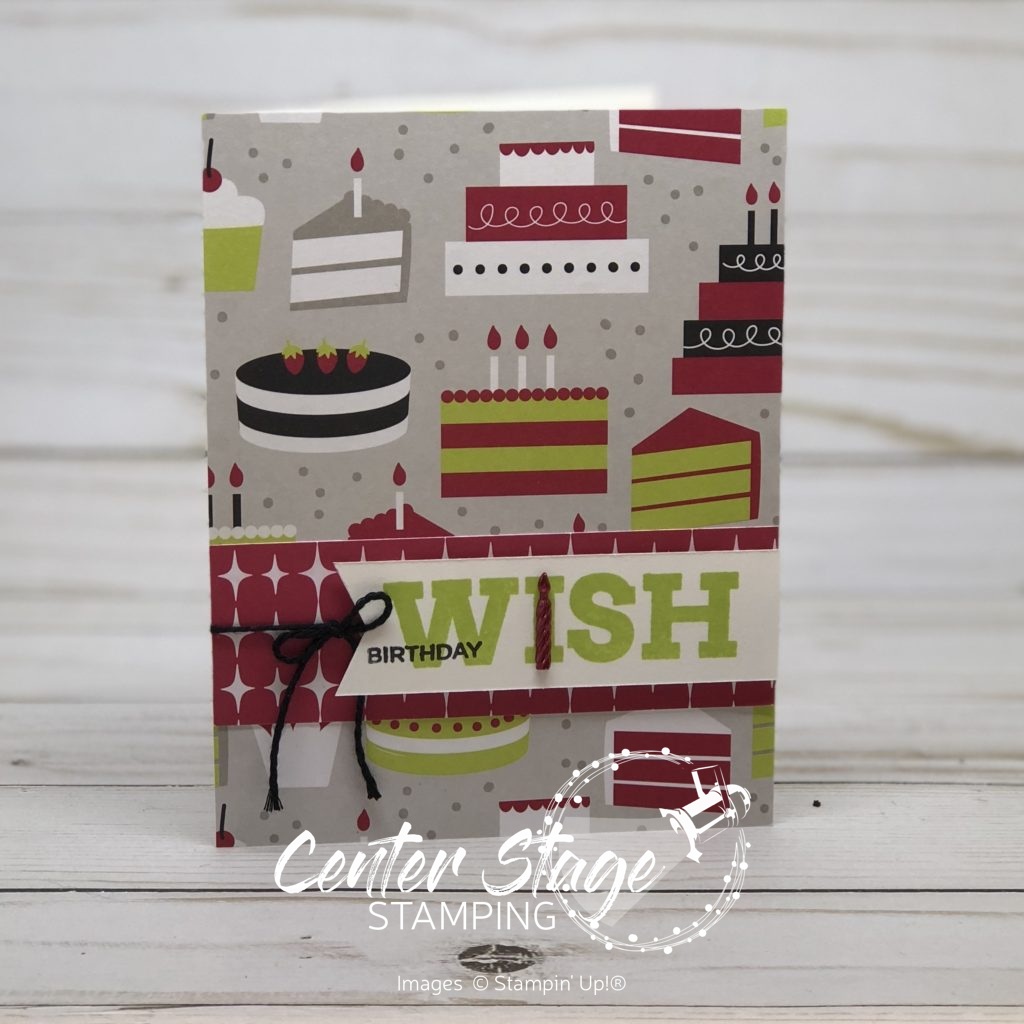
I let the Broadway Bound dsp take center stage for this card.  The little candle embellishment on the “I” is one of the silver Candle Embellishments.  But wait, it’s pink, not silver.  Ah ha!  I colored it with the dark Lovely Lipstick Stampin’ Blend!  How cool is that?

Broadway Birthday treats - Center Stage Stamping

Broadway Bound is a fantastic suite of products that give your birthday projects great dramatic flair!   I’m sending you over to Twila and her wonderful projects featuring the Under the Mistletoe Suite.  Or, if you are traveling backwards through the hop, you can go back to Rhonda and her delightful projects with the Delightfully Detailed Suite.

That’s a wrap for now. Happy Stamping!

more than all the stars

Hello everyone!  Today’s card features the Little Twinkle set and coordinating Twinkle Twinkle designer series paper.  It is a quick and easy card, but still has some fun details.

love you more than the stars - Center Stage Stamping

The designer series paper makes a fun backdrop.  The focal point is the Night of Navy sentiment set on a fun Petal Pink watercolor wash background.  The angled piece behind is Vellum card stock that I brayered with Pool Party Ink.  It gives a soft hint on color to support the main panel.  The stars are punched out of Pool Party card stock with the Twinkle Builder punch.

While the colors from the DSP suggest this card would be for a new baby, it really could work for a variety of occasions – anniversary, valentine, thinking of you…

That’s a wrap for today.  Happy Stamping!

stamp review crew: rooted in nature

I’m super excited to be joining the Stamp Review Crew this month! What’s that? What is the Stamp Review Crew? We are an international group of Stampin’ Up! demonstrators that gets together to do a blog hop on the first and third (and sometimes on a fifth) Monday of each month. For each hop we choose a single stamp set to put center stage, and then we work our creative magic! All of the hops are archived on the Stamp Review Crew blog.  So, if you every need some extra inspiration, head on over HERE and check them out.  If you are following the hop in order, you should have arrived here from Anne at The Stampin’ Schach.

For this hop, we are putting Rooted in Nature in the spotlight.  What a beautiful set!  I got to work with this set this spring when I made display samples for Stampin’ Up! On Stage Milwaukee.  You can see some of those projects in this post.

This time I decided to go for a bolder look by stamping the leaves in Granny Apple Green and Tranquil Tide.

Be strong - Center Stage Stamping

I was going for the feeling of falling leaves so I kept them more sparse at the top and layered them heavily at the bottom. The Wood Texture DSP made me think of a fence.  I did use one retired item – the clear epoxy dots.  I just loved the idea of dew drops on the cut out leaves.

I’m also sharing my absolute favorite project I have made with this set.  This scrapbook page features one of my favorite pictures of my two daughters from my oldest’s wedding last summer.  I am so proud to be Momma Bear to these two beauties.

Be Strong - Center Stage Stamping

Well, if you started at the beginning, I am the last stop on the blog hop.  I hope you have enjoyed all the great projects that have shone a spotlight on Rooted in Nature! From here, you can head back to Anne’s blog or go on to Heidi’s(the start of the blog hop). If you started somewhere in the middle, make sure you check out all the other blogs.  There are some fantastic projects out there!

That’s a wrap for now!  Happy Stamping!

forget you not

Today, the adorable Little Elephant stamp set and coordinating Elephant Builder punch are taking center stage.

I'll Never Forget You - Center Stage Stamping

How cute is this little guy!?  The elephant punch makes this so easy.  I used Smokey Slate (for the elephant), Basic Black (for the eye) and the pattern from the Tea Room Specialty DSP (for the ear). The sentiment is punched with the Classic Label punch.  That little bird on his trunk would be really tough to line up and stamp just right.  But, with the Stamparatus, it is easy peasy.

Thanks for stopping by! Happy Stamping!

-Mary

just my type

Hello, everyone!  Quick post today as I am deep in the chaos of moving back into my craft studio!  There are still finishing details to wrap up (like trim and installing Brett’s desk), but my space is ready for occupancy!  I’m excited to share it with you once it is presentable.  Right now, I need to figure out where everything is going.

Today’s card features the stamp set P.S You’re the Best.  I am really drawn to typewriters.  They invoke a nostalgic feeling.  I’d love to get one for display some day.

Just my type - Center Stage Stamping

I love the combo of Wood Textures DS, Soft Sea Foam and a pop of Flirty Flamingo. The subtlety of the Soft Sea Foam, DSP and Linen Thread really let the tiny bits of Flirty Flamingo grab you.

Thanks for stopping by! Happy Stamping!

-Mary

a lifetime of love

My daughter Jessica and her husband Tyler celebrated their first wedding anniversary on July 22.

We spent this past weekend in Fargo, ND moving them into their first house!  I was able to hand deliver the card I made for them.

Lifetime of Love and Happiness - Center Stage Stamping

I thought Dandelion Wishes was perfect for this occasion.  I was able to capture the rustic style that was the wedding decor.  I love the Wood Texture dsp.  I stamped the trio of dandelions in petal Pink on the lower right corner.  I did w water color wash of Petal Pink on a piece of water color paper.  Once it was dry, I stamped the dandelion in Gray Granite Ink.  I layered it with a bit of Gray Granite striped paper from the Neutrals Designer Series Paper stack. The sentiment is stamped in gray granite ink on Petal Pink card stock and cut out with an oval from the Stitched Shaped Framelits.  The Linen Thread and wooden hearts tie everything together.

I hope Jess and Tyler have fun settling into their house.  I’m excited to see what is in store for year two!

-Mary


inky friends – dc8

Hey everybody!   It’s time for another My Inky Friends challenge! This inspiration for this one is a color combo found on page 119 of the 2018-19 Stampin’ Up! catalog.

I have to admit this was a tough combo for me.  I wasn’t sure how to handle the balance of these colors.  I finally decided less is more and went with a white back ground and small amounts of these colors.

Love and Thanks - Center Stage Stamping

I embossed a white panel with the Pinewood Planks Textured Embossing Folder.  I wrapped a bit of the Night of navy Gingham Ribbon tied offf with some Linen Thread and layered it on a Whisper White card base.  I cut out three leaves from the Tropical Thinlits in Soft Suede, Old Olive and Grapefruit Grove and centered them on the ribbon.  The sentiment is from Tropical Chic.  I masked off part of it, stamped it in Night of Navy ink, and fussy cut around it.  It is popped up on dimensionals over the leaves.  The finishing touch is the three Grapefruit Grove pearls from the Share What You Love Artisan Pearls.

Head on over to My Inky Friends blog to see what the rest of the design team did with this color challenge and then play along.  I’d love to see what you come up with!

Thanks for stopping by! Happy Stamping!

-Mary