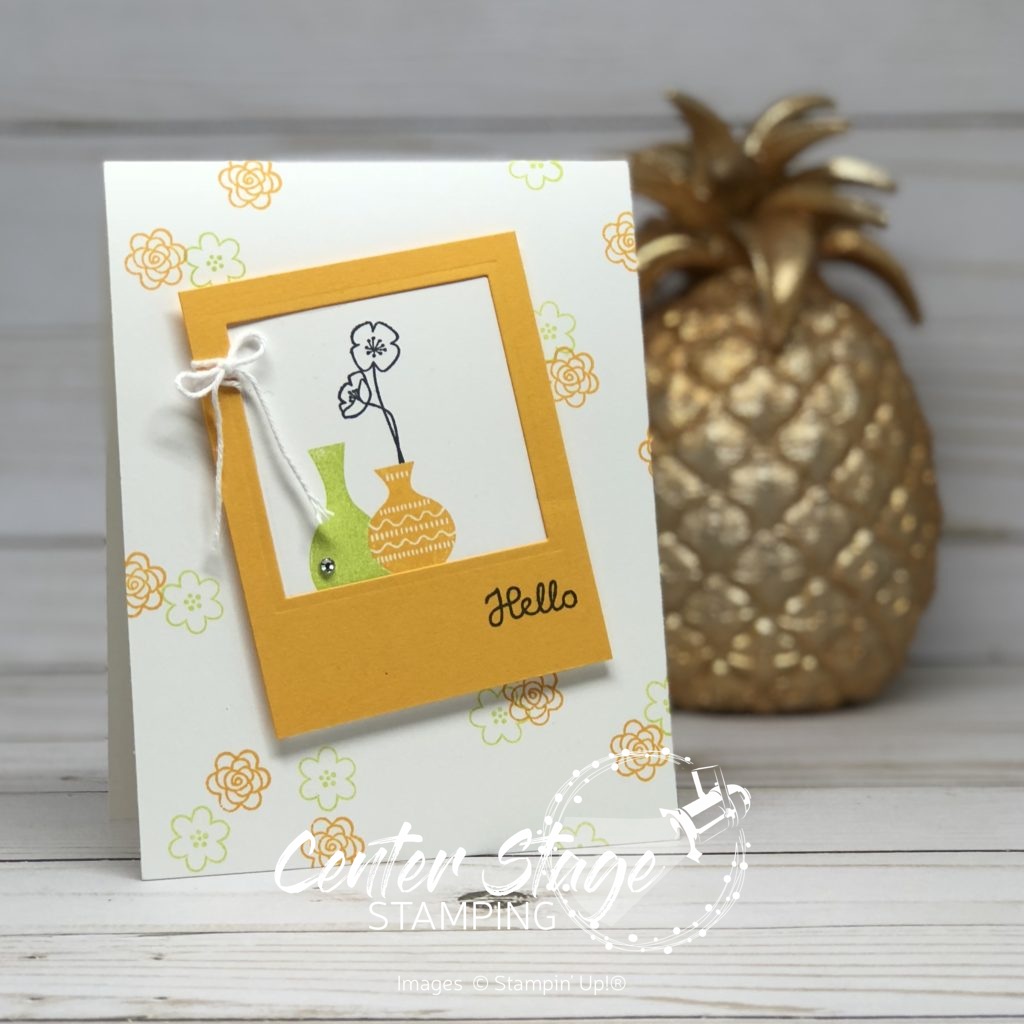
Hello

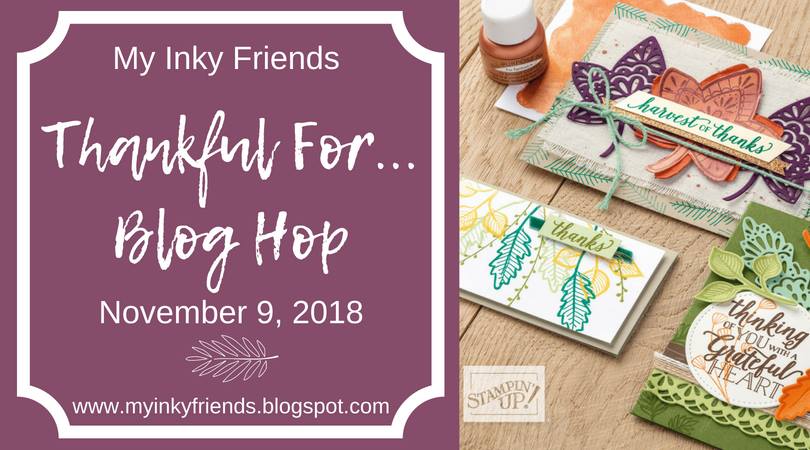
inky friends: thankful for… blog hop

Today, I am joining My Inky Friends Thankful For… blog hop. You are in for a great variety of inspiration on today’s hop.  We are each featuring a Stampin’ Up! stamp set or product that we are thankful for.  If you are following in order, you have arrived here from Holly and her wonderful projects.  Weren’t they great.  If you are starting here make sure you check out all the stops and see what everyone is thankful for!

I am thankful for… Stampin’ Blends!  These markers are so amazing and really easy to use.  They make me feel like a real artist!  There is so much you can do with them!

First off, how about no-line coloring.  I’ve seen it done with watercolors and thought why not try it with my Stampin’ Blends!  I love the outcome!
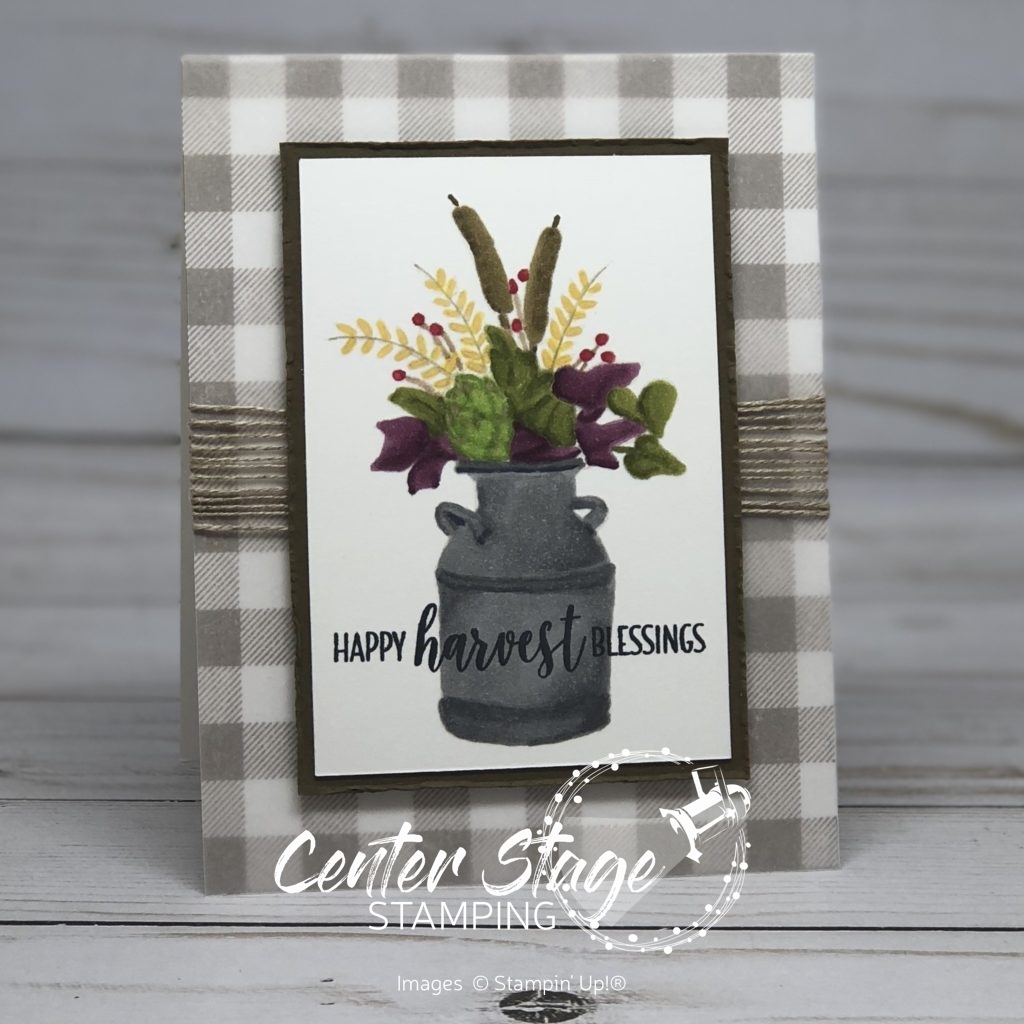
Country Home: no line with blends - Center Stage Stamping

I stamped the milk can and flowers in Sahara Sand that was stamped off to make it lighter.  Then I colored it in.  I used the stamps as a guide if I could no longer see the inked outline.  I really like how the milk can turned out! It’s even better in person.

Next up, I went with basic coloring.  Postcard Palls is a great set for this.  Isn’t that little otter just adorable!  The Stampin’ Blends make it possible to get so much depth with the shading.
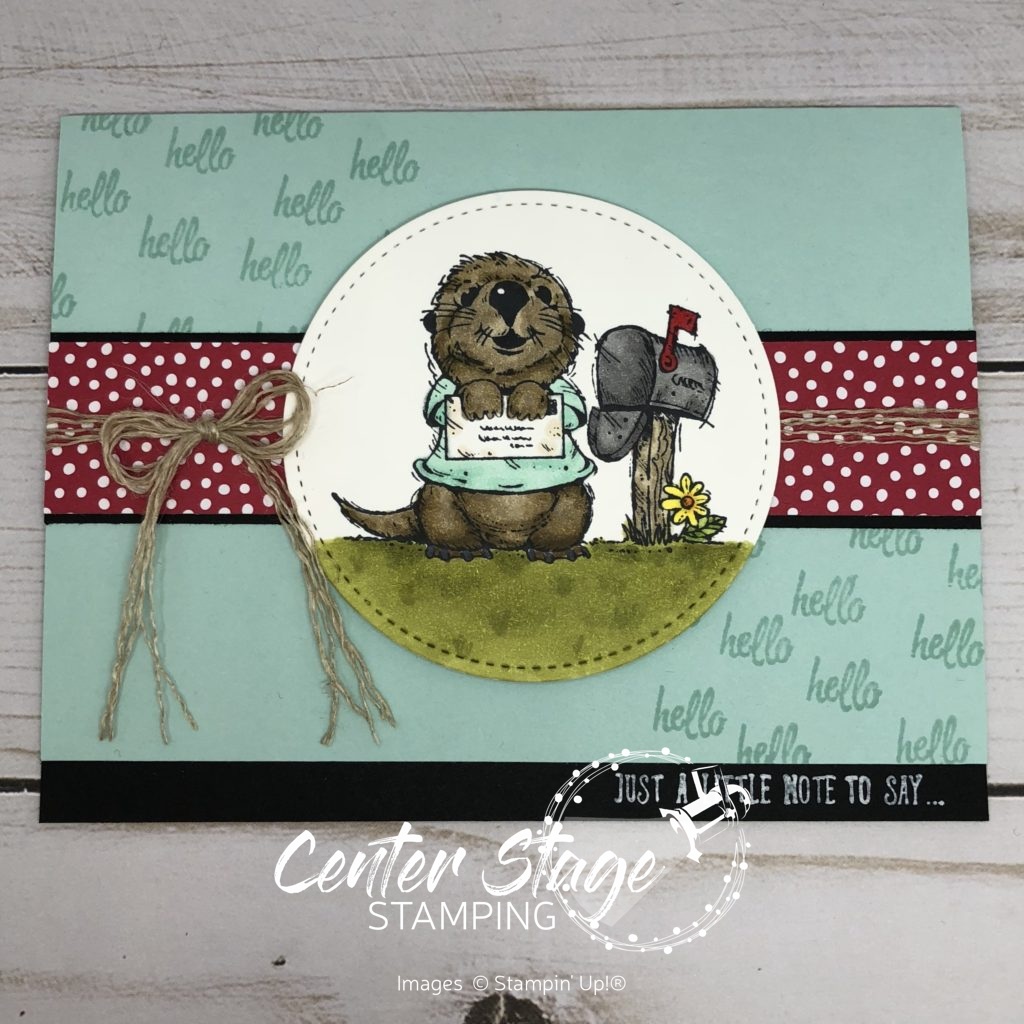
Postcard Palls: Otter - Center Stage Stamping

Finally, I made my own designer paper – the flowers and background are colored with Stampin’ Blends.  The possibilities are endless!Perennial Birthday: stampin' blends - Center Stage Stamping
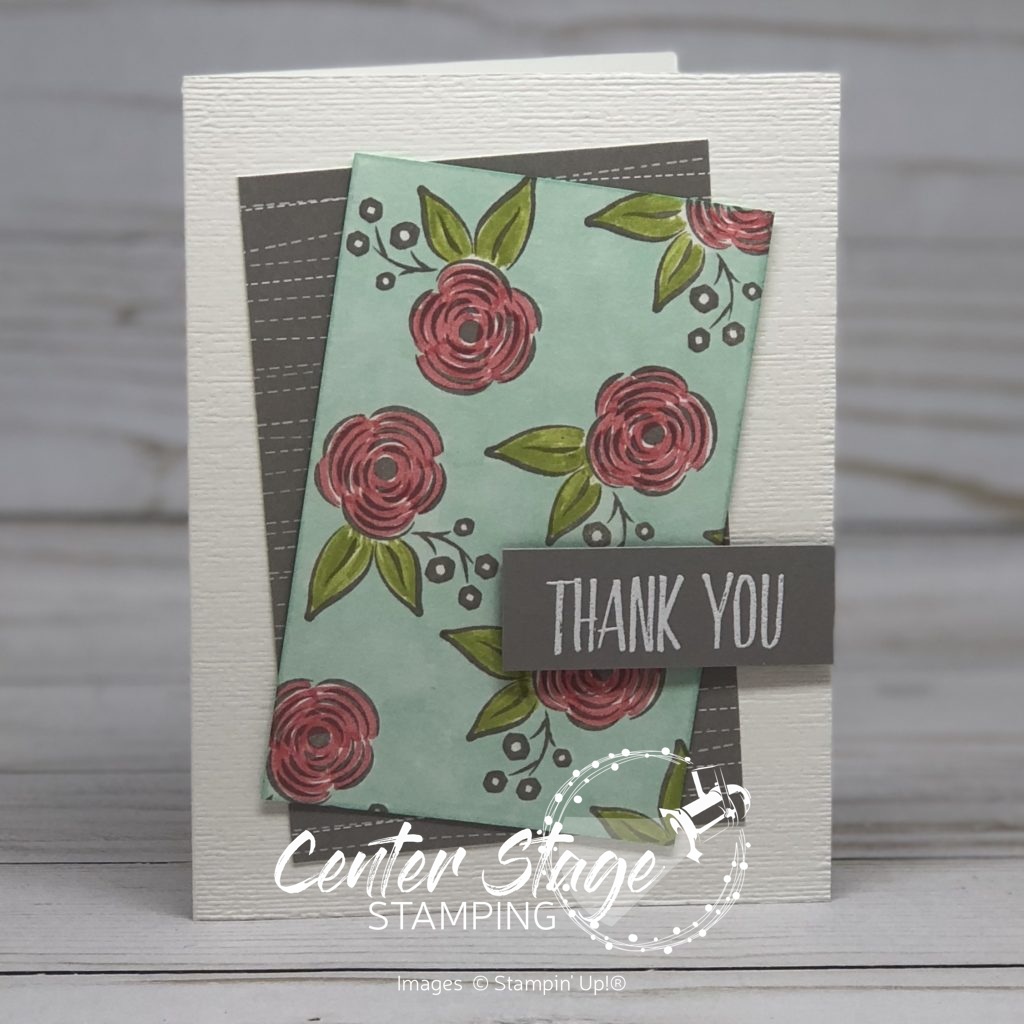
If you haven’t tried Stampin’ Blends yet, you need to.  They make coloring so much fun!  I now send you over to Cindy and her fantastic creations!

Thanks for stopping by!  Join me again to put a spotlight on creativity!


Share with your friends:

country home hello

The gloomy rainy weather continues – ugh.  It really makes it hard to get anything done, including creating.  Anyone else feel like that?  I need a jolt of sun and warmth.  SOON!  I am counting the days until I leave for Orlando and Stampin’ Up! On Stage!  And of course Disney and Universal with some of my best friends!  Bring on the sun and fun – and Butter Beer!

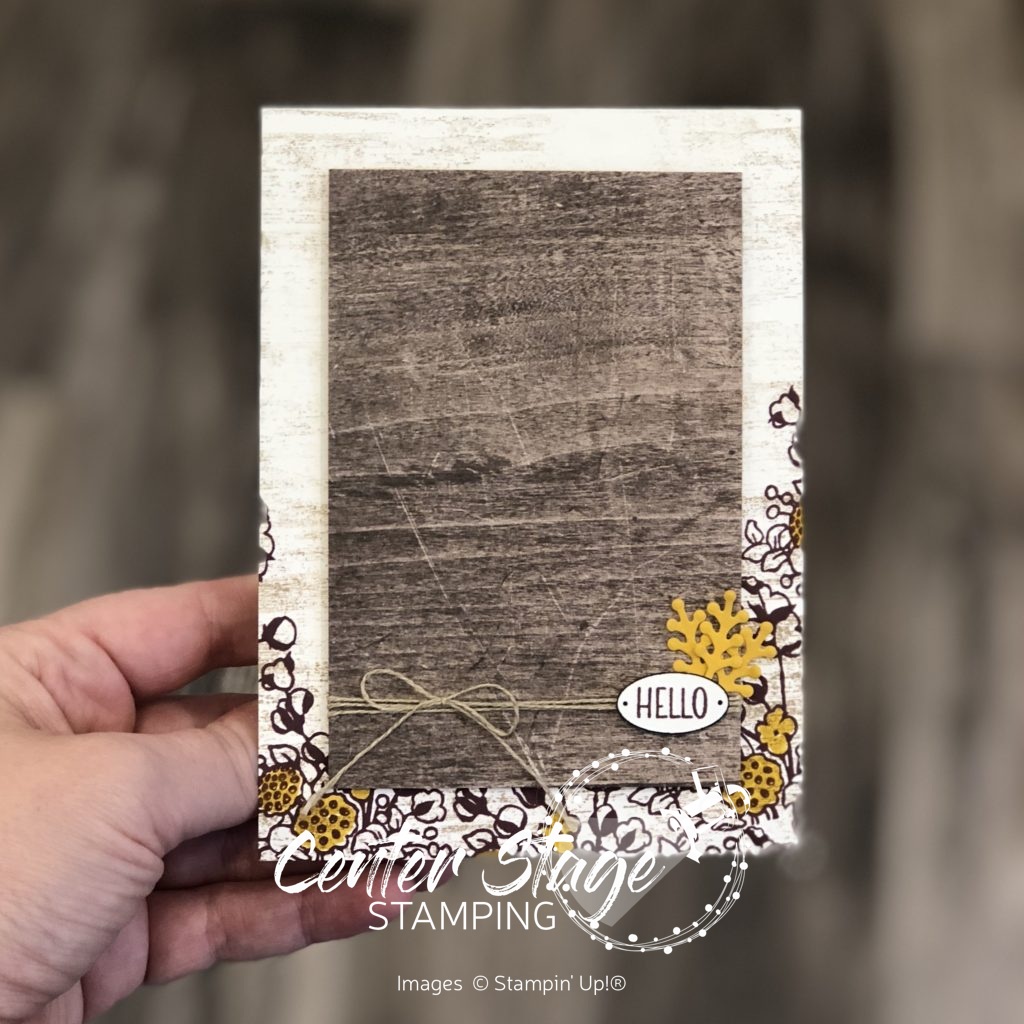
Today’s card takes a different approach to the popular Country home stamp set.  I wanted to do something without the milk can or pitcher.  This set is more versatile than you might think.

Country Home Hello - Center Stage Stamping

I stamped the cotton spray image in Fresh Fig along the bottom of the card base and colored select flowers with my Crushed Curry marker.  I used an image from Timeless Textures to add the distressed look on the base.  I wrapped some linen thread around a Wood Textures dsp layer and layered the fussy cut little oval with the sentiment.  The little Crushed Curry sprigs are from the Eclectic Layers Thinlits.  A quick and simple card with a funcountry fall feel.  Don’t be afraid to branch out from the obvious with a stamp set.  There is a lot more fun to be had!

That’s a wrap for today!  Join me again to put a spotlight on creativity!

Share with your friends:

stamp review crew: country home

Welcome to another Stamp Review Crew blog hop!  Today, we are shining a spotlight on the fabulous set Country Home from the 2018 Holiday Catalog.  Rustic farmhouse style is very hot right now and this set is totally on trend! It is full of fantastic images and great sentiments.  Make sure you check out all of the stops in this blog hop – you wouldn’t want to miss all the awesome inspiration!

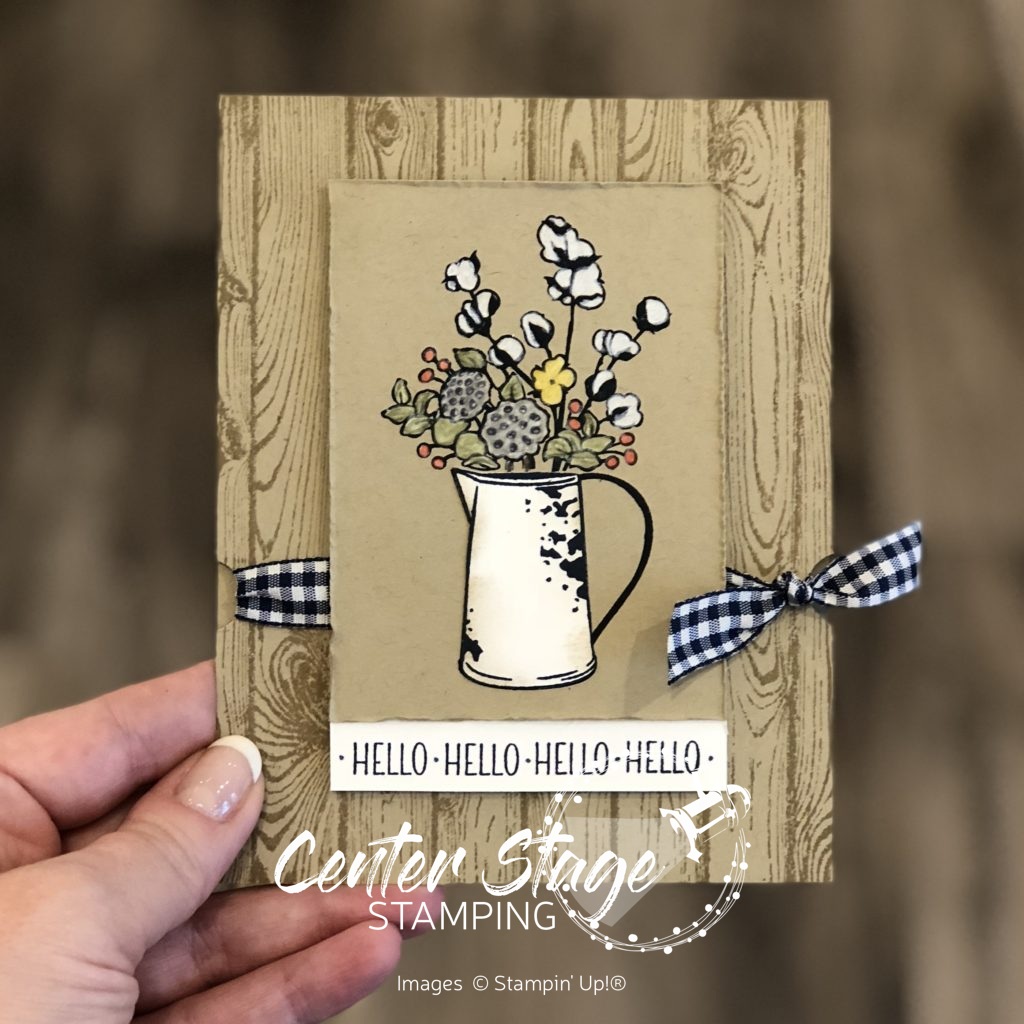
This set isn’t really my usual style.  I’ll admit I stared at it for quite awhile before diving in to create.  But, I am quite happy with the outcome!  I decided to bring back color on Crumb Cake card stock.  This time, I colored in the floral arrangement with Stampin’ Up!’s Watercolor Pencils.  I like the soft look, but I really LOVE the white colored pencil on the Crumb Cake card stock!

Hello:Contry Home - Center Stage Stamping

I stamped the pitcher in Night of Navy on Whisper White and Crumb Cake card stock.  I cut out the Whisper White one, sponged it with a little bit of Crumb Cake ink to “dirty” it up a bit and adhered it over the pitcher on the Crumb Cake panel.  I distressed the edges of the image panel to add to the rustic farmhouse feel of the card.   I punched out  a partial 1/2″ circle on either side of the card front to let the ribbon rest in.  I think the Harwood background stamp (on the card base) is a perfect compliment for this set.

That’s a wrap for me.  I am sending you on to the talented Lauren Alarid, or you can go back to the creative Mike Funke.  Either way, you are in for some fantastic projects!  Thanks for stopping by.  Join me again to put a spotlight on creativity!


Share with your friends:

dear friend

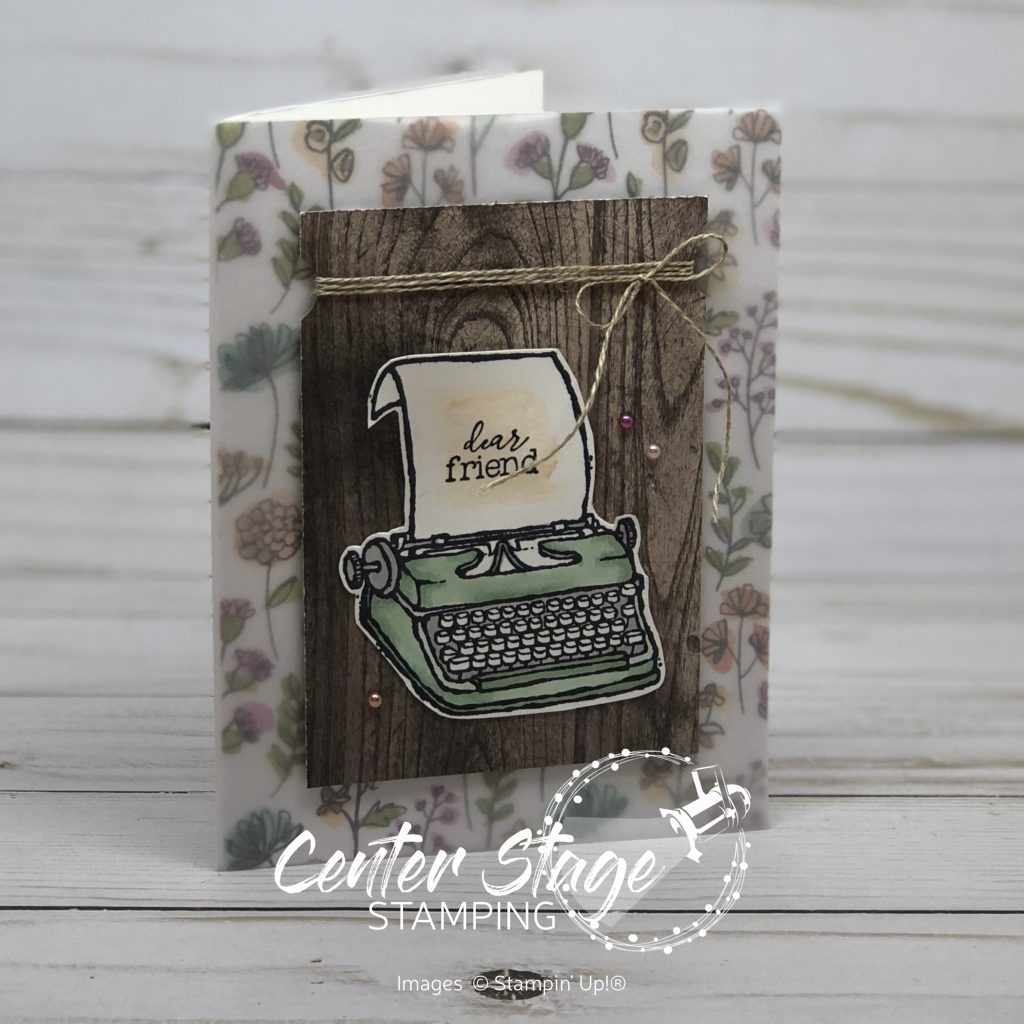
I was playing around with the P.S. You’re the Best stamp set.  I just love the typewriter.  I started by adhering a panel of the Share What You Love DSP to a Whisper White card base.  I set this inside a folded piece of vellum card stock to soften the DSP some.

Dear Friend, P.S. You're the Best - Center Stage Stamping

I colored this cute little typewrite with Mint Macron Stampin’ Blends.  Seriously, these markers are the BEST!  It is so easy to get great shading and depth.  I added a Petal Pink watercolor wash on the “paper”.  Once it was completely dry, I stamped the sentiment.  I popped this up with dimensionals on a piece of Wood Textures DSP that I had punched notches out of with my 1/2″ circle punch and wrapped with Linen Thread.  I finished up with three of the Share What You Love Artisan Pearls.

This makes me think of an author working away at a quaint little cottage with a wonderful flower garden.  Like maybe where L.M. Montgomery might have written Anne of Green Gables.  Yeah, I like that.

That’s a wrap for today.  Thanks for stopping by!  Be sure to come back and join me again as I put a spotlight on creativity!
Share with your friends:

hello gorgeous (grape)

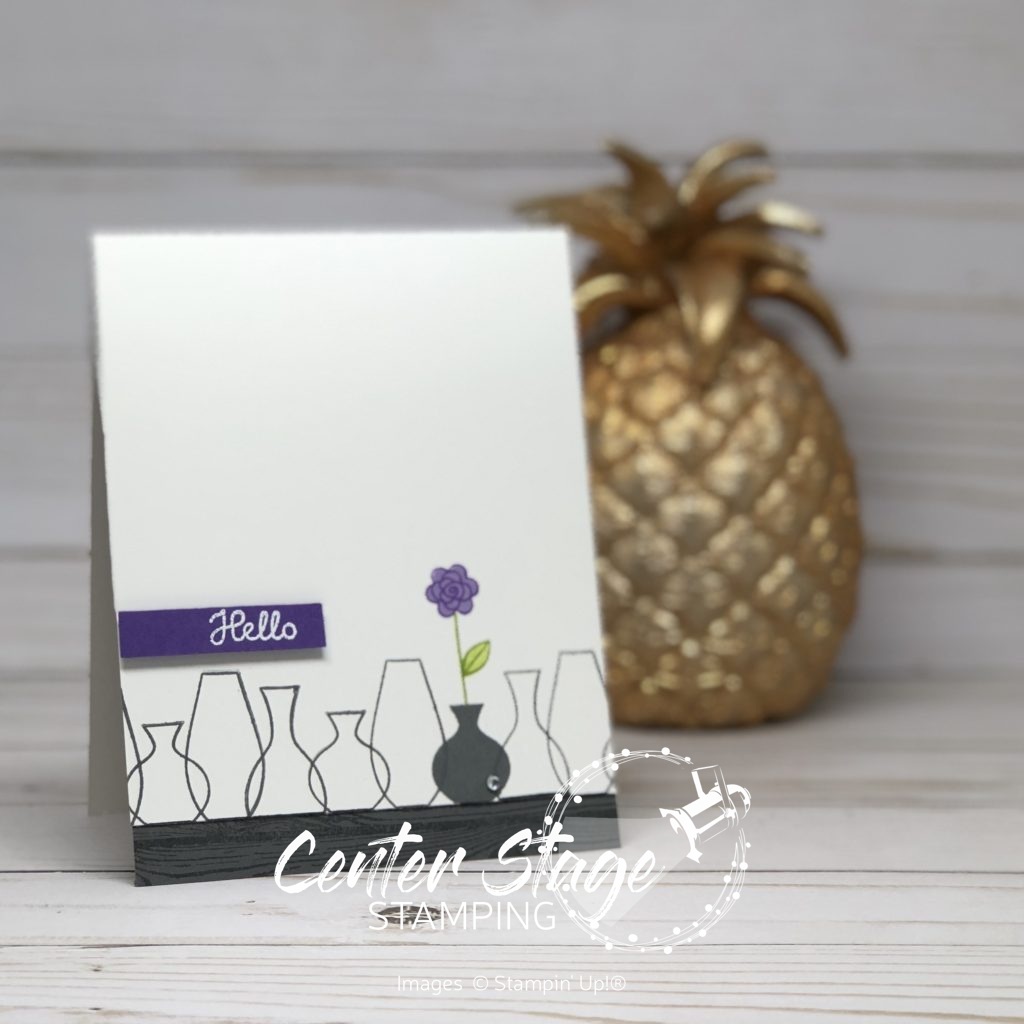
I am loving all of the new colors Stampin’ Up! introduced this year!  One that really surprised me is Gorgeous Grape.  I normally don’t use a lot of purples, so Gorgeous Grape kind of snuck up on me.  I tried it as just a pop of color on this card, and I love it!  It is so vibrant and fun.

Varied Vases Hello - Center Stage Stamping

For this card, I trimmed a bit off the front of the card and put a full size Basic Gray panel behind.  I stamped the Basic Gray panel with the Hardwood background stamp.  I think it gives the feel of a floating shelf, which are very popular in home decor right now.  Next, I stamped the vase outlines (and one solid vase) across the bottom, overlapping them a bit.  I added the stem and leaf outline in Granny Apple Green, solid leaf in Lemon Lime Twist, solid flower in Highland Heather and the flower outline in Gorgeous Grape. I embossed the “hello” in White on a small strip of Gorgeous Grape card stock and popped it up on dimensionals.  Final touch is a tiny rhinestone on the solid vase.

I love the simple pop of color on this card.

Thanks for stopping by! Happy Stamping!

-Mary

Share with your friends:

granny apple mango hello

The craft studio remodel continues slowly.  That’s the problem when you do it yourself.  We were gone every evening last week, therefore nothing happened in the studio.  Hopefully we can find some time to make some good progress soon.  Meanwhile, I am trying to create some new projects in my confined space. Here is one I made before we started remodeling.  I love the fresh new colors Mango Melody and Granny Apple Green.  Perfect for summertime.

Mango melody Varied Vases - Center Stage Stamping

I thought these two new colors were perfect for the Varied Vases set.  Two of the tiny flowers stamped randomly make a fun background. I masked the mango vase when I stamped the granny apple one so it would appear to be in front.  I also masked it when I stamped the flowers to shorten the stem. Stamping the flowers and sentiment in black created a nice contrast with the rest of the card.  I used the Layering Squares Framelits to cut the “polaroid” frame in Mango Melody card stock and layered it over the white panel stamped with the vases.  This panel is popped up with dimensionals to create some depth.  A little white Baker’s Twine and a rhinestone add just the right accent.

Thanks for stopping by! Happy Stamping!

-Mary

Share with your friends: