Year: 2018

lovely inside and out

My husband, Brett, and I will be celebrating our 25th wedding anniversary in June. (Wow, 25 years, where did the time go?)  June is pretty busy for me as I run the YoungStars Children’s Theatre Workshop, so today we are departing on an amazing trip to celebrate early.  We are heading to Europe for two weeks – London, then Amsterdam, Rome and finishing with a week long mediterranean cruise!  We have been planning this trip for a long time.  I can’t believe it is finally here!  I will share some pics when I get back.  I will share some on Instagram while I’m gone if you want to see what we are up to.

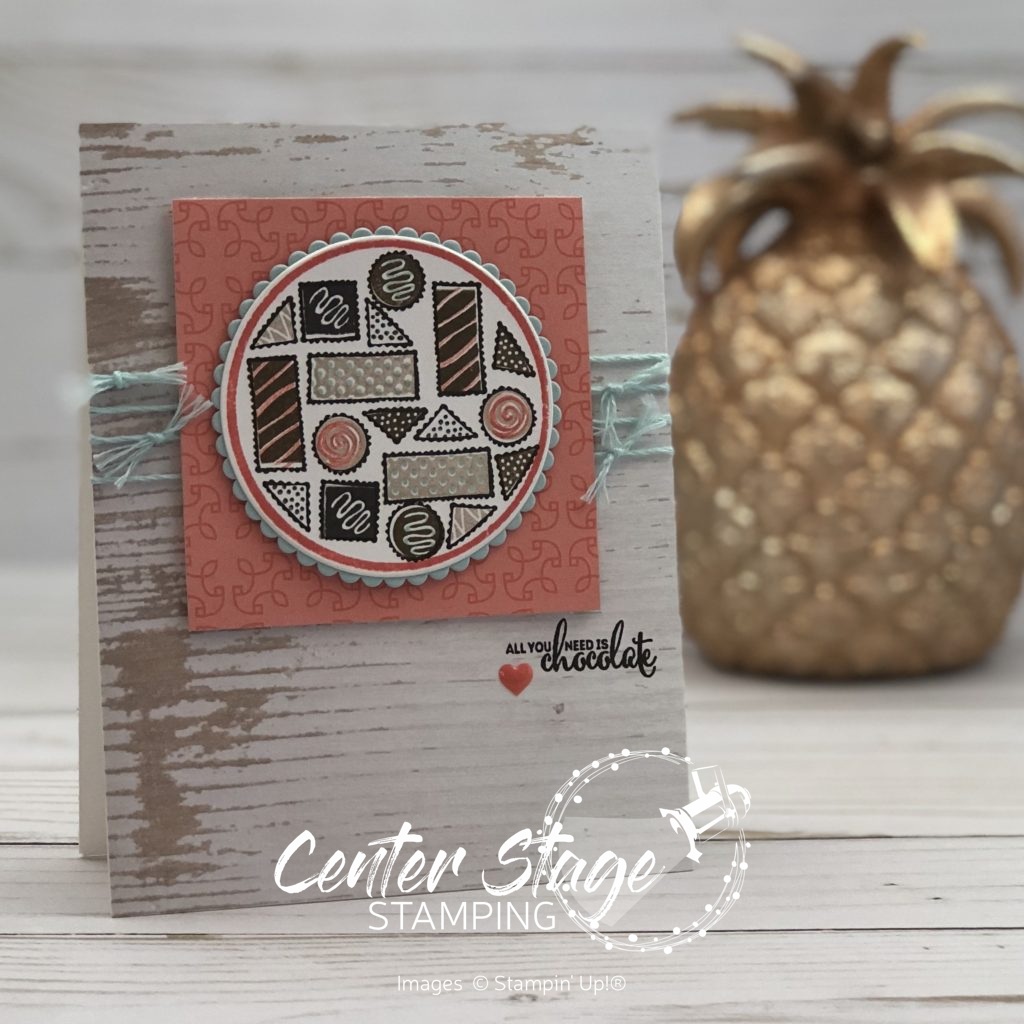
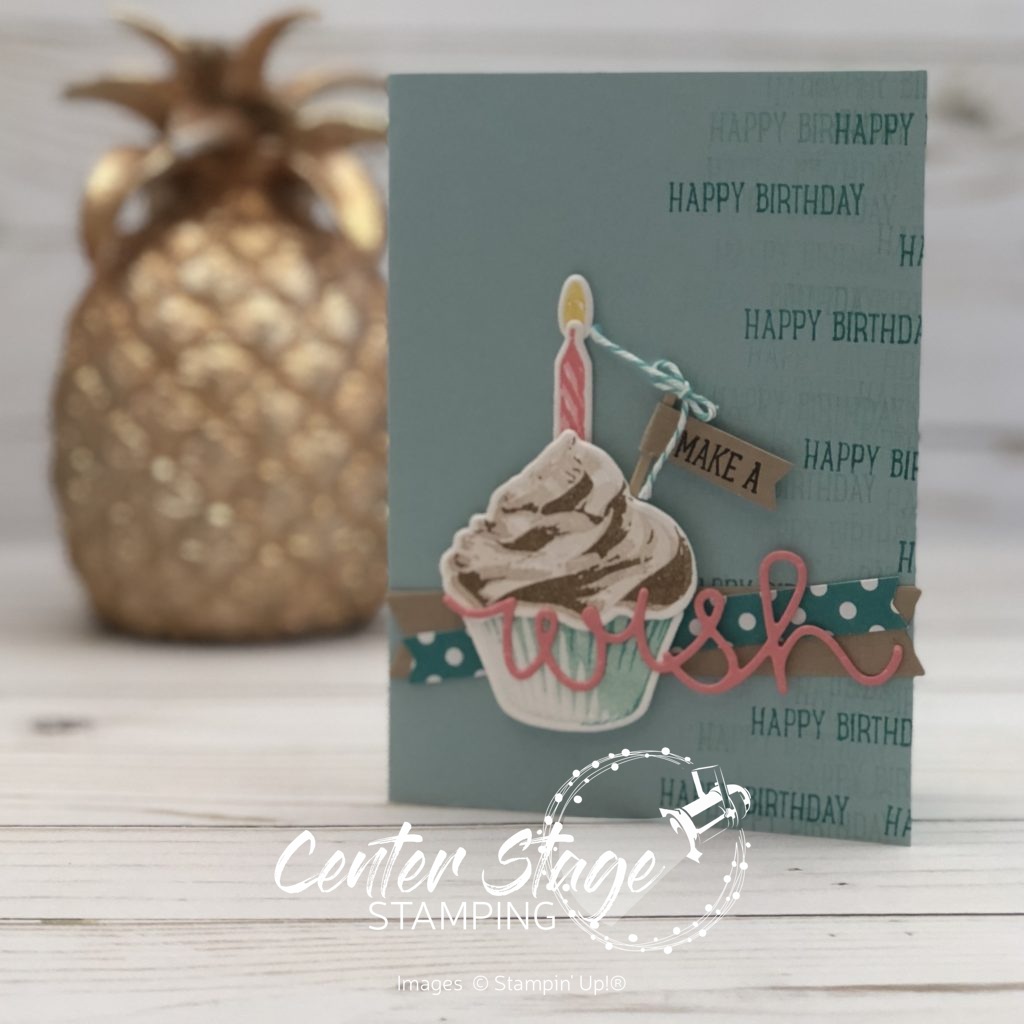
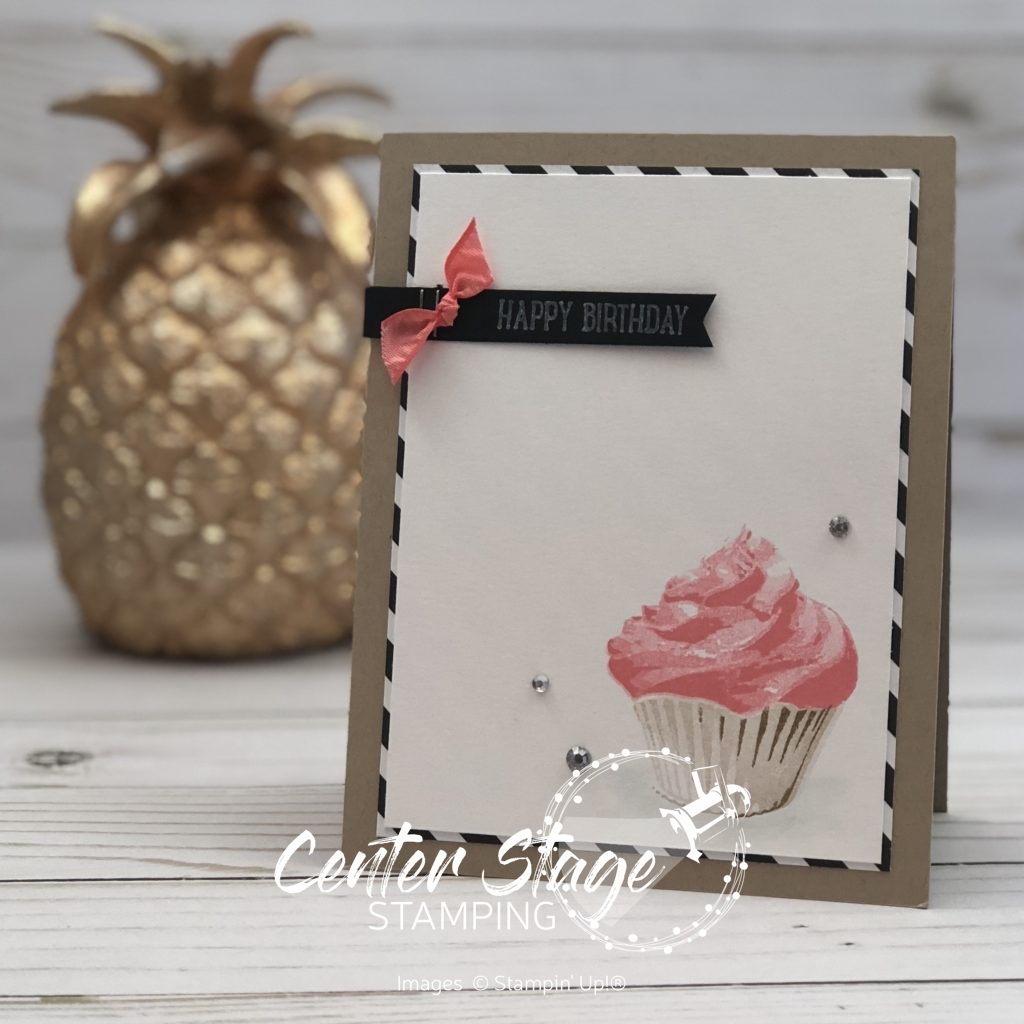
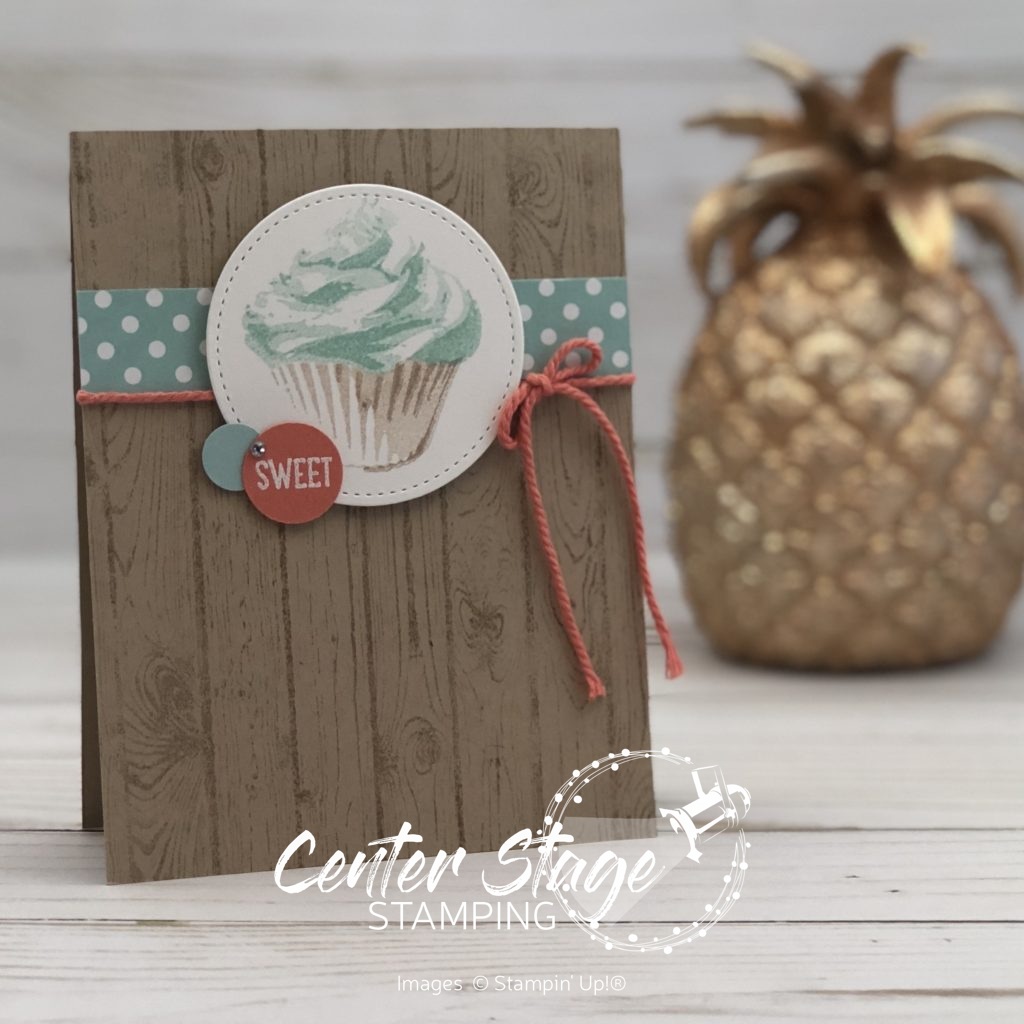
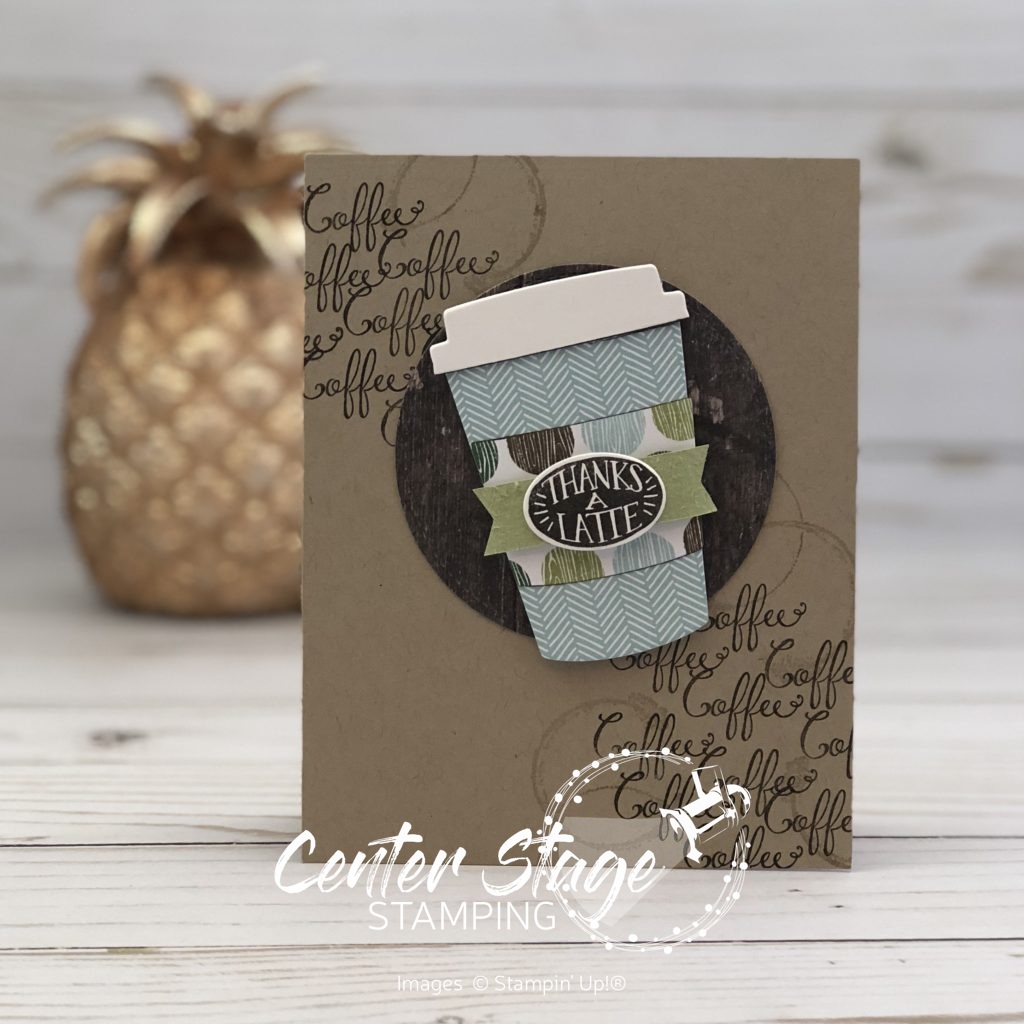
As I continue my farewell to some great stamp sets, I realized the my few projects have shared a Pool Party / Calypso Coral color combo.  What can I say, when something works, it works!

Lovely - Center Stage Stamping

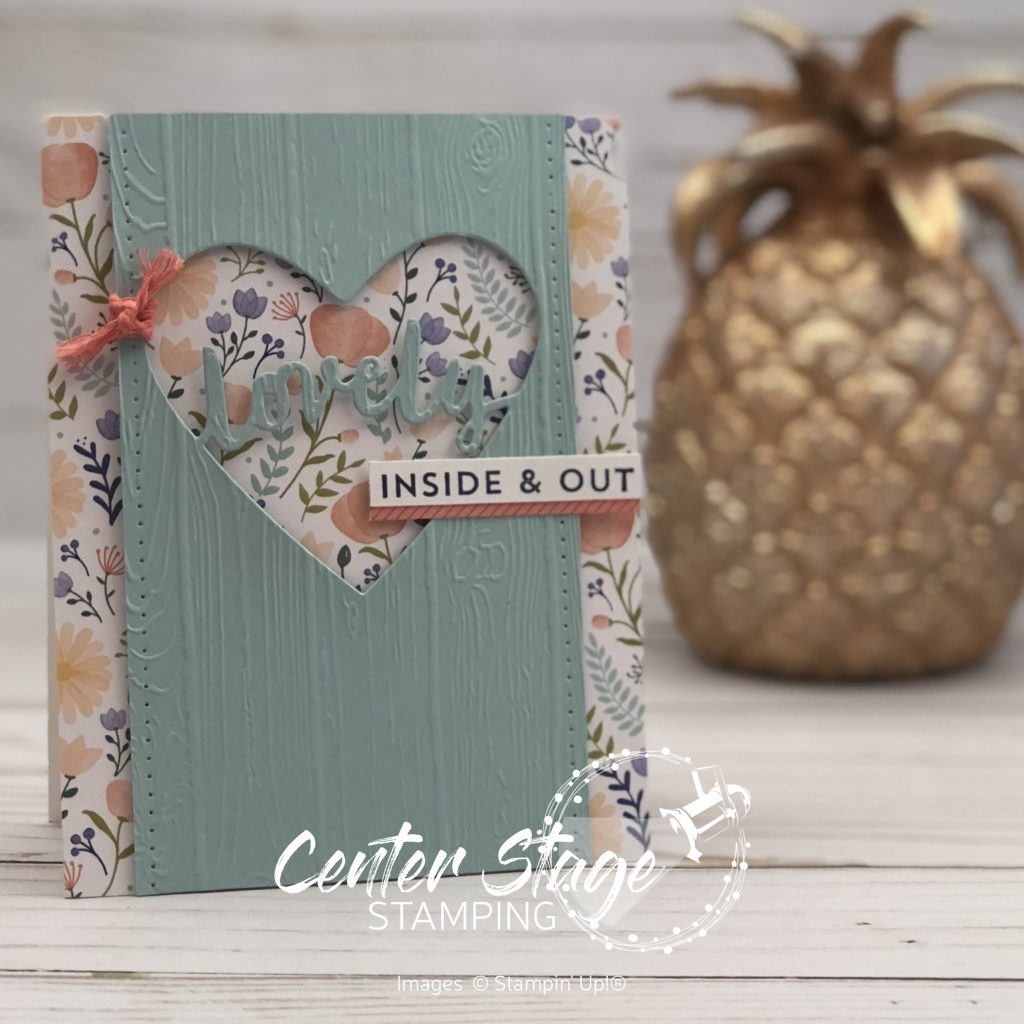
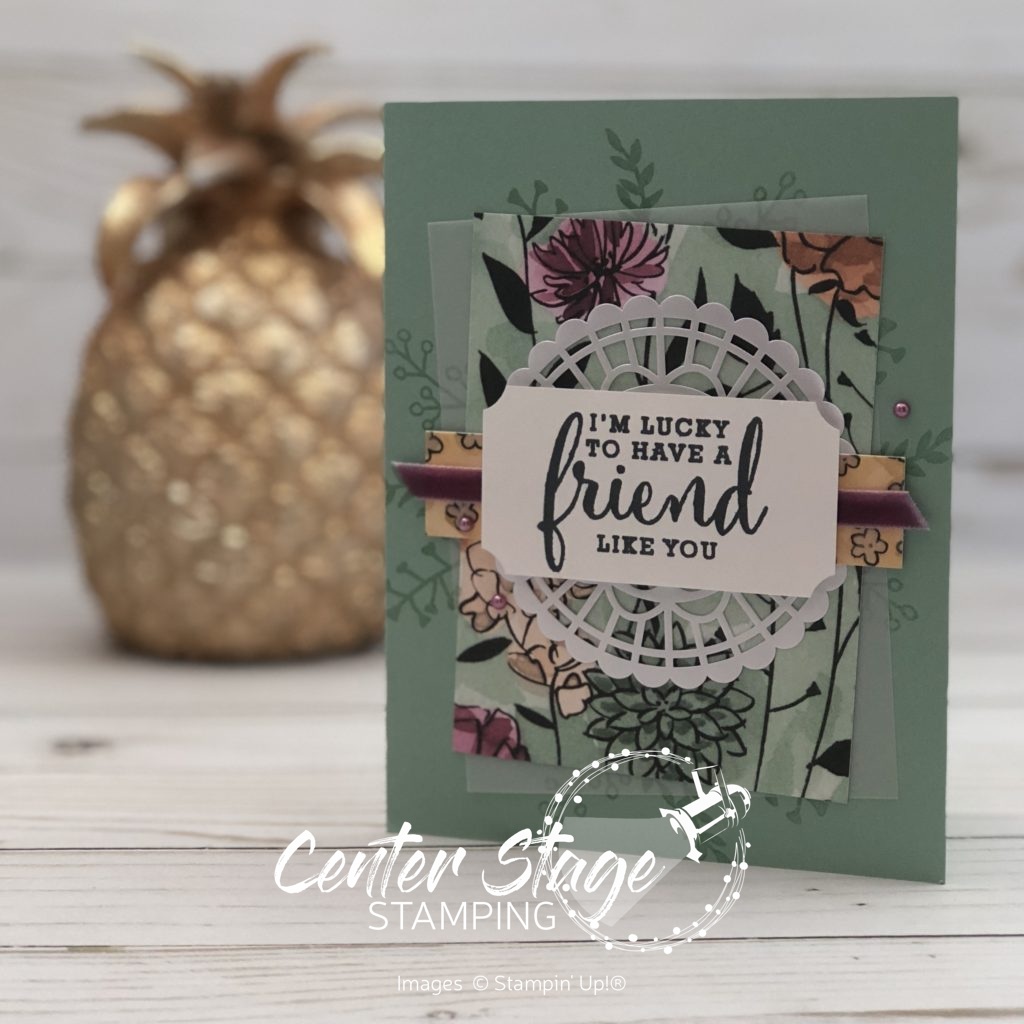
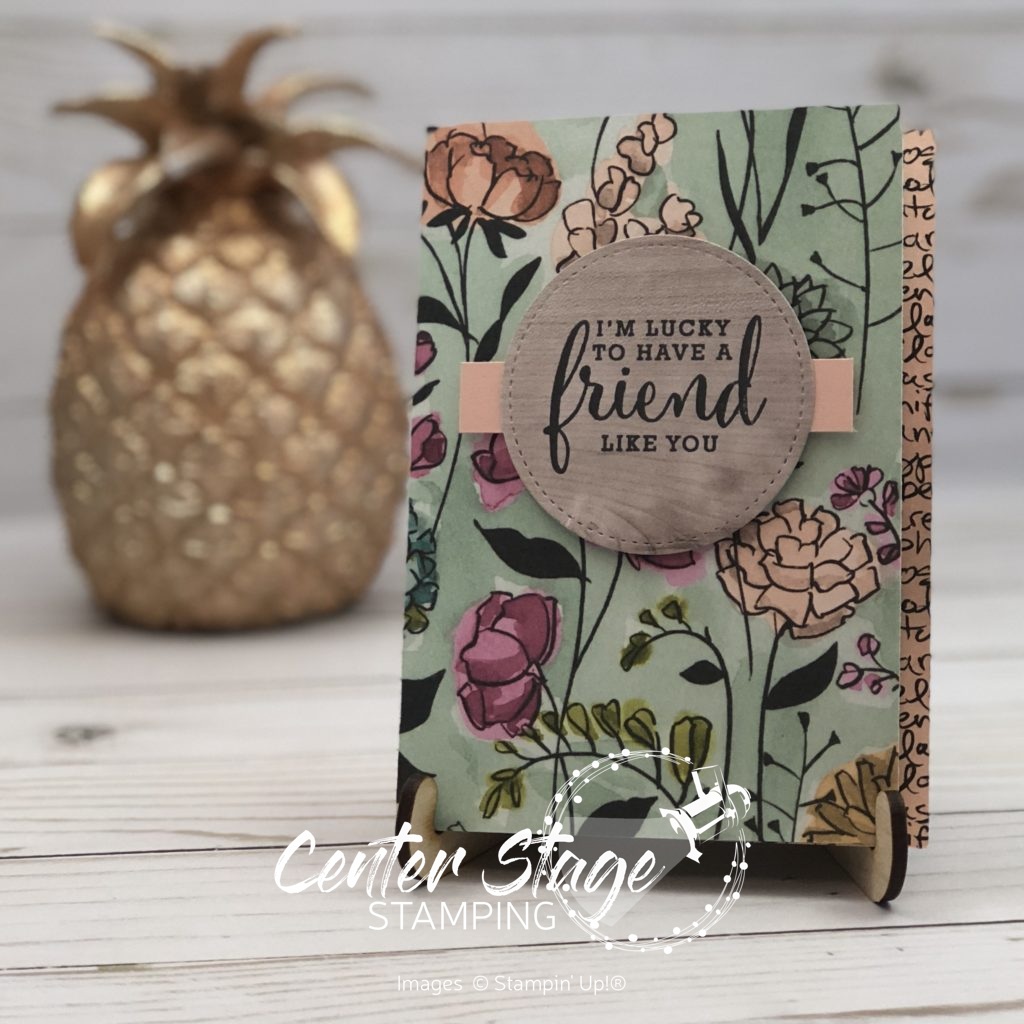
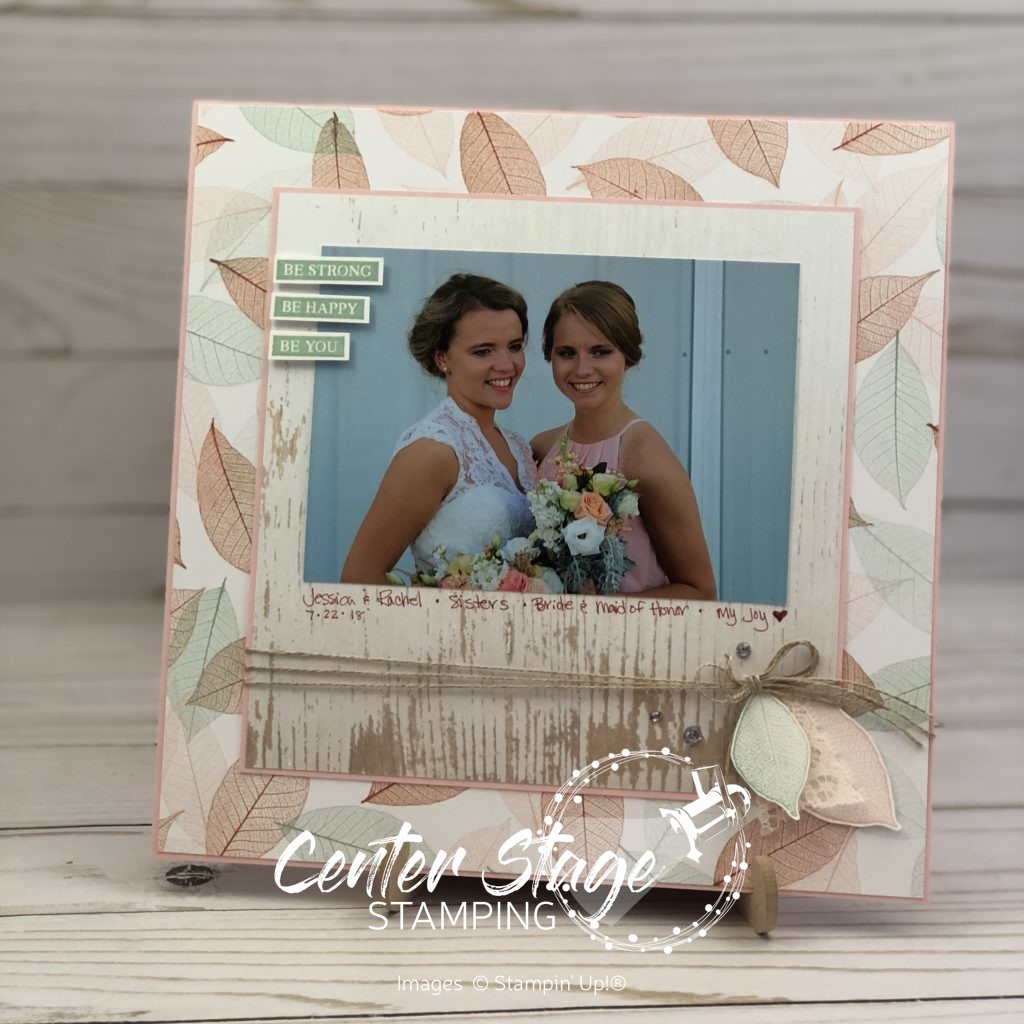
I love the floral pattern peeking out from behind the die cut panel.  I added the Pinewood Planks embossing folder and piercing for even more texture.  What a fun stamp and die set!  A great card to lift up a friend.

Thanks for stopping by! Happy Stamping!

-Mary

Share with your friends:

all you need is chocolate

In just a few weeks, the new Stampin’ Up! catalog will be out.  While I am super excited about the fantastic new stamps and accessories coming (and the color revamp- Coastal Cabana is back, baby!), there are many that are leaving us that I will miss.  You can find the retiring list HERE.  I thought I would take some time to look back at some of my favorite projects from the 2017-18 catalog that will be retiring.

I think this card was my absolute favorite from this last year.  It spotlights the More Than Chocolate stamp set and the Wood Textures designer series paper.

More than Chocolate - Center Stage Stamping

I love the delicate Pool Party scalloped circle peeking out from under the candies.  The Pool Party twine and little Calypso Coral heart are fun details. I love chocolate, so this set was a must have for me.  I also really like the fonts used on the sentiments.

Thanks for stopping by! Happy Stamping!

-Mary

Share with your friends:

inky friends: a fond farewell

Welcome to the Inky Friends: A Fond Farewell blog hop.  We are taking time to put some great retiring sets center stage one last time.  If you are following the hop order, you have arrived here from Sarah’s Ink Spot.  Weren’t her No Bones About It projects fun?  I love those dinosaurs.  Make sure to make your way through the entire hop and check out the other great projects.  I am putting Sweet Cupcake in the spotlight.  Mmmmm – cupcakes.  These are some of my favorite projects that I created with this set.  They look almost good enough to eat.

Sweet Wish - Center Stage Stamping

This is my absolute favorite card I ever created with the Sweet Cupcake set.  I paired the set with the coordinating framelits.  There are so many fun details on this one – the depth from the die cuts, the banners layered under the cupcake, the little flag.  What a great birthday wish.

Sweet Cupcake - Center Stage Stamping

I chose to leave a lot of white space on this one to let that yummy cupcake pop.  The shading the various layers of stamps give it is so cool.  I did a light watercolor wash shadow underneath the cupcake to help ground the image.

Cupcake Sweet - center Stage Stamping

I love polkadots.  I used the three circles to play off the polkadot pattern paper.  A simple thick bakers twine bow and a tiny rhinestone balance the delicate feel of this card.  This is one set that is staying in my stamp collection!

Thanks for stopping by!  I’m sending you over to Rhonda and her projects with Basket of Wishes.  Enjoy your journey through the rest of the blog hop and bid a fond farewell to some great stamps sets.


Share with your friends:

beautiful day

Hi There!  I am having so much fun creating with the Share What You Love bundle! The pearlized effect on this specialty designer series paper is just gorgeous.  It is hard to capture it in a photo.  You really need to see it in person.  Beautiful Day - Center Stage Stamping

On this print, the flowers and leaves are pearlized.  I sponged some Crumb Cake around the edges of the card base and the stamped panel to soften them a bit.   I chose to keep the stamping and embellishments simple to let the great pattern of the paper take center stage.  I love the script font of the sentiments in this set.

Thanks for stopping by! Happy Stamping!

-Mary


Share with your friends:

love what you do

What a beautiful weekend!  Finally, some sunshine and warmth.  I’m back with another card made with the Share What You Love suite.  Seriously, you need these great products!  They will be in the NEW 2018-19 Stampin’ Up! catalog.  But, you can get them now!  You can find them HERE.

Love What You Do - Center Stage Stamping

This card spotlights a few different patterns in the Share What You Love Specialty Designer Series Paper.  It is great paired with the Wood Textures Designer Series Paper.  I die cut a stitched circle from the Wood Textures Designer Series Paper and stamped the sentiment and flowers on.  The Linen Thread works with the distressed look of the wood.

Thanks for stopping by!  Happy Stamping!

-Mary


Share with your friends:

share what you love

Stampin’ Up! has released a new suite from the 2018-19 catalog for an early sneak peek – The NEW Share What you Love Suite!

There are three different bundles available for every crafter.  You can find information on them HERE

I thought I’d share a couple of cards I create with this fabulous suite of products.

Love What You Do - Center Stage Stamping

This first card was one of our make and take projects from On Stage last month.  Can you find all of the fun new products used?  Let’s start with the amazing Share What You Love Specialty designer series paper.  It is a heavier weight paper, and four of the patterns in the pack have a wonderful pearlized accent.  The fun accents come in the Pearlized Doilies, Share What You Love Artisan Pearls, and Rich Razzleberry 1/4″ Velvet Ribbon.

Friend Liek You - Center Stage Stamping

For this card, I used the same pattern of the Share What You Love Specialty designer series paper. Since it is a heavier weight paper, I folded it in half and used it as the card base.  This was, I get pattern outside and inside the card.  I trimmed of a strip of the card front so the inside pattern would show when the card is closed.  I did put a panel of Whisper White on the inside to write on.  I added a stitched shape circle of Wood Textures designer series paper for the greeting.  It pairs great with the Share What You Love Specialty designer series paper. I decided to let the paper take center stage and didn’t add any other embellishments.

This is a fantastic suite of products.  Take advantage of the early release and grab yours today!

Thanks for stopping by! Happy Stamping!

-Mary

Share with your friends:

rooted in nature

Just popping on to share one of the make and take projects from last month’s On Stage.  It is fun to get to play with brand new products with fellow demonstrators!

rooted in nature - Center Stage Stamping

I had the chance to work with the Rooted in Nature stamp set and Nature’s Poem designer series paper for the display samples I made.  But I loved adding in the Nature’s Twine and Leaves Trinkets.

There is a LOT of fun new stuff coming in the 2018-19 Stampin’ Up! catalog!  Including a color revamp!! I am so ready for a fresh infusion of color.  Here is a look at the new color family line up.

Best news – COASTAL CABANA IS BACK!!  I. Am. So. Happy.  I can’t wait to start creating with all of these new colors.

Thanks for stopping by! Happy Stamping!

-Mary


Share with your friends:

inky friends dc 5

My Inky Friends are back with another Design Challenge.  This one is based on a card layout on page 35 of the 2017-18 Stampin’ Up! catalog.

Thanks a Latte - Center Stage Stamping

I decided to use the Coffee Cafe set and added the “coffee” from Balloon Celebration and the coffee rings from Timeless Textures.  The Wood Textures circle is cut out with the Stitched Shapes Framelits, the stitching is hard to see on the dark wood paper. For the Pear Pizazz piece under the Thanks a Latte oval, I went over it with my bone folder to break the fibers.  Next I peeled the paper into two layers.  The piece now has a soft, fuzzy look.

I hope you go check out the other great creations based on this sketch.  Thanks for stopping by! Happy Stamping!

-Mary

Share with your friends:

display samples – part 8

It was a crazy weekend with performances for my high school play-“All I Really Need to Know I Learned in Kindergarten”.  The cast did a great job.  I am very proud of those kids.  It was bittersweet to see it end as it was my last play as director for HHS.  I will miss my theatre kids immensely.

Here are my last two projects from my display samples – 2 scrapbook pages.  I think these are my favorite of the 21 items I created.  I usually struggle with scrapbook pages, but these came together pretty quick.  As soon as I saw this leaf print in the Nature’s Poem Designer Series Paper, I knew the picture I had to use.  The colors reminded me of my daughter’s wedding last summer.  I thought I would be perfect to show off my two beautiful girls – bride and maid of honor.

Be Strong - Center Stage Stamping

I added a piece of Wood Textures designer series paper under the picture.  It echoed the rustic theme of the wedding decor.  The sentiment from Rooted in Nature was a perfect message for my girls – Be Strong, Be Happy, Be You.

This next page features one of Rachel’s Senior pictures.  She LOVES books, so this shot of her with a stack of her favorites was perfect.

Never Enough Words - Center Stage Stamping


I used some old and new on this project. I used sentiments from both NEW Rooted in Nature and Sea of Textures sets.  The old is the current Naturally Eclectic Designer Series Paper. I typed the words on the white panel and added the leaf stamp behind.  I think this page really show my daughter’s love of reading.   There are a lot of little fun elements that add to the interest of the page.  It was a lot of fun to put together.

That is it for my display samples form On Stage Milwaukee.  I hope you enjoyed them.  I certainly enjoyed creating them and sharing them with you.

Thanks for stopping by! Happy Stamping!

-Mary

Share with your friends:

display samples – part 7

Opening night of the high school play was great.  Small audience, but very responsive.  The cast was fantastic.  I am so proud of them!

We have almost reached the end of my display samples.  Today, I have a couple of gift packaging ideas for you.  The first is a cute little pouch made with the Mini Treat Bag Thinlits.  I am sad that this is retiring, but I will definitely keep mine.  I think it is great for packaging a gift card.

Just for You bag - Cetner Stage Stamping

I cut the treat bag out of the Natures Poem Designer Series Paper.  I wrapped a band of Mint macron which had been stamped with one of the leaves from Rooted in Nature.  The little label is from the Stitched Labels Framelits.  A bit of doily peeking out from under the label is a fun touch.

This next project is a gift bag made from one sheet of 12″x12″ Designer Series Paper, I used Nature’s Poem.

12x12 gift bag - Center Stage Stamping

I found a pattern on line for folding the bag.  I create handles from the new Silver and Petal Pink Baker’s Twine.  I put several strands together, threaded them through holes punched in the bag.  I tied a knot in the center of the handle for added detail.  The label is again from the Stitched Labels Framelits.  What a fun way to package a gift for a friend.

I’ll be back on Monday with my last two display projects.  These are my solid favorites of all 21 projects I created for On Stage Milwaukee!  But first i have to wrap up the run of this play.  On with the show!!

Thanks for stopping by! Happy Stamping!

-Mary

Share with your friends: