bubble wrap background

thank goodness for grandma

A few weeks ago I had the opportunity to attend the Stampin’ Up! On Stage event in Las Vegas. It was so much fun getting to see old friends, make new ones and get to see the NEW Stampin’ Up! Mini Catalog! Check back for some fun sneak peeks soon.

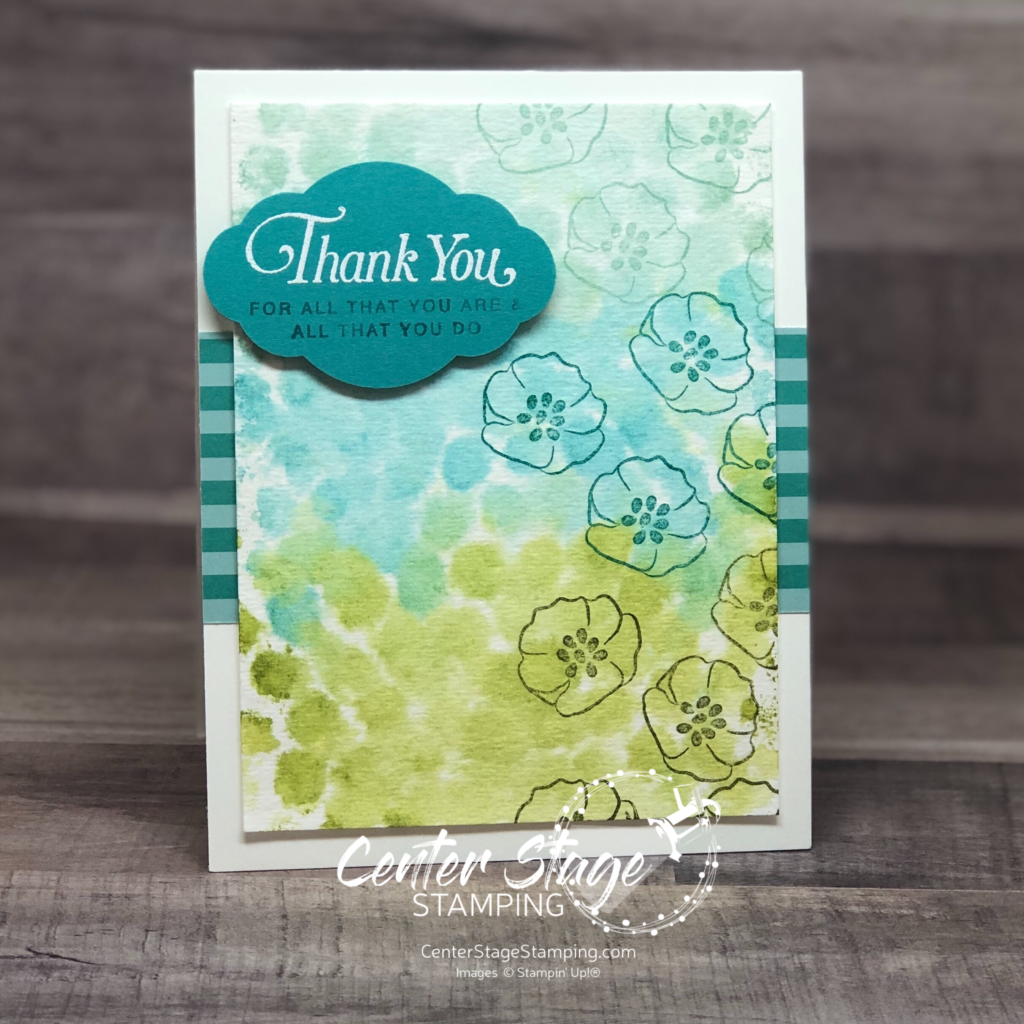
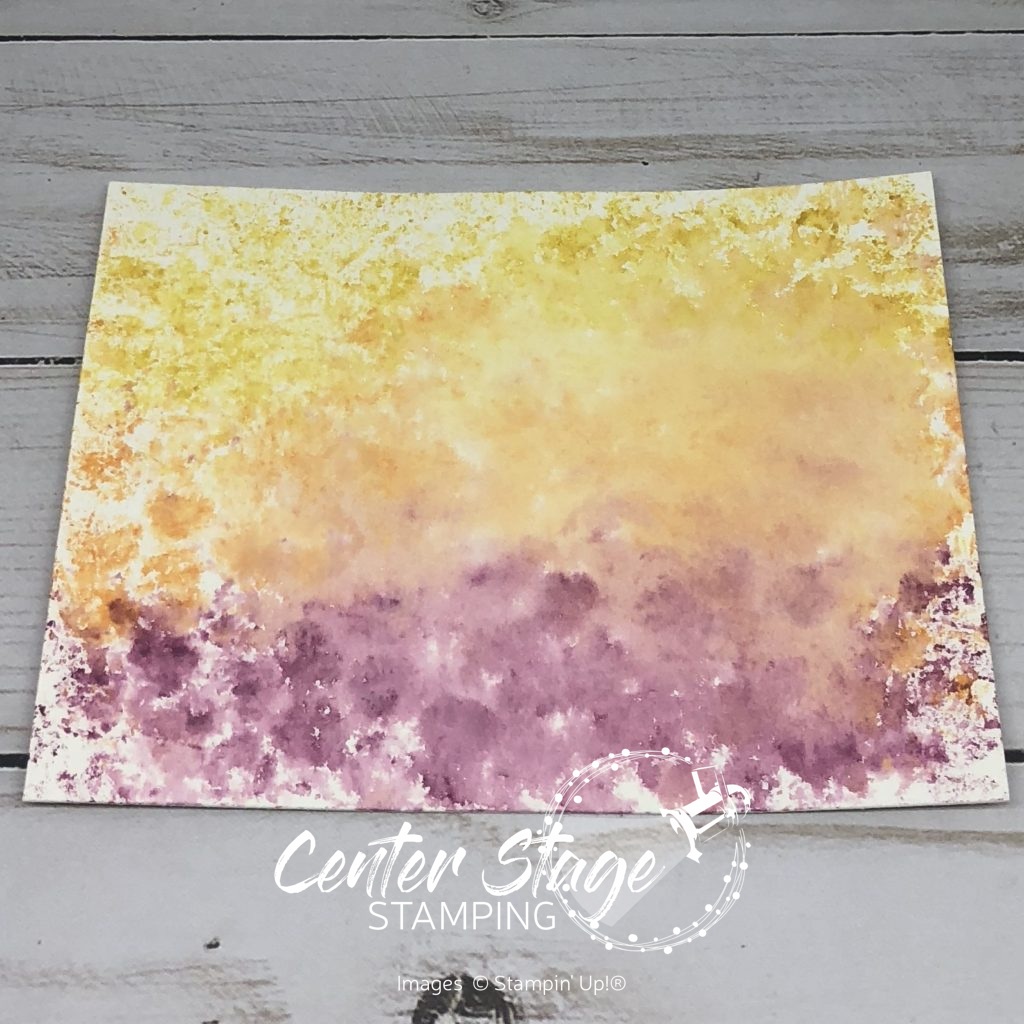
I also had the chance to attend a fun event hosted by the TGIF Challenges design team. Fabulous make&takes, amazing displays, and more wonderful friends. We each made a card to swap for this event. Here is mine:

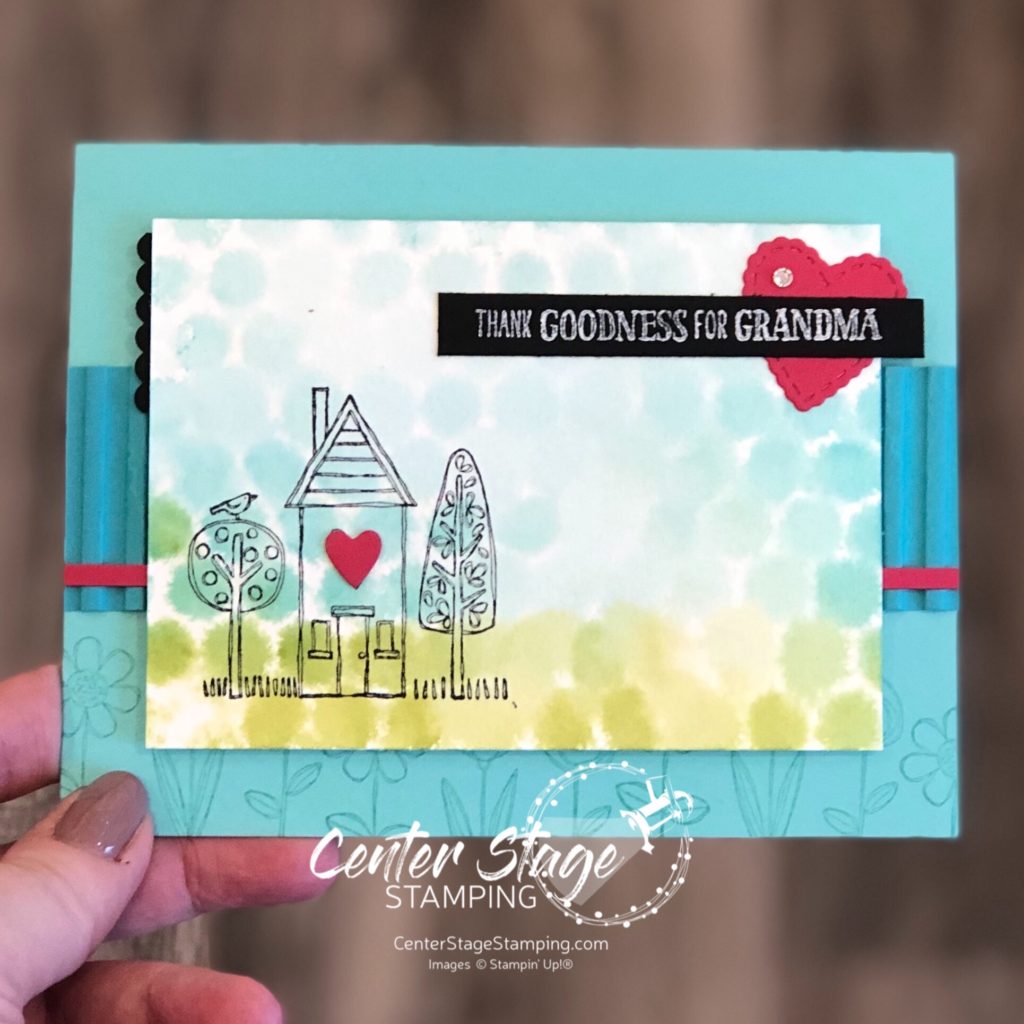
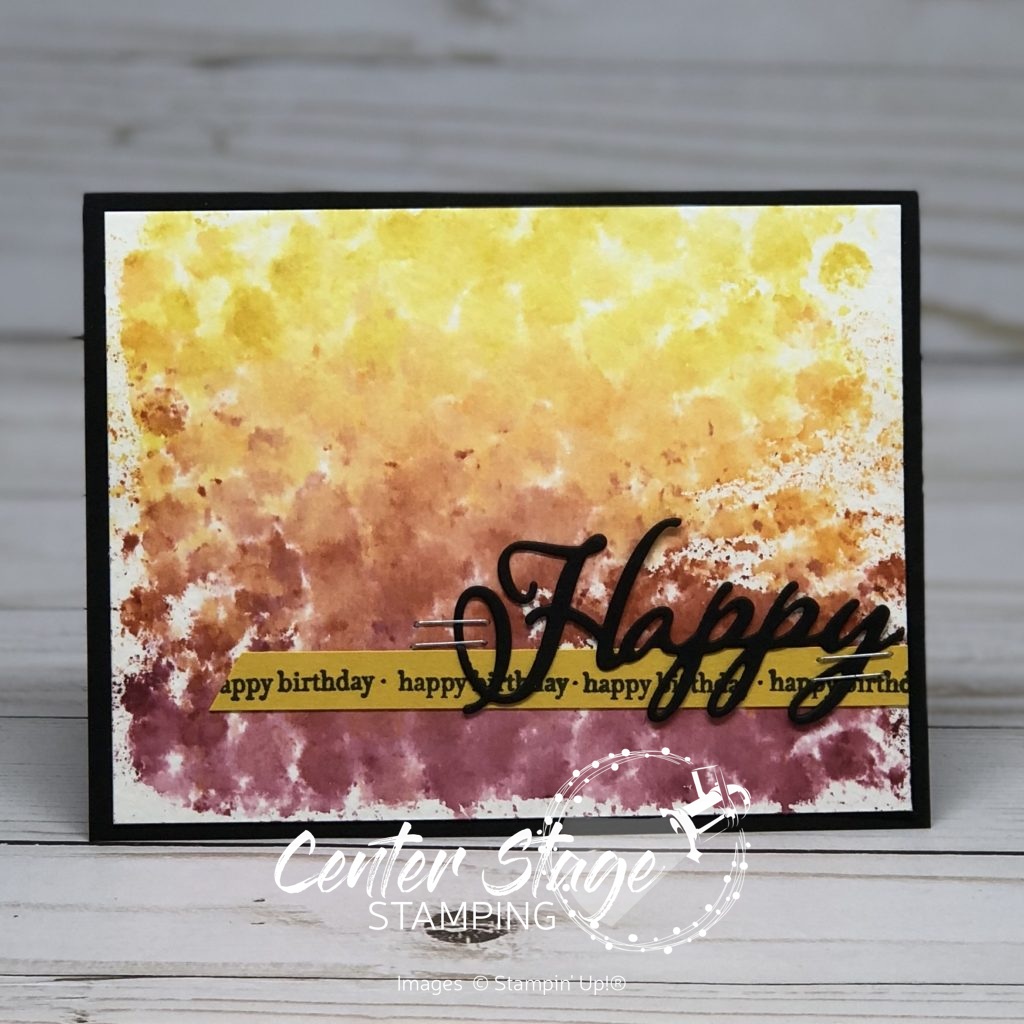
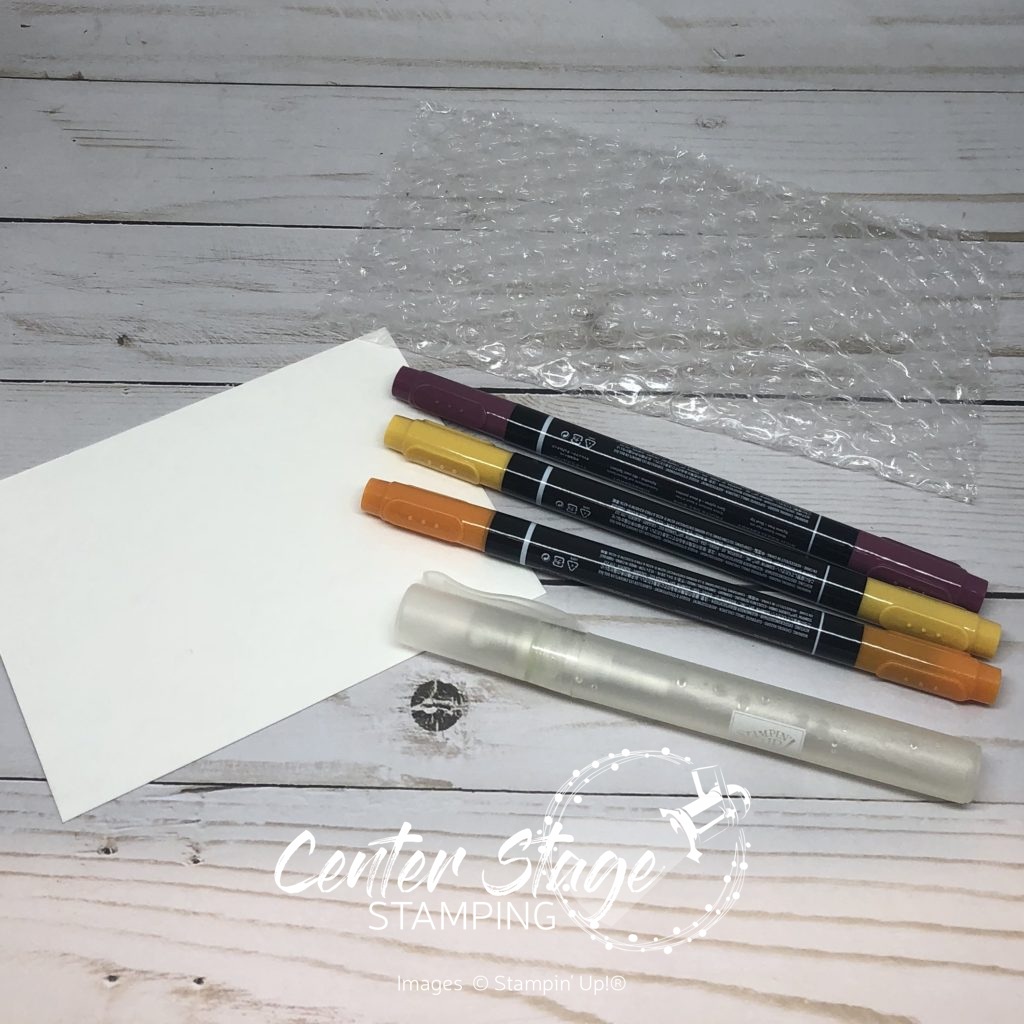
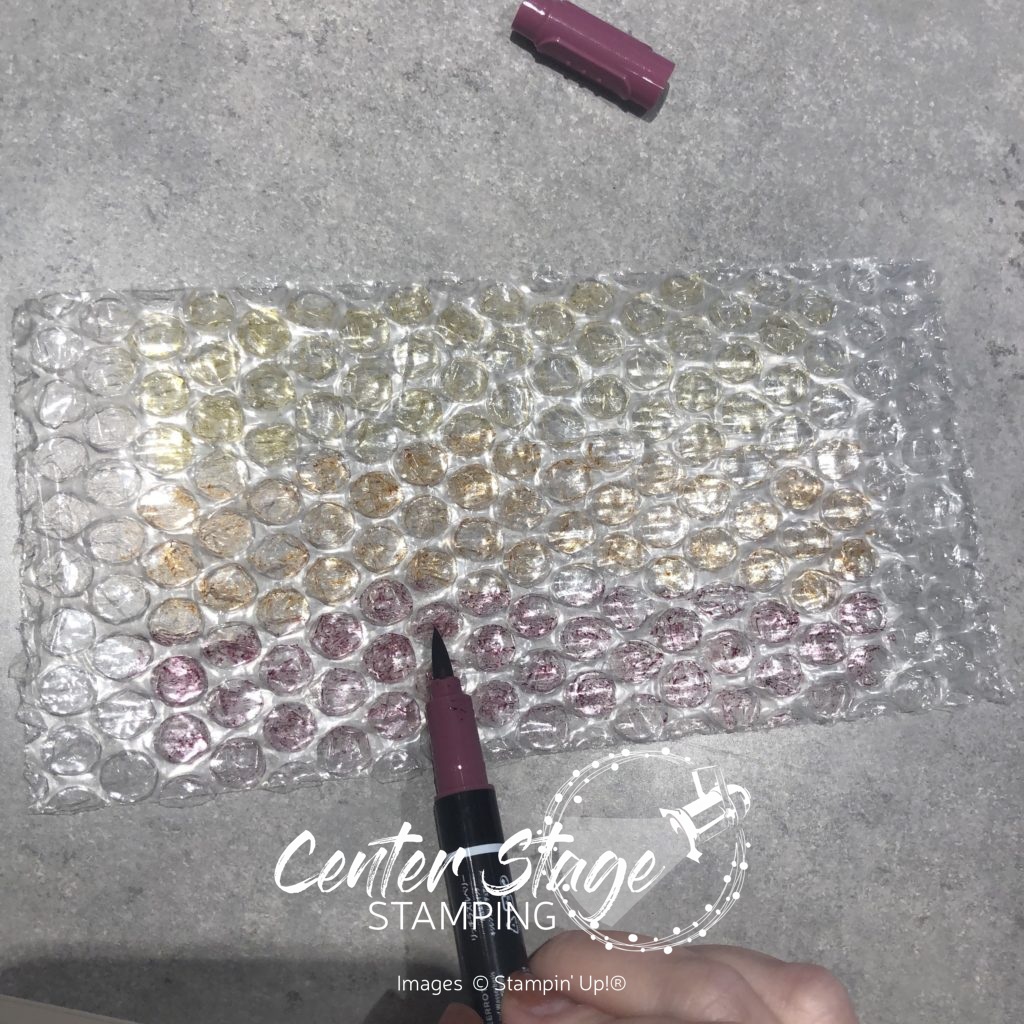
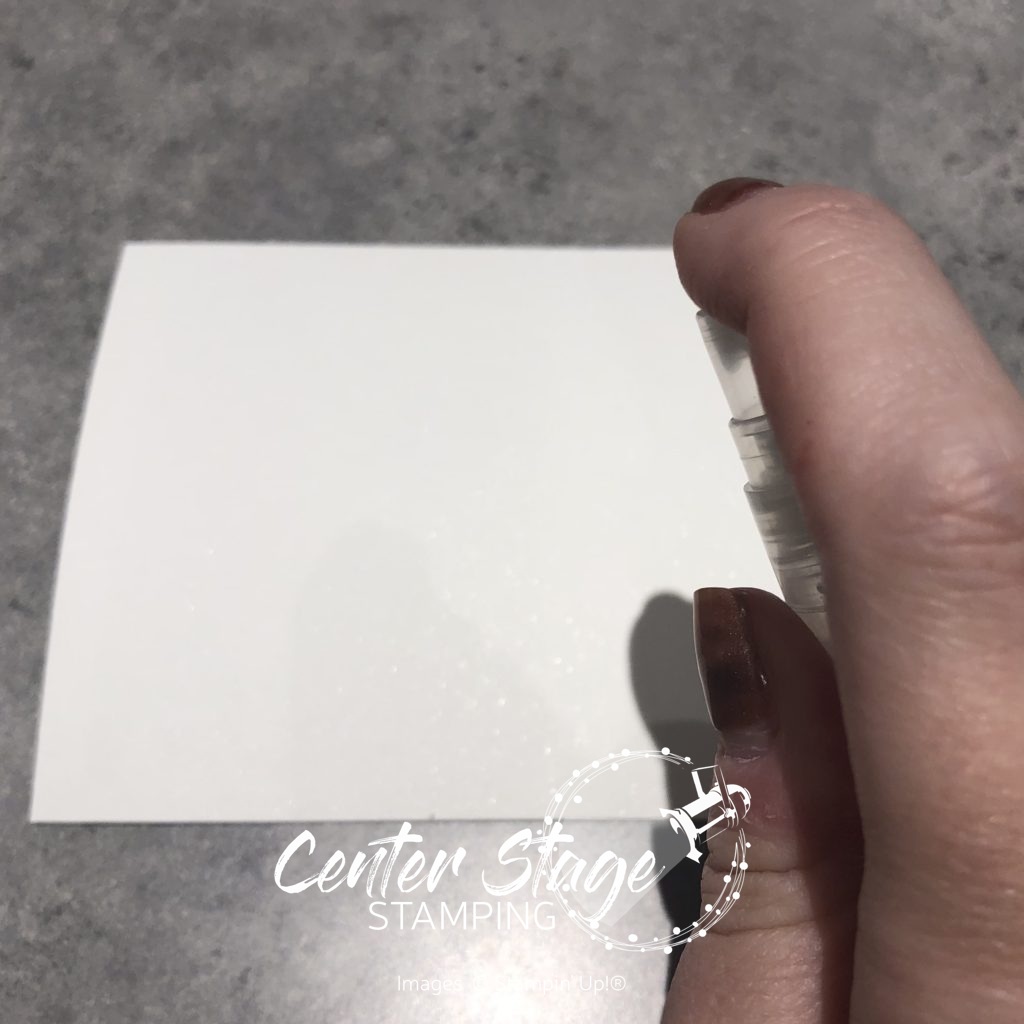
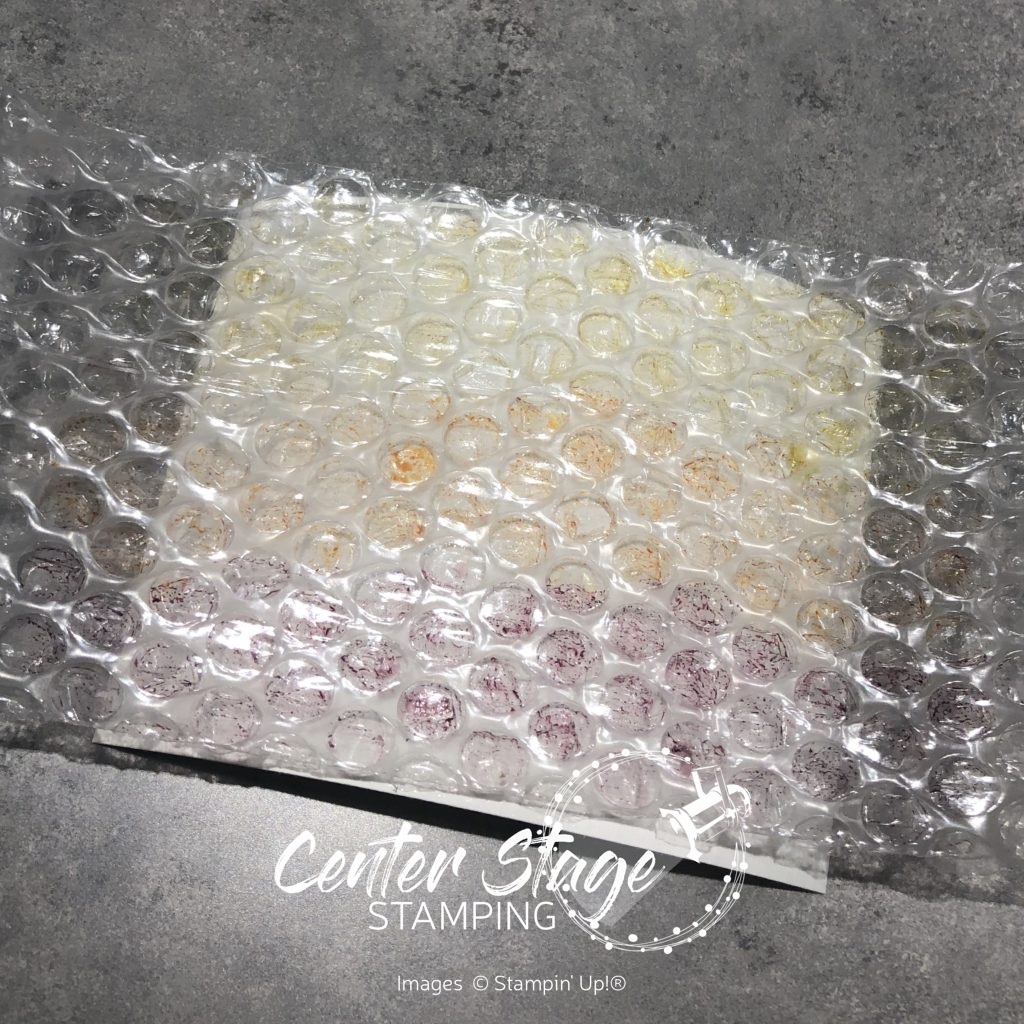
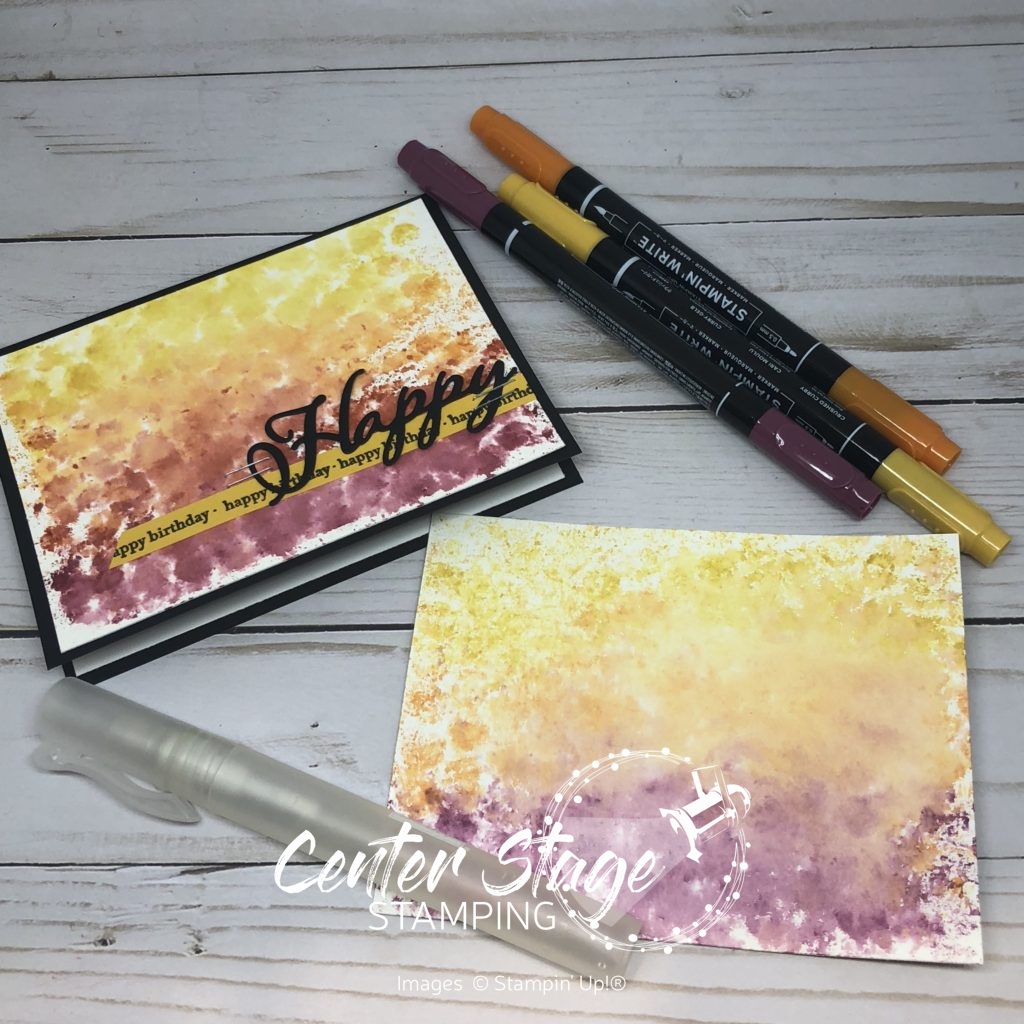
I used Grandma’s House stamp set and the bubblewrap water color technique. Colors are Coastal Cabana, Bermuda Bay, Old Olive, Lovely Lipstick, Basic Black.

I love swapping at these events. It is so much fun to meet new people and get so many great card ideas.

Thanks for stopping by. Join me again to shine a spotlight on creativity!

Share with your friends:

inky friends: dc 15

Digging out from one snowstorm with another right around the corner – sounds like a perfect time to hunker down in my studio. My Inky Friends ave another design challenge to help kick your crafting mojo in gear. This time it is one of my favorite color combos chosen from a sample on page 37 of the 2019 Occasions catalog. Right now those colors are making me think of spring. In the midst of all this snow, I’ll take what I can get. Here is my project with this color scheme.

I made that fantastic watercolor background with a technique I featured in this post. The flower and sentiment are from the All That You Are stamp set in the Occasions catalog.

Check out what the rest of the Inky Friends design team has created, then create your own project putting the color combo center stage. Be sure to share your creation by linking to the My Inky Friends design challenge 15 page.

Thanks for stopping by. Join me again to shine a spotlight on creativity!

Share with your friends:

bubble wrap background

Hello!  I’m back with a quick tutorial for that fantastic watercolor background featured on this card yesterday:

Happy Birthday: bubble wrap water color - Center Stage Stamping

Would you believe it is done with bubble wrap?!  Seriously… it is!  It is really easy, you just have to resist the urge to pop all of the bubbles!  You will need watercolor paper, markers (I used Crushed Curry, Pumpkin Pie and Rich Razzleberry) a spritzer filled with water and of course bubble wrap.


Bubble wrap background: supplies - Center Stage Stamping

Use your markers to color directly on the bubble wrap, starting with the lightest color.  Make sure you color on the bumpy side, not the smooth or you won’t get the dot effect.

Bubble wrap background: color on bubble wrap - Center Stage Stamping

Next spritz the water color paper with water.  Make sure to get it good and saturated.  less water means a more dotted, less blended outcome.

Bubble wrap background: spritz paper - Center Stage Stamping

Next press the bubble wrap colored side down onto the wet watercolor paper.  You can lift and set back down to fill in light areas or to blend colors more.

Bubble wrap background: step3 - Center Stage Stamping

Let the paper dry fully before assembling the card.

Bubble wrap background: step 4 - Center Stage Stamping


Every time you do this it will turn out a little different.  Use less water if you want more of the dots to show, More water if you want it more blended.  Color options are endless.  Let me know if you give it a try!  I’m off to finally pop that bubble wrap…then go get some more!

Bubble wrap background - Center Stage Stamping

That’s a wrap for today.  Join me again to put a spotlight on creativity!


Share with your friends: