Masculine

osat blog hop: boys in the hood

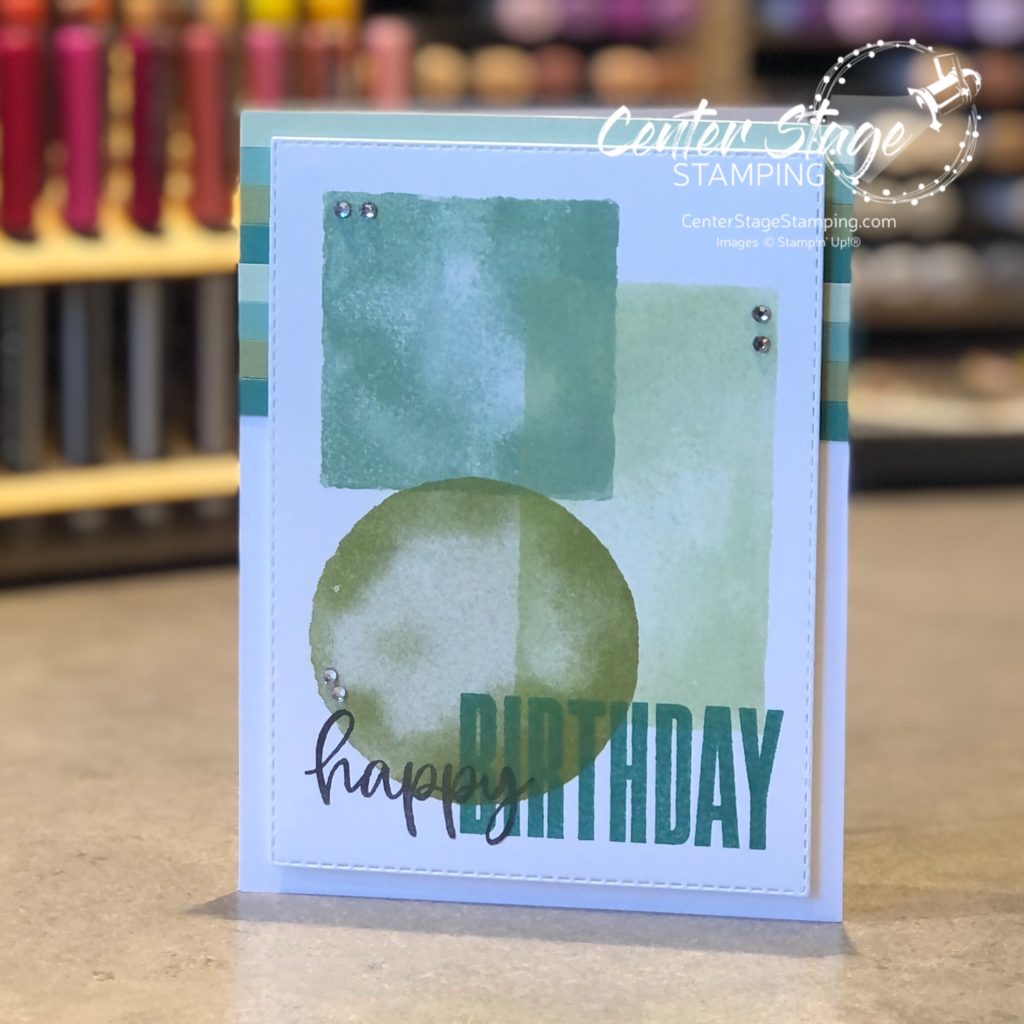
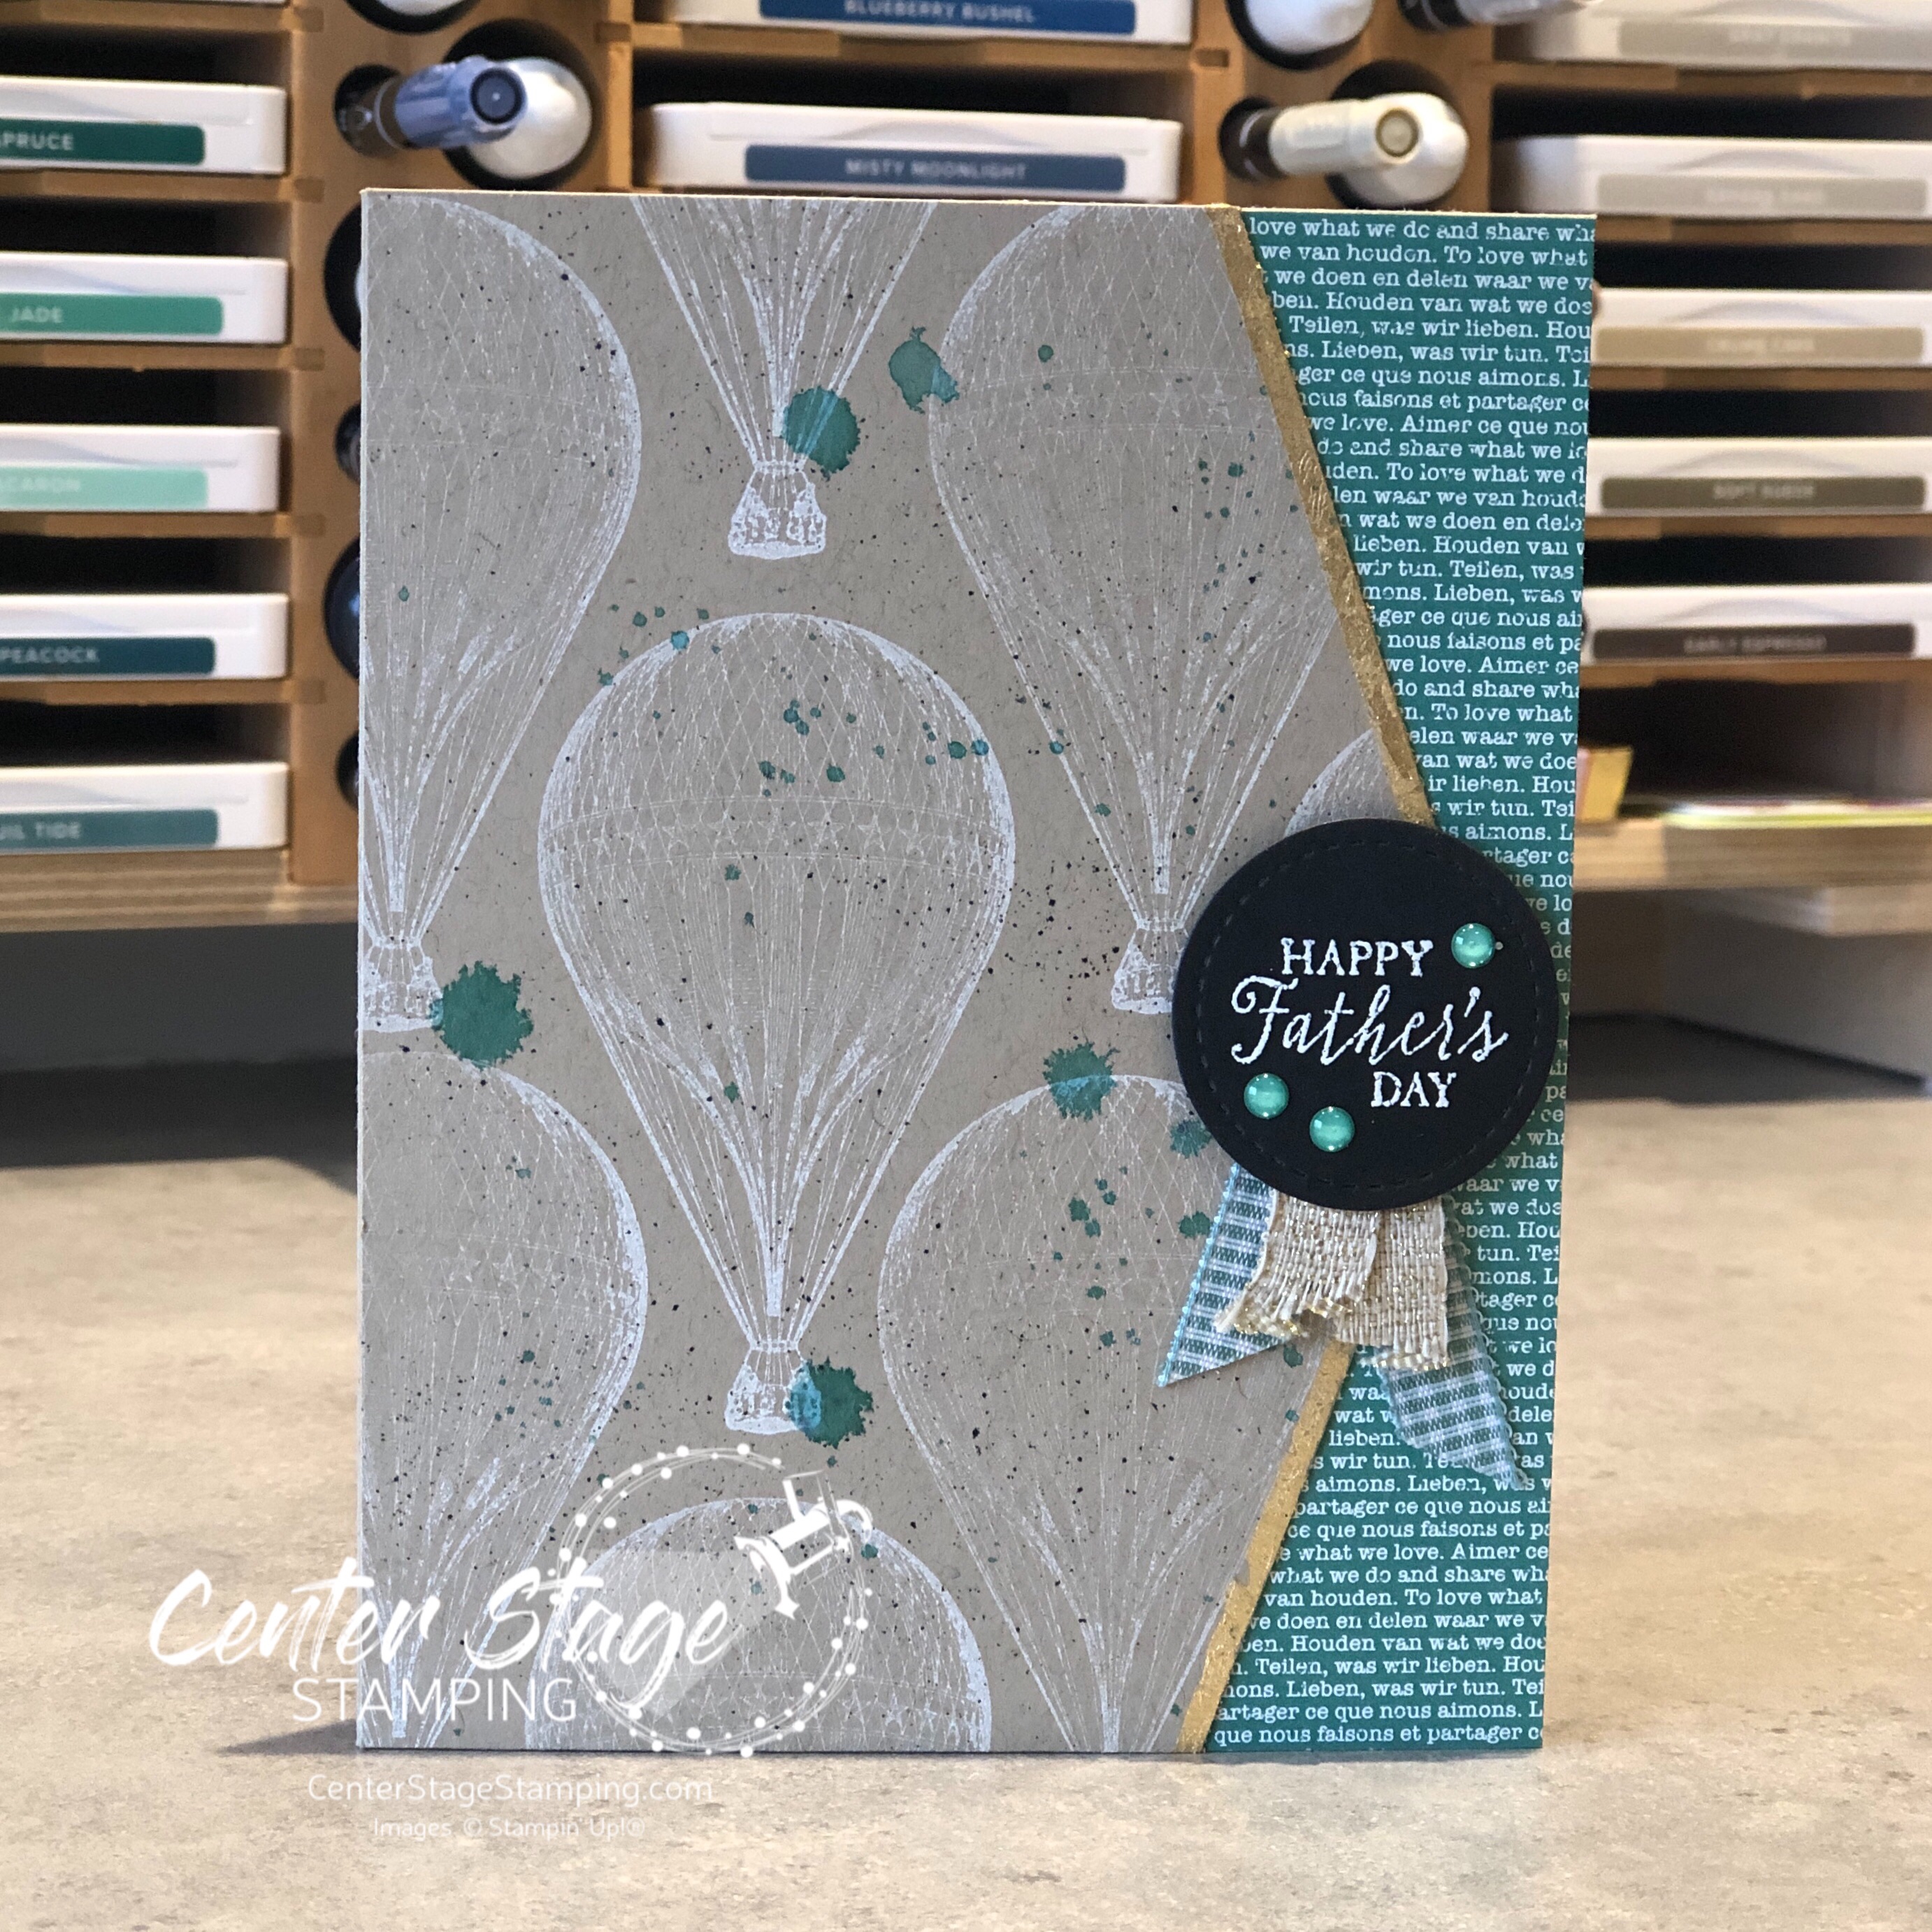
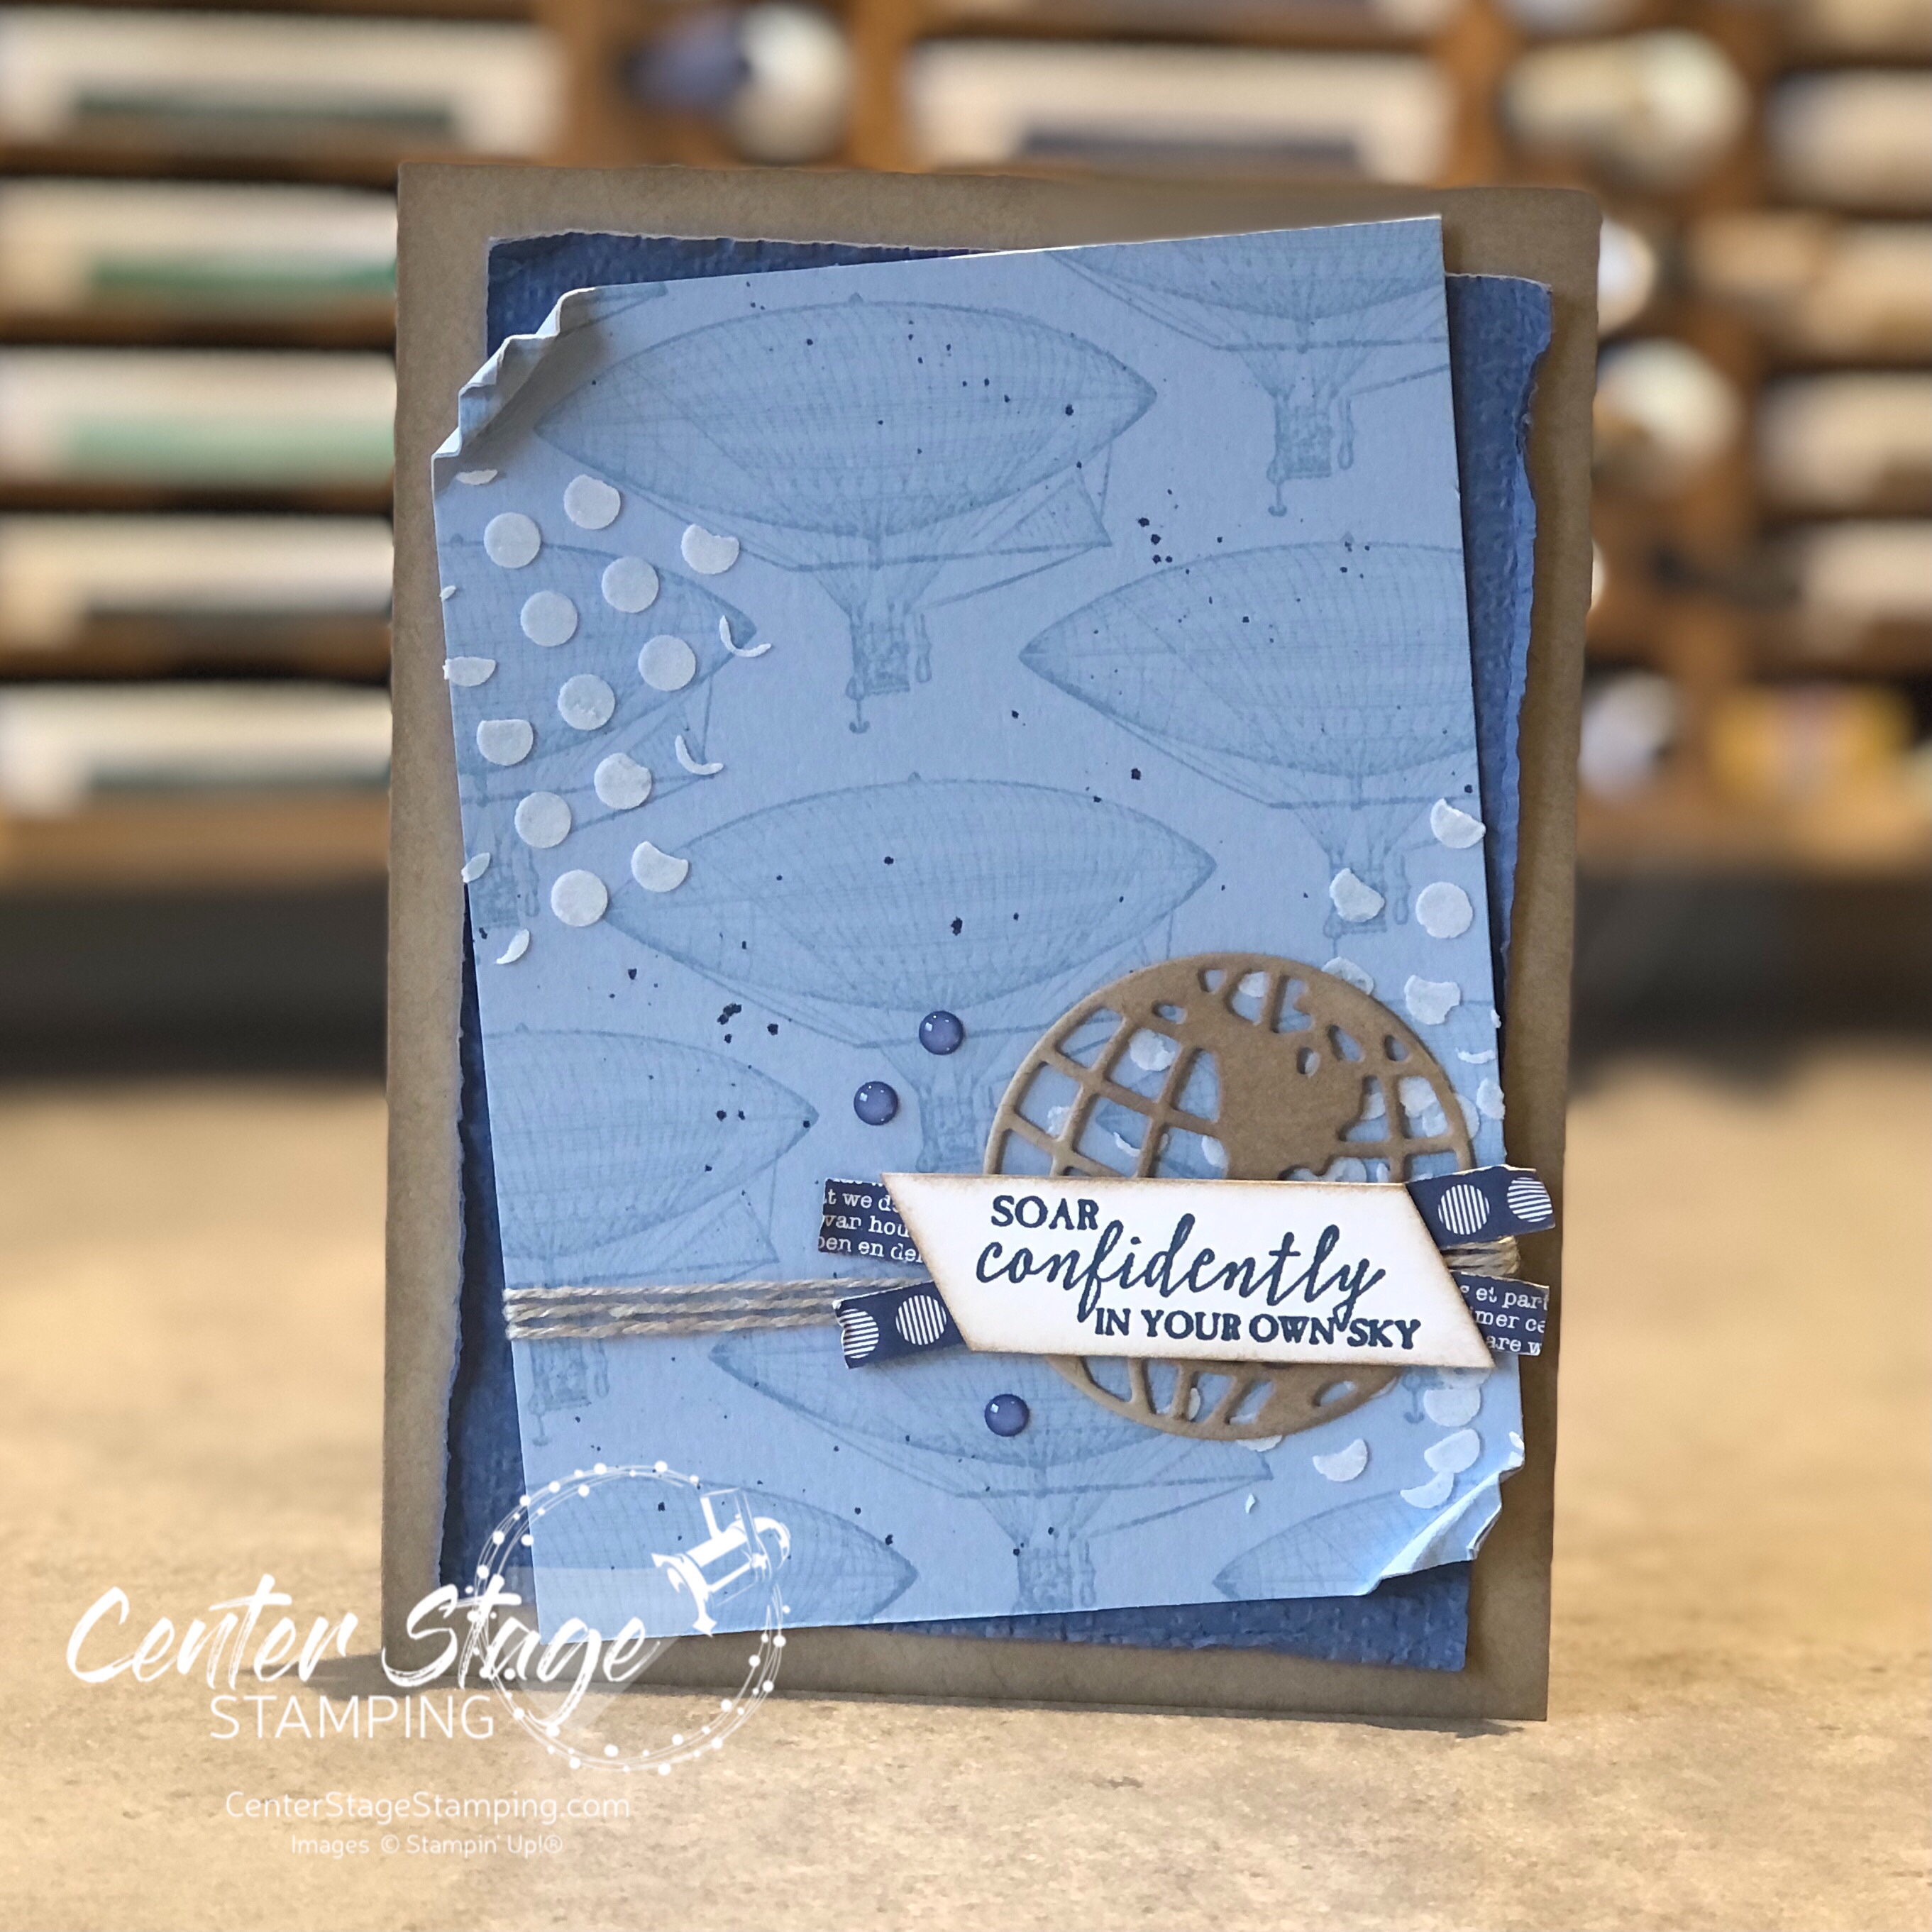
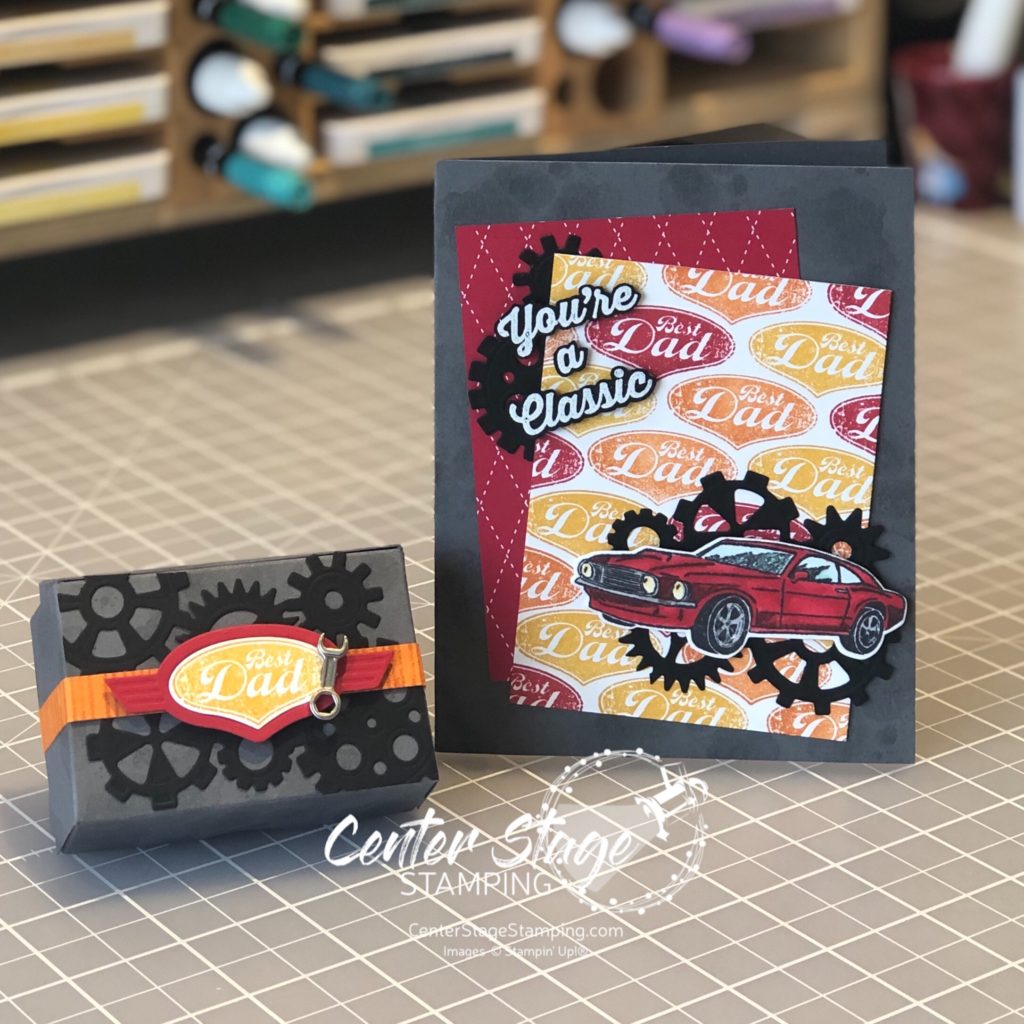
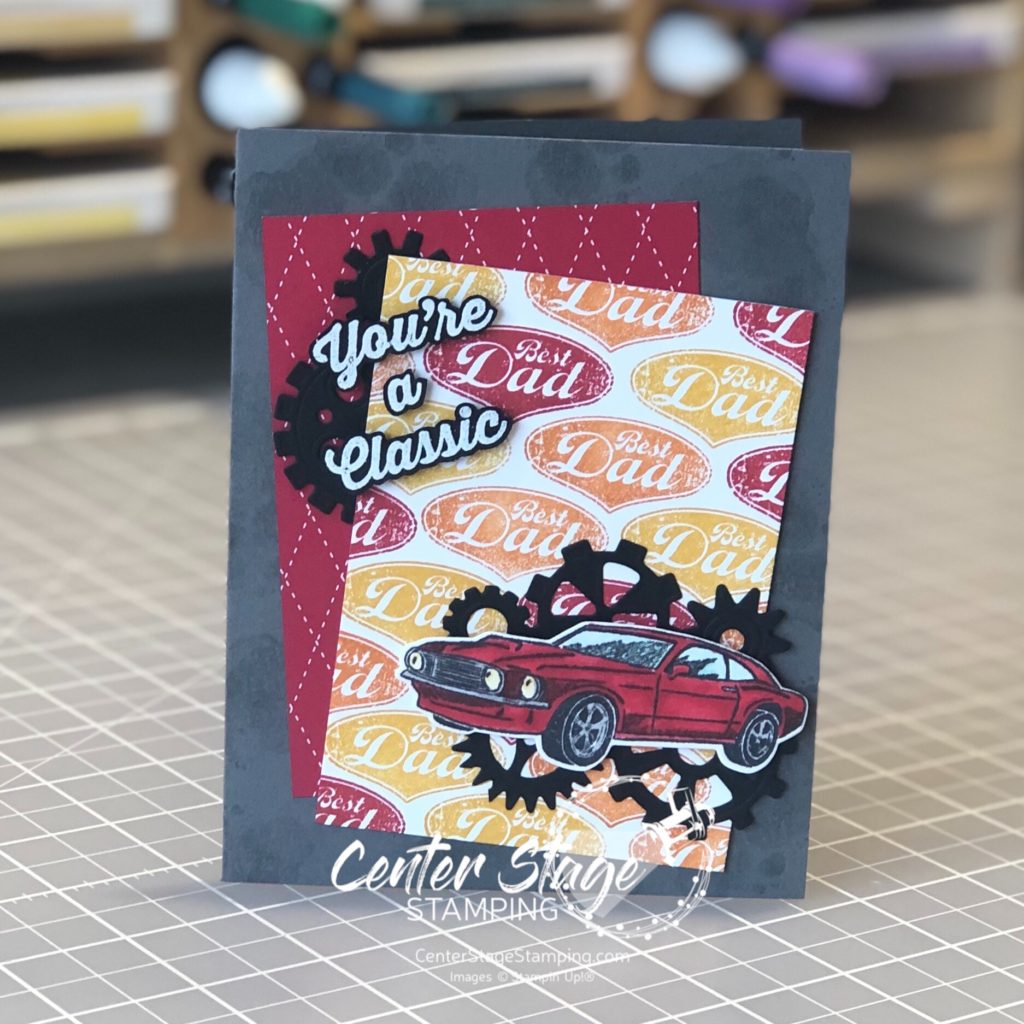
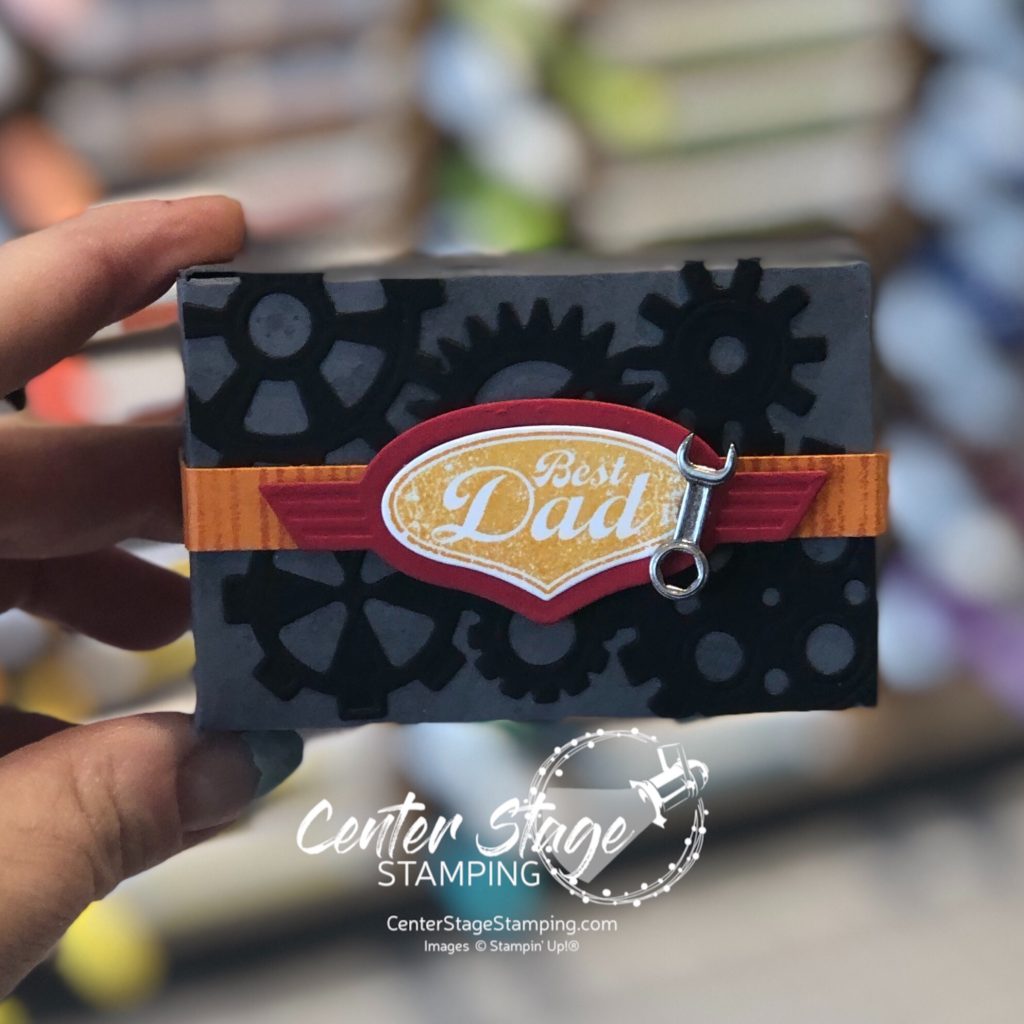
Welcome back friends! Today I am hopping with the One Stamp At Time team! Our theme for this month is “Boys in the Hood”. Focusing on projects for the guys in our lives. With Father’s Day around the corner, I knew what I wanted to focus on. These projects would work great for a birthday, with a few minor adjustments.

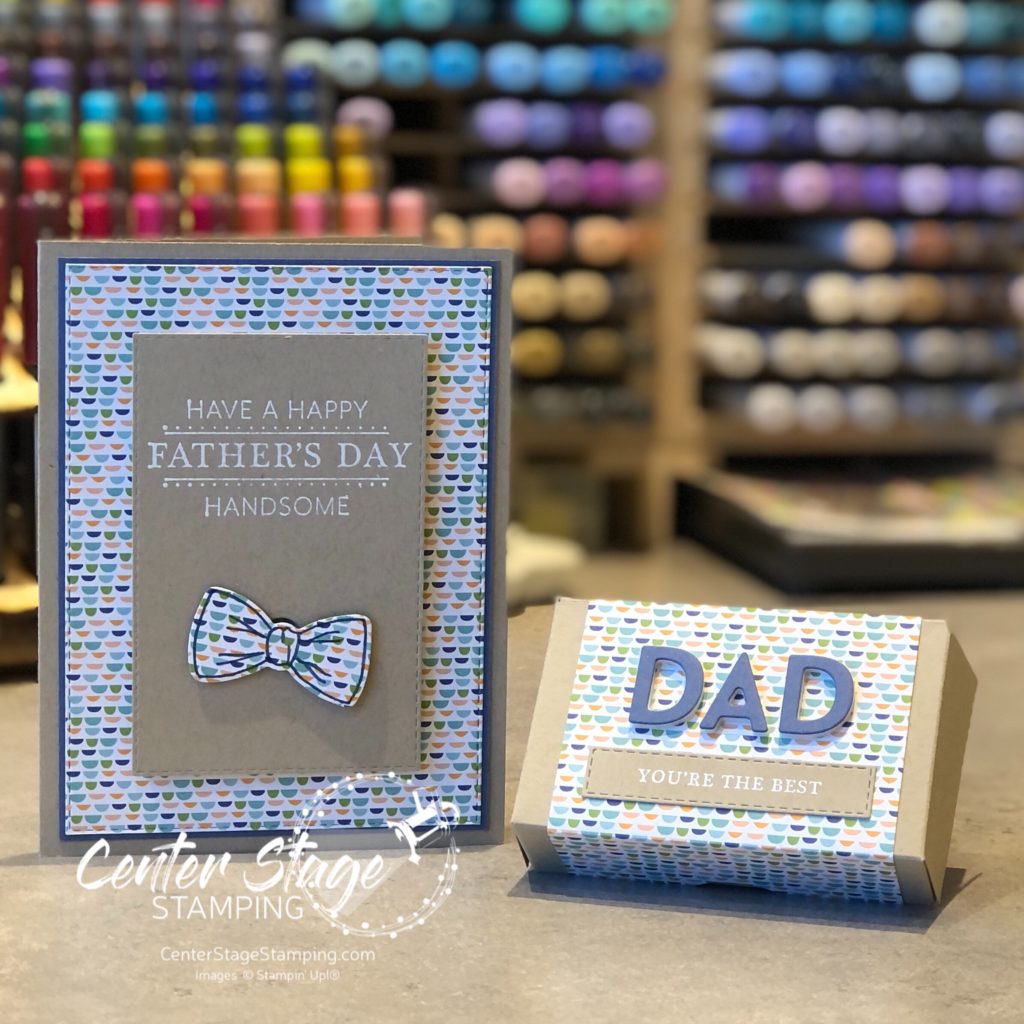
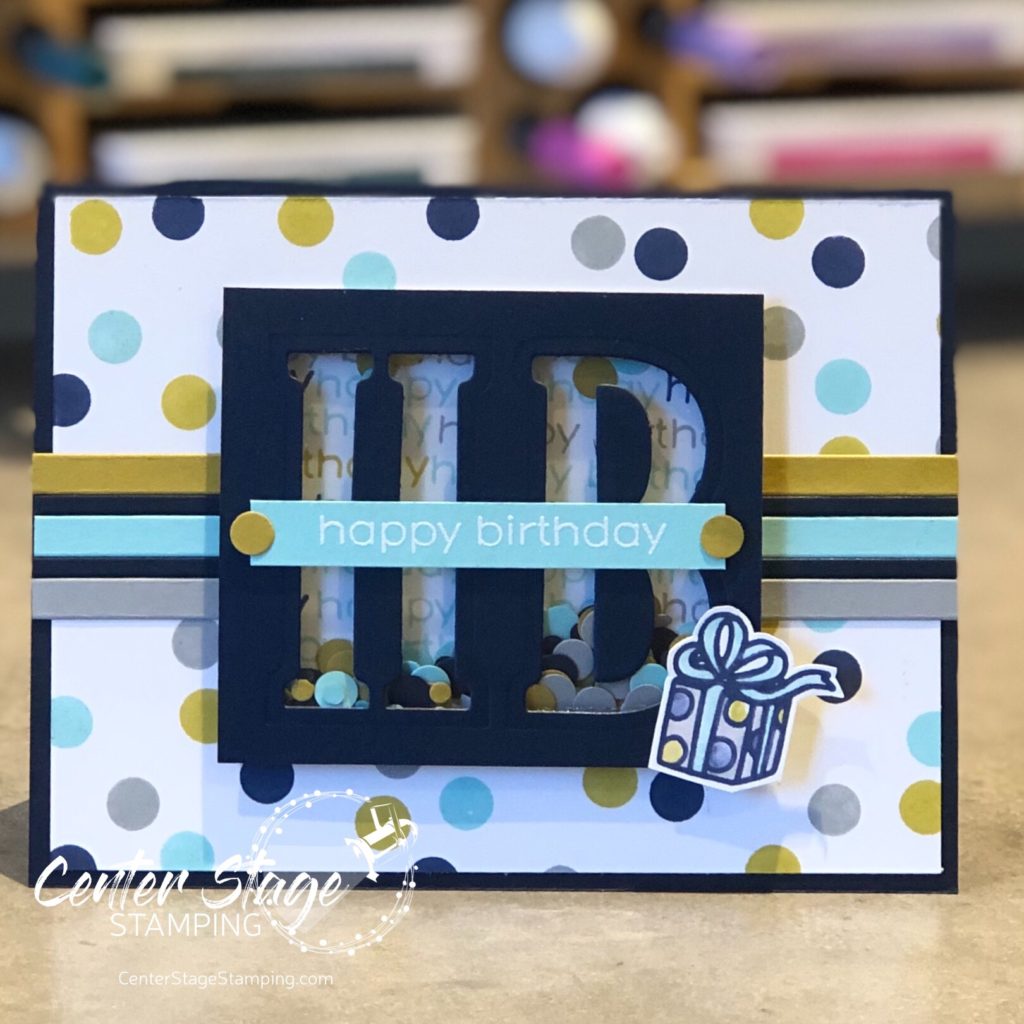
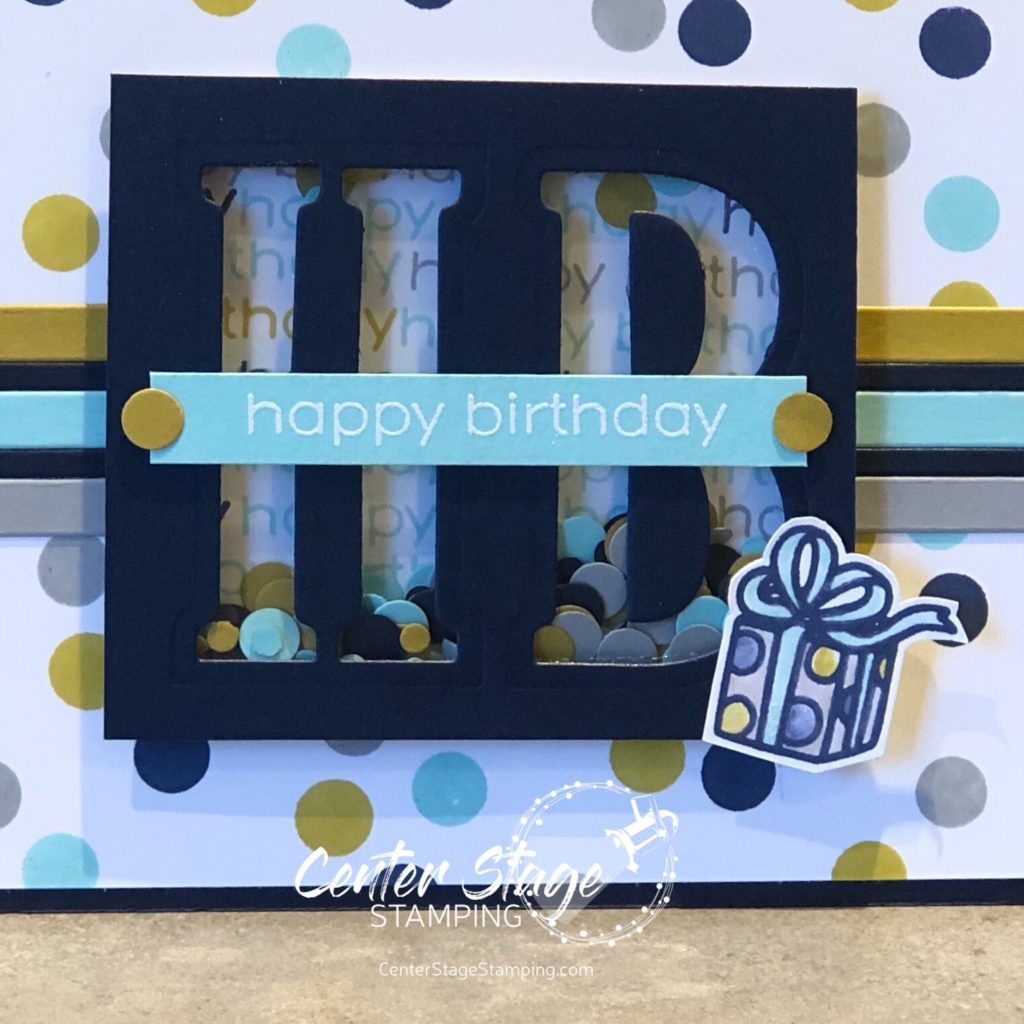
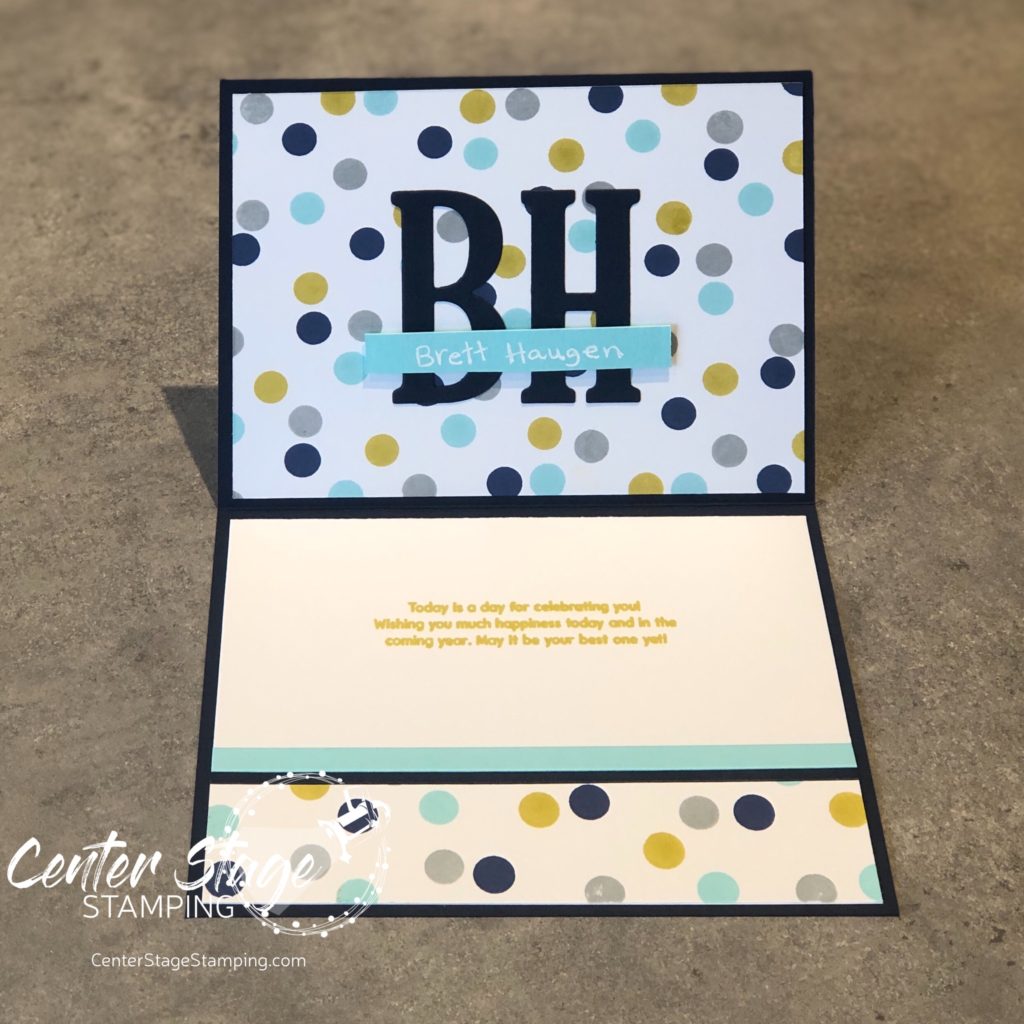
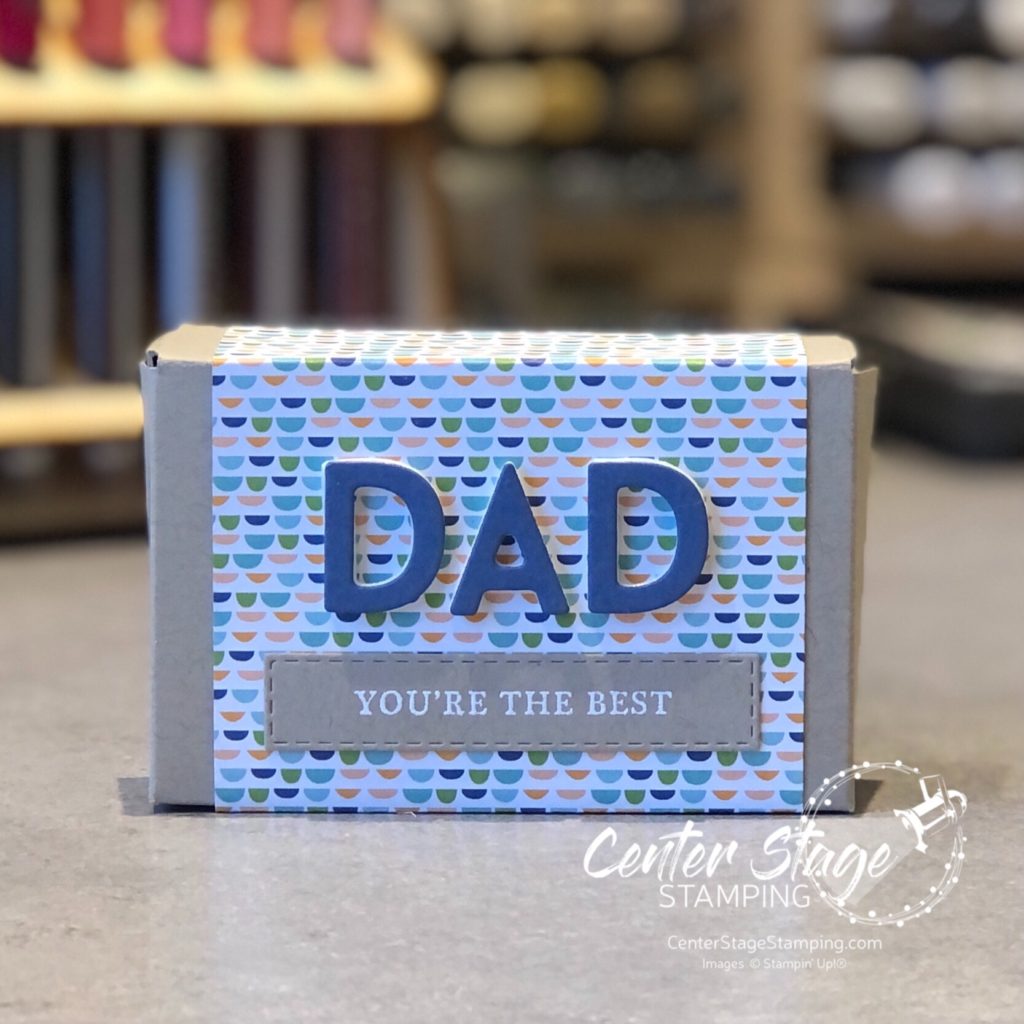
I took a more whimsical approach with fun card and gift box duo. I love the patterned paper from the Host exclusive Pattern Party DSP stack. For the little gift box I added Playful Alphabet die cut letters. I added foam adhesive sheet to Misty Moonlight cardstock before cutting out the letters.

I carried the Patterned Paper over to the card and brought in the Handsomely Suited stamp set. I’m a sucker for bow ties.

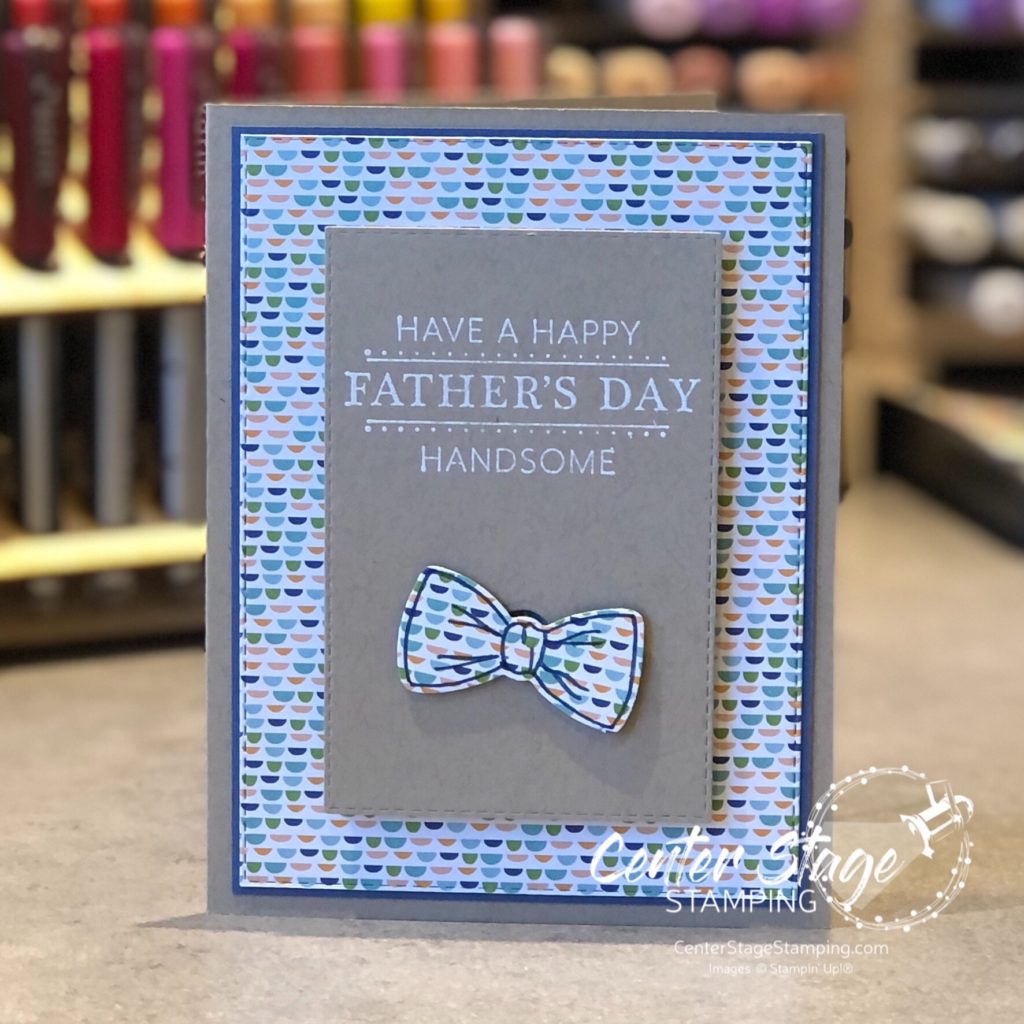
There is an extra fun element on the card. The bow tie spins! Check it out on my Instagram feed. I can’t get the video to post here.

Be sure to work your way through the full blog hop roster! There is a lot of great inspiration waiting for you.

PLEASE CLICK THE BLUE BOX FOR A POP UP LIST OF THE DESIGN TEAM.

Thanks for stopping by! Join me again to shine a spotlight in creativity!

Share with your friends:

geometric bday

Hi there! I wanted to pop in today and share this fun geometric card. I love the new Watercolor Shapes stamp set from Stampin’ Up!. These shapes will be great for subtle backgrounds. For this card I wanted to put the shapes in the spotlight.

I stamped the shapes in Mint Macron, Soft Seafoam, and Pear Pizzazz. The sentiment from Biggest Wish are stamped in black and Shaded Spruce. Adding some thin paper strips to the card base helped anchor the stitched panel and give some added detail. I threw in some rhinestones for a bit of sparkle. I think I might add some black enamel dots instead of rhinestones if I was going to send this to a guy.

Thanks for stopping by! Join me again to shine a spotlight on creativity!

Share with your friends:

pcc #420

Hello, Friends! I excited to be back with another Paper Craft Crew challenge! Check out this great card layout –

I can see so many possibilities with this sketch. I needed to add some masculine cards to my stash, so I pulled out the Well Suited DSP and Handsomely Suited stamp set and got to work. It was fun deciding which patterns of the DSP to use.

The bow tie was colored with Poppy Parade and Smoky Slate Stampin’ Blends. This paper looks like it could have come right out a man’s closet. Which, in fact, it did!

Thanks for stopping by! Be sure to check out the rest of the PCC Design Team’s creations with this card sketch over on the Paper Craft Crew blog. Thanks for stopping by. Join me again to shine a spotlight on creativity!

Share with your friends:

hot air balloons

What is it about hot air balloons? The are so interesting and, well, up-lifting. I know, I know…too obvious. I couldn’t help myself.

I really like the vintage look of the one in the new Soar confidently set.

I had fun designing this card. I started by stamping the balloon on Crumb Cake card stock with white ink. Once it was dry, I added some black speckles with my Stampin’ Write marker. Next I added some Just Jade watercolor splatters. I let it completely dry before cutting the edge and adding strips of adhesive which I covered with Gold Gilding Leaf.

The sentiment is embossed in white and cut out with a stitched circle die, with ribbon added for a medallion look.

Thanks for stopping by! Join me again to shine a spotlight on creativity!

Share with your friends:

soar confidently

I thought I’d pop on to quickly share a card I made for a recent card swap. It uses a new set in the new Stampin’ Up! mini catalog – Soar Confidently. It features a hot air balloon, zeppelin, and a bi-wing airplane. One of my son-in-laws is a pilot, so I had to add this set to my collection.

My color pallet is Crumb Cake, Misty Moonlight, and Seaside Spray. On the Seaside Spray panel, I repeatedly stamped the zeppelin in Seaside Spray ink. Then I used the dot stencil and texture paste. The globe die cut is from the World Map die set. The Misty Moonlight panel is embossed with the Tasteful Textile 3D embossing folder. I roughed up the edges of the panels for extra texture and sponged around the Crumb Cake card base and globe die cut for an antiqued effect.

Thanks for stopping by! Join me again to shine a spotlight on Creativity!

Share with your friends:

pcc #396

Hello, my crafty friends! We kicked off October in a BIG way – my daughter got married on Oct 2!!! To add to the celebration, my new son-in-law’s birthday was Oct 1! (He better never forget their anniversary!) I used this week’s Paper Craft Crew sketch challenge for his birthday card.

He really likes sail boats, so I pulled out my Sailing Home set and my Stampin’ Blends.

I used my Night of Navy, Midnight Muse, Balmy Blue and Seaside Spray Stampin’ Blends to color the ombre panel. I stamped the white panel with the retired World Map background stamp.

You can check out more inspiration on the Paper Craft Crew blog and join in the fun! Put your creativity to work and share your project with us.

Thanks for stopping by! Join me again to shine a spotlight on creativity!

Share with your friends:

birthday dots

Hello all! This is a crazy month as we prepare for our daughter’s wedding on Oct 2! Plus, we just finished the annual Stamp-n-Storage Warehouse Sale. Add in other life happenings and I’m not sure where the month went. I wanted to share the card I made for my husband Brett’s birthday earlier this month.

I love polka dots. The Scattered Dots Turnabout stamp from Concord & 9th is quickly becoming a favorite in my studio. As are the new C&9 inks! I absolutely LOVE the colors. For this card I used Midnight, Aqua Sky, Stardust and Dove. The present is from the collaborative set Happy Birthday by The Stamping Village.

It’s been awhile sine I have done a shaker card, so I thought this would be a good time to tackle one. I used 1/8″ and 1/4″ hand held circle punches to created the confetti for inside the shaker.

It is a happy coincidence that my husband’s initials are BH. So I took the cut letters from the front and added them to the inside to personalize the card.

I hand wrote his name with a white gel pen. It added a fun touch to the inside of the card. I really should add to the inside of cards more often. I think it really makes them more interesting. What do you think about decorating the inside of cards?

Thanks for stopping by! Join me again to shine spotlight on creativity!

Share with your friends:

paper craft crew challenge #385

Hello crafty friends. Come play along with this week’s Paper Craft Crew Challenge. We are changing things up this week with a Tic Tac Toe challenge. Just pick a row and include those things in your creation.

I chose the center vertical row: Watercolor Background, Favorite Color and Anything but a Floral. But, my creation also fits the top horizontal row: Birthday Theme, Watercolor Background and Masculine. Double win!

I started with a card base from water color paper. Card size is 3.5″x5″. I did the watercolor background freehand using some of my favorite colors: Lemon Lime Twist, Coastal Cabana, and Grapefruit Grove. For the cake, I did some no line watercoloring.

Head over to the Paper Craft Crew page and play along!

Thanks for stopping by. Join me again to shine a spotlight on creativity!

Share with your friends:

stamp review crew: stacked stone

Welcome to another Stamp Review Crew blog hop. The Stamp Review Crew is a group of Stampin’ Up! demonstrators from around the world that get together on the 1st and 3rd Monday of each month for a blog hop. Each hop we shine a spotlight on one stamp set and show you just how much you can do with it. Today, we are putting a fun new background stamp center stage: Stacked Stone.

I love background stamps. They are like the solid ensemble members of a play – not often in the spotlight, but they add so much needed depth and detail. Stacked Stone is great stamped tone on tone, or colored in. In fact, I made two projects to showcase this versatility.

For my first card, I started with a tone on tone look. I stamped Stacked Stone in Gray Granite ink on a Gray Granite card base.

It looks like a great stone wall in a garden. So I added a beautiful flower from the new So Much Love set colored with my Stamping Blends and Copic markers. I popped the Bumble Bee DSP die cut up on dimensionals. I wanted the flower to be a bit raised as well, but didn’t want another layer of dimensionals. I’ll show you my trick to get a thinner layer of depth:

I die cut two ovals smaller than my image and glued them together then to the back of the stamped image. This can add depth, but help keep bulk from layers of dimensionals down.

Since the first card had a dainty, feminine look, I went for a more industrial, masculine look on my next card.

I started by doing a light watercolor wash of Smokey Slate, Crumb Cake and Cinnamon Cider on Shimmery White card stock. Once it was completely dry, I stamped the Stacked Stone image in gray Granite ink. Then I watercolored some of the specific stones for added depth. I added some die cut gears and a sentiment from Geared Up Garage.

Stacked Stone is a fantastic, versatile background stamp. Don’t believe me yet? Head on over to Heidi or back to Holly and then check out the rest of the design team’s great projects. By the end of the blog hop I’m sure Stacked Stone will be making it’s way to your craft room!

Thanks for stopping by! Join me again to shine a spotlight on Creativity!

Share with your friends:

osat blog hop: manly may

Hello my crafty friends! Welcome to the monthly One Stamp at a Time Blog Hop! This month our theme is cards/ projects for men. I have to admit, these kind of projects don’t come easy for me. I tend to work in more florals and softer colors with ribbon and bling. But, I also love a challenge. Here is what I came up with.

A fun Father’s Day card and gift box for a car lovin’ guy. My color scheme is Basic Black, Basic Gray, Real Red, Pumpkin Pie, and Crushed Curry.

I used the die cut gears to help add some texture and detail. On the box, I did add one of the wrenches from the Classic Garage Metal embellishments on the box. Otherwise, it is just stamps, ink and paper.

If you are ready to go check out the rest of the stops on the blog hop, PLEASE CLICK THE BLUE BOX FOR A POP UP LIST OF THE DESIGN TEAM.

Thanks for stopping by! Join me again to shine a spotlight on creativity!

Share with your friends: