Welcome back to another Stamp Review Crew blog hop! I’m so glad you have joined us as we put the Waterfront stamp set in the spotlight. This set is a lot of fun to play with and creates wonderful watercolor style landscapes and more when you let your creativity cut loose. I have to admit, I have had the set for several months, but this is the first time I have created anything with it. I assure you, it won’t be the last!

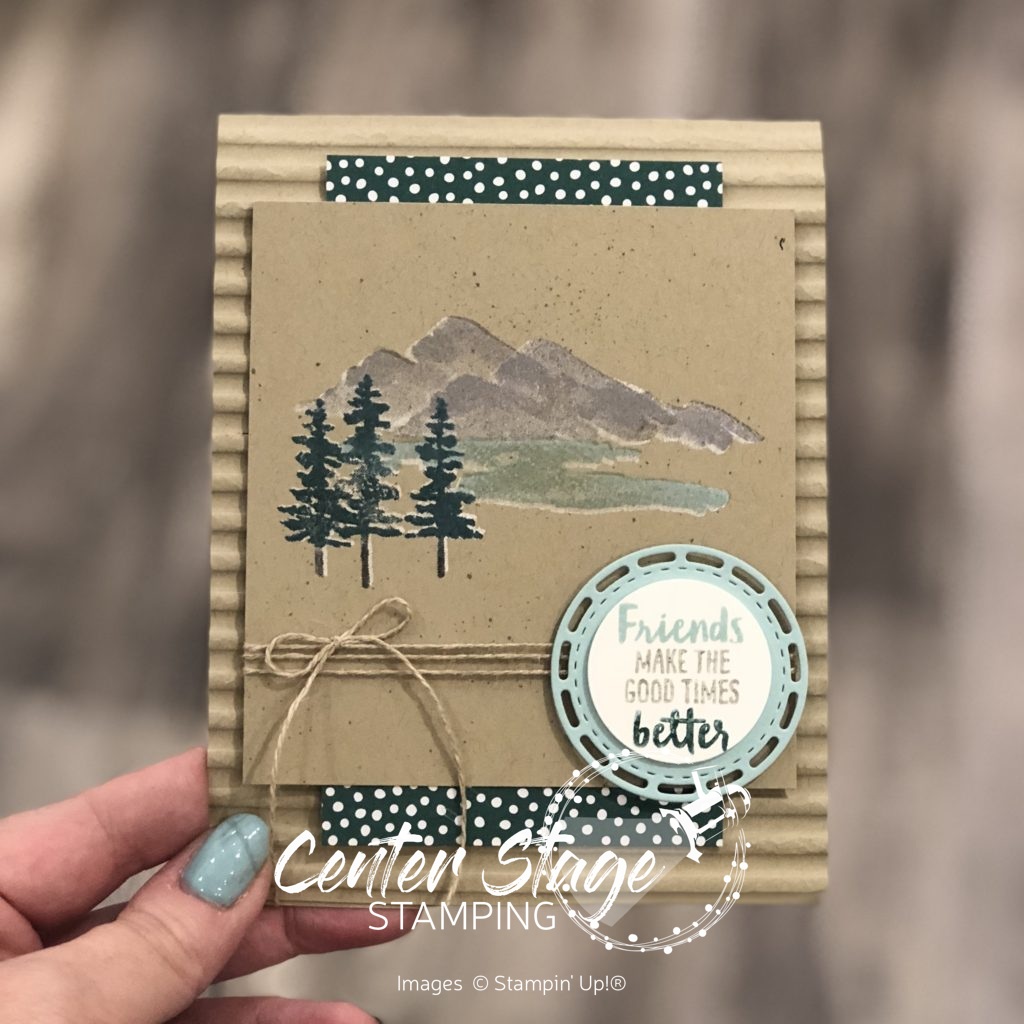
For this card, I stamped the mountains, lake and trees first in Whisper White craft ink on Crumb Cake card stock and let it completely dry. Once dry, I stamped over the images with the colors Gray Granite, Pool Party and Tranquil Tide (with a little Early Espresso for the tree trunks). Since the stamps are photopolymer, it made lining up the images a breeze. I didn’t try to line them up perfectly. The bits of white peeking out give some nice highlights. I layered the image panel on a piece of Tranquil Tide dots from the ’17-’19 In Colors Designer Series Paper stack. The front of the card base was run through the NEW Corrugated Dynamic Textured Impressions Embossing Folder. Isn’t it just AMAZING! I can tell it will be used A LOT!
I used Stampin’ Write markers to ink the sentiment stamp and layered it on a Pool Party circle cut from the Stitched Labels Framelits. Then adhered it over a bit of Linen Thread wrapped around the image panel.
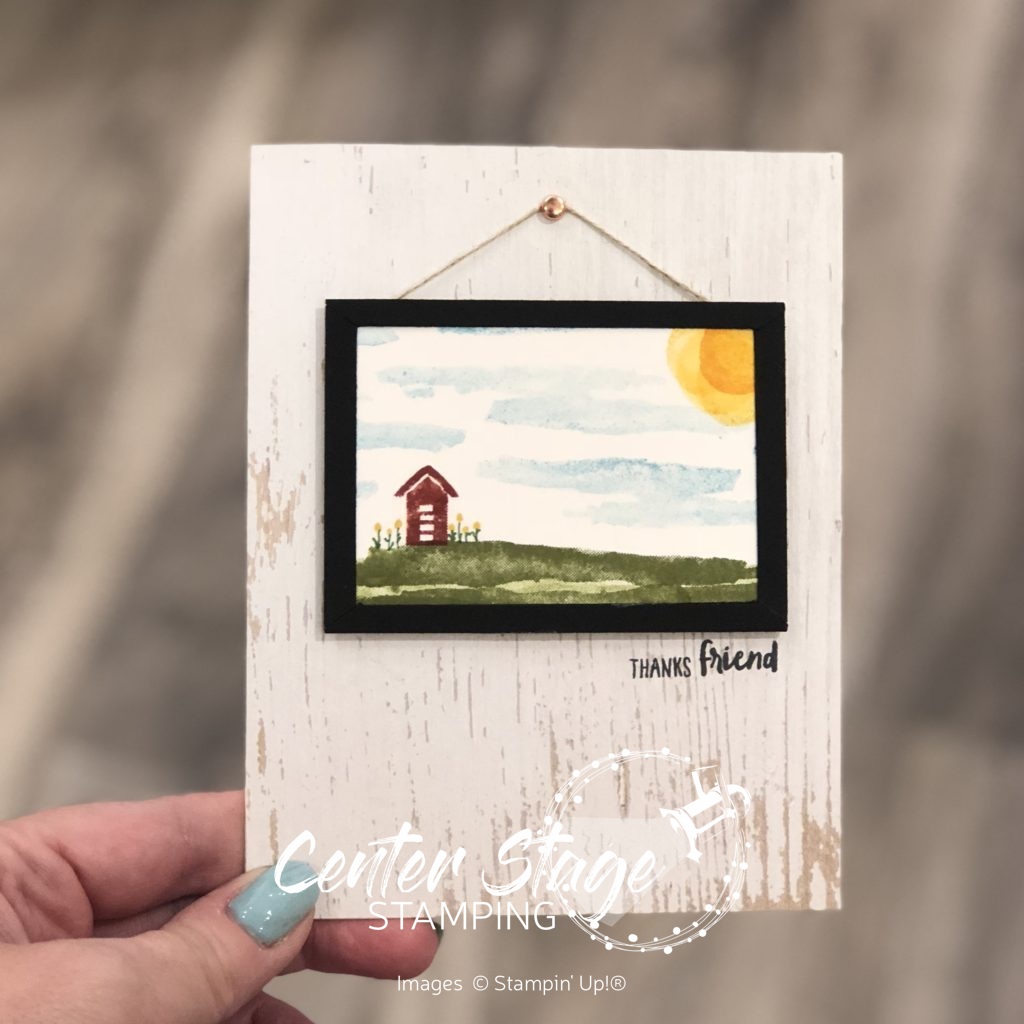
I had been watching an episode of Murder She Wrote when I came up with the idea for this next card. I hand an image in my mind of a quaint painting hanging on a weathered cottage wall, Here’s what I came up with:

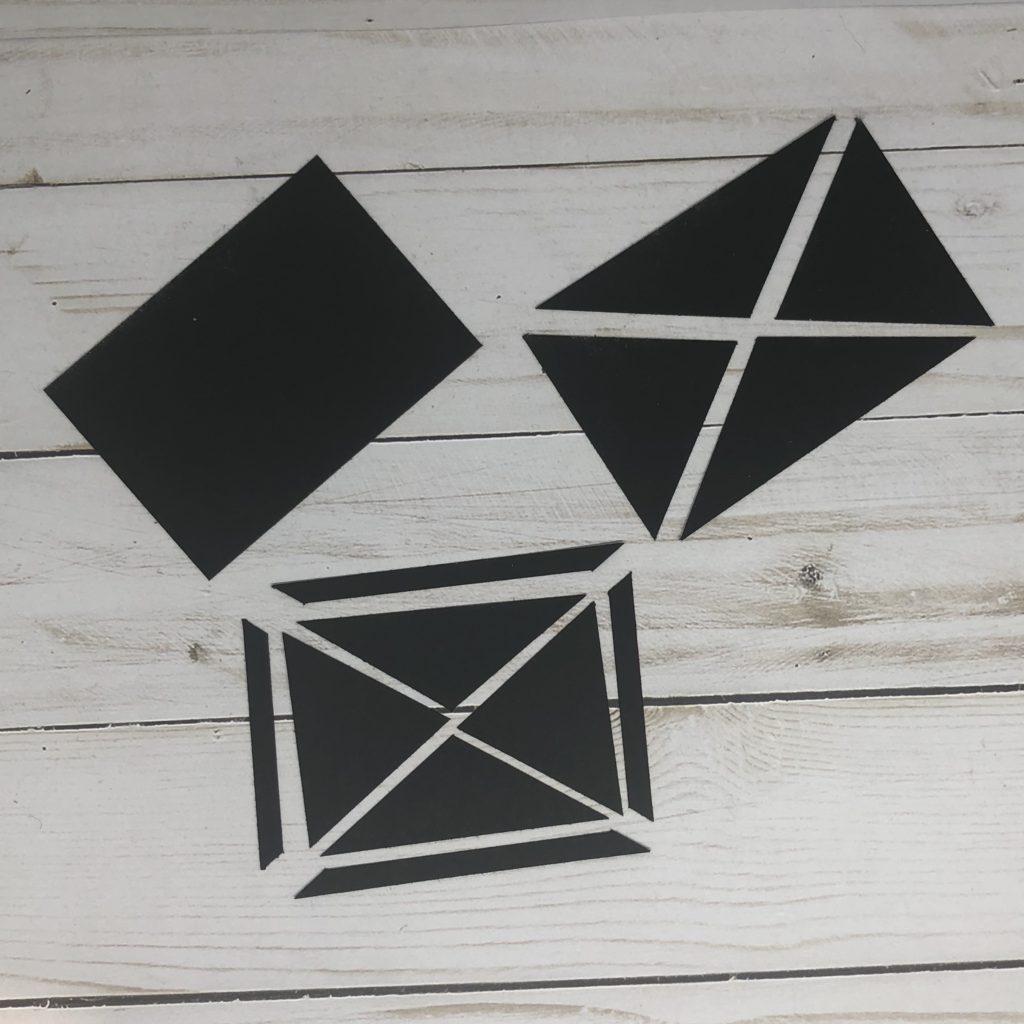
I covered the card base with a piece of the Wood Textures designer series paper – seriously, my FAVE! I stamped the scene on a piece of thick Whisper White card stock. I hand drew the flowers with Stampin’ Write markers. Then I framed the painting. First I cut a pice of Basic Black card stock the same dimension as my “painting”. Next, I cut diagonally corner to corner both directions. Finally, I trimmed about 1/4″ off the outer most edge of each triangle. Here is a picture to help you see what I did.

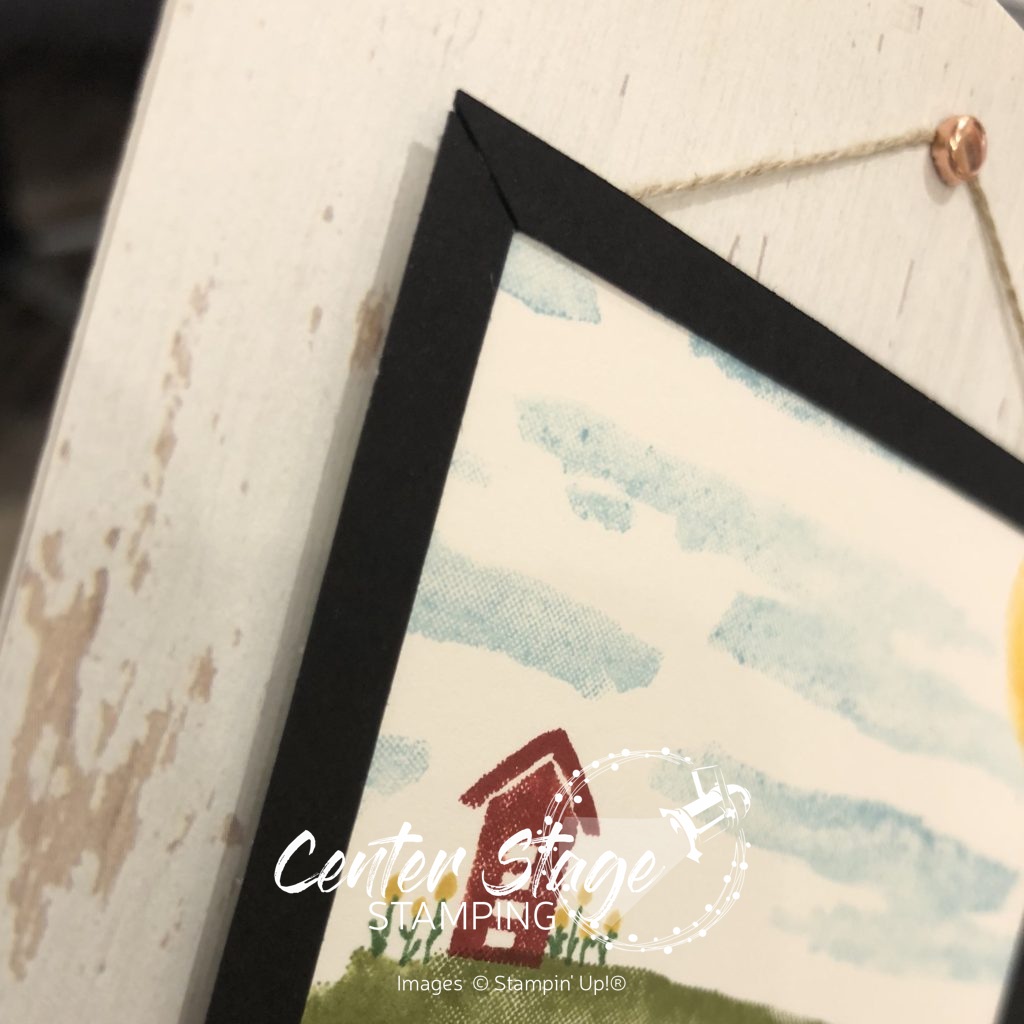
I could have just mounted the “painting” on a piece of Basic Black and called it good. But this way, I get the mitered corners like a real frame.

It’s a really small detail and most probably won’t notice it, but I thought it was neat.
If you started this blog hop from the beginning, I am the final stop. If you picked it up somewhere in the middle, make sure you go around and check out all the great inspiration with the Waterfront stamp set! From here you can go back to Heidi or on to Debra
*The Stamp Review Crew is a group of International Stampin’ Up! demonstrators who want to show you how much you can do with ONE stamp set. Each edition the SR Crew will showcase a new featured stamp set. Each stop along the hop will show you a different idea, or ideas using that set!**
That’s a wrap for now. I hope you will come back and join me in putting a spotlight on creativity!


