Hello! I’m back with a quick tutorial for that fantastic watercolor background featured on this card yesterday:
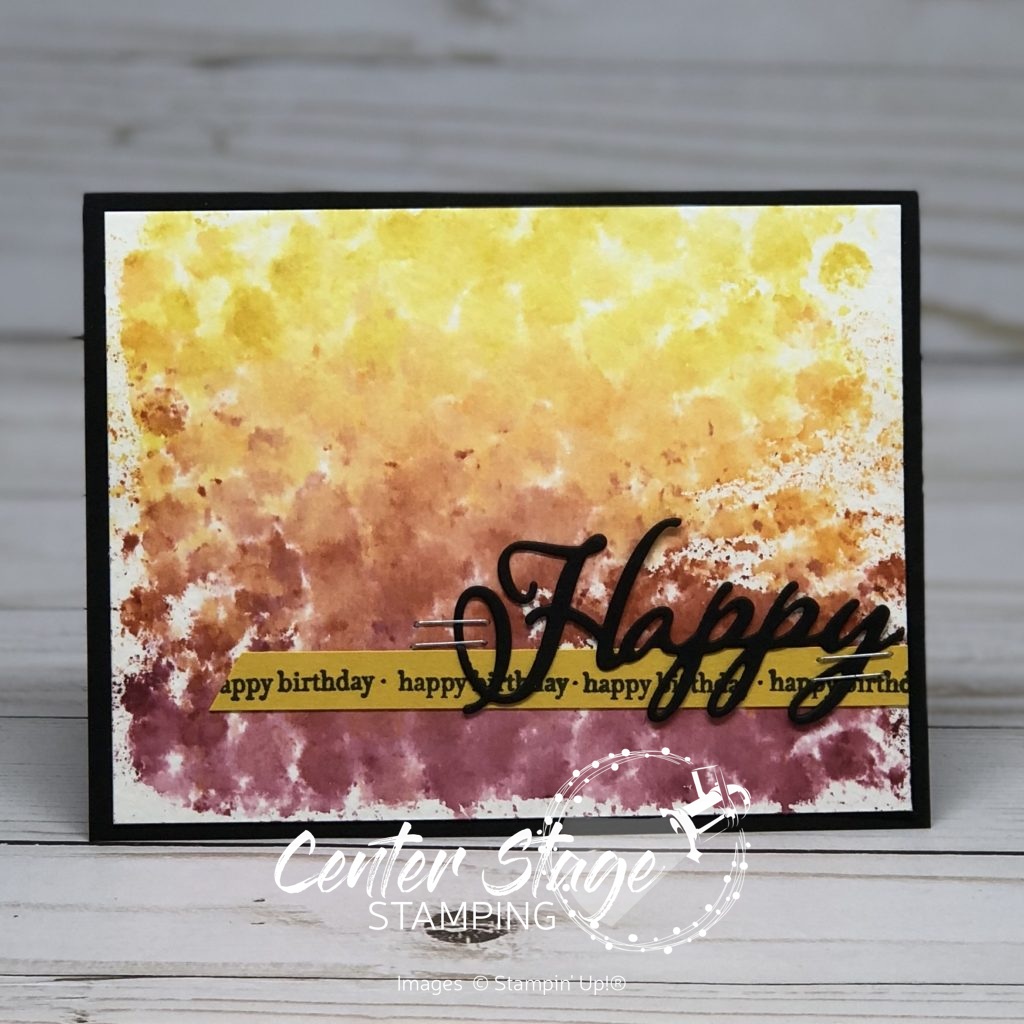
Would you believe it is done with bubble wrap?! Seriously… it is! It is really easy, you just have to resist the urge to pop all of the bubbles! You will need watercolor paper, markers (I used Crushed Curry, Pumpkin Pie and Rich Razzleberry) a spritzer filled with water and of course bubble wrap.
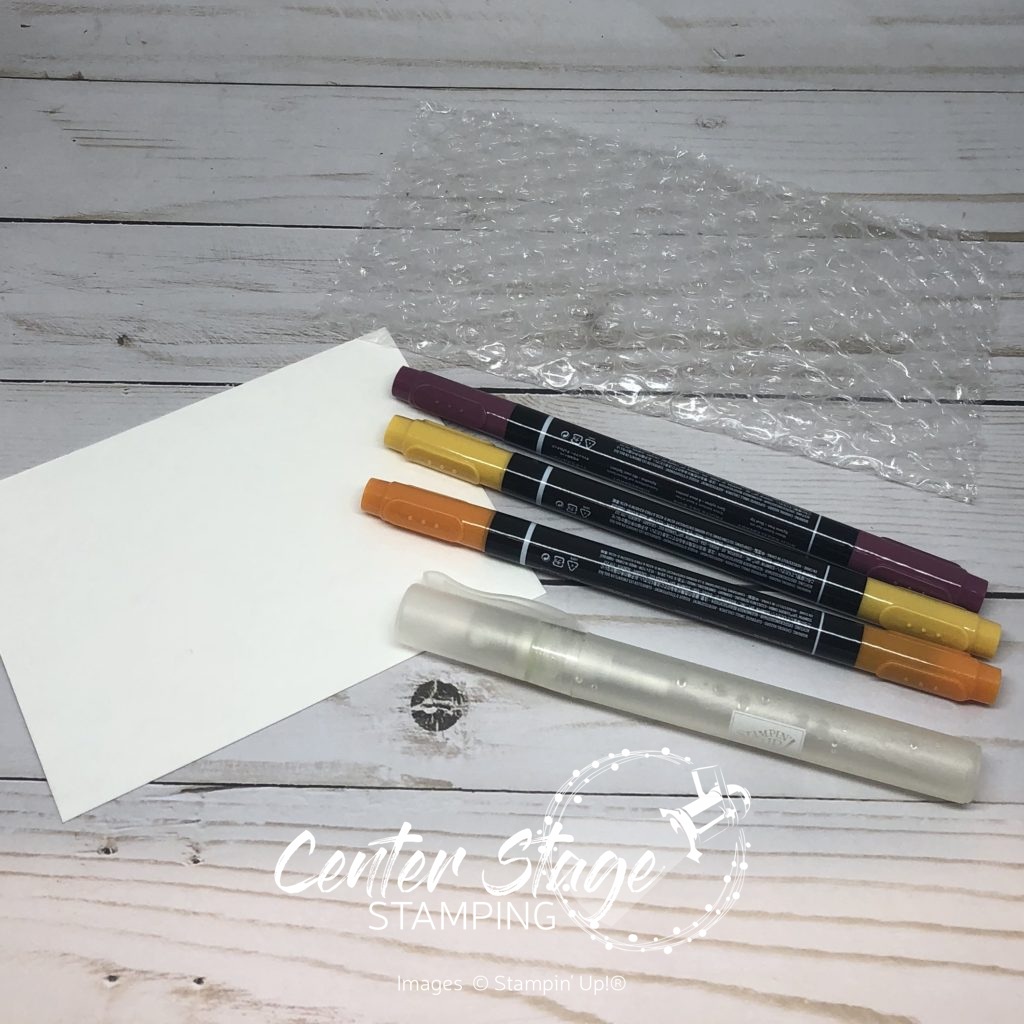
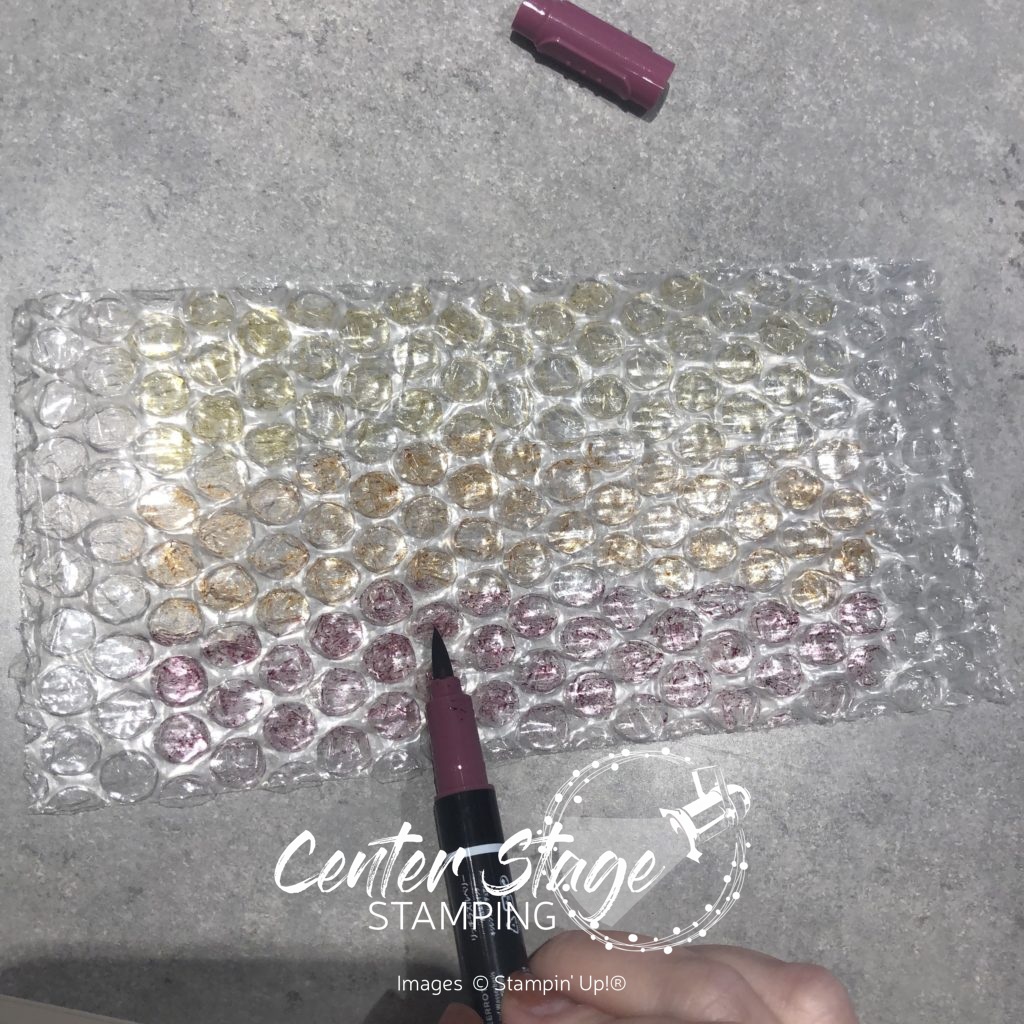
Use your markers to color directly on the bubble wrap, starting with the lightest color. Make sure you color on the bumpy side, not the smooth or you won’t get the dot effect.
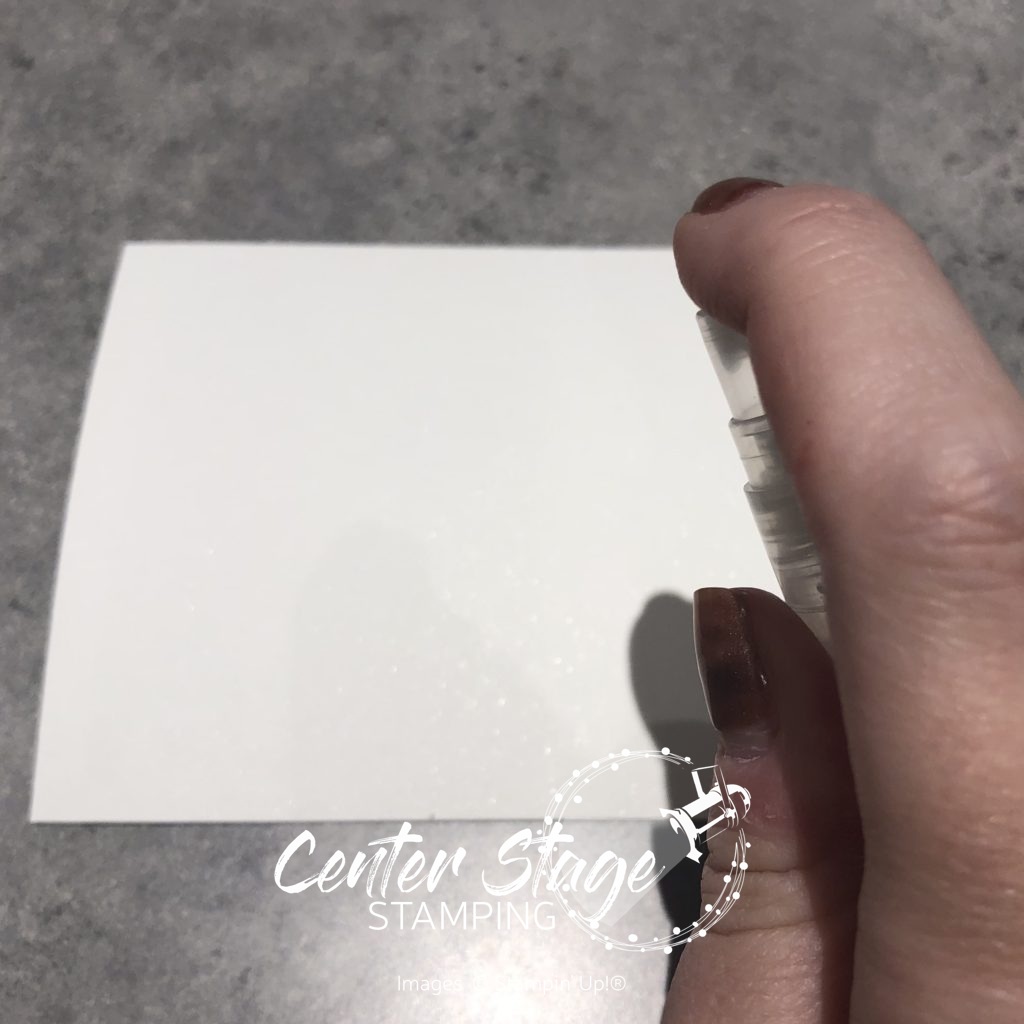
Next spritz the water color paper with water. Make sure to get it good and saturated. less water means a more dotted, less blended outcome.
Next press the bubble wrap colored side down onto the wet watercolor paper. You can lift and set back down to fill in light areas or to blend colors more.
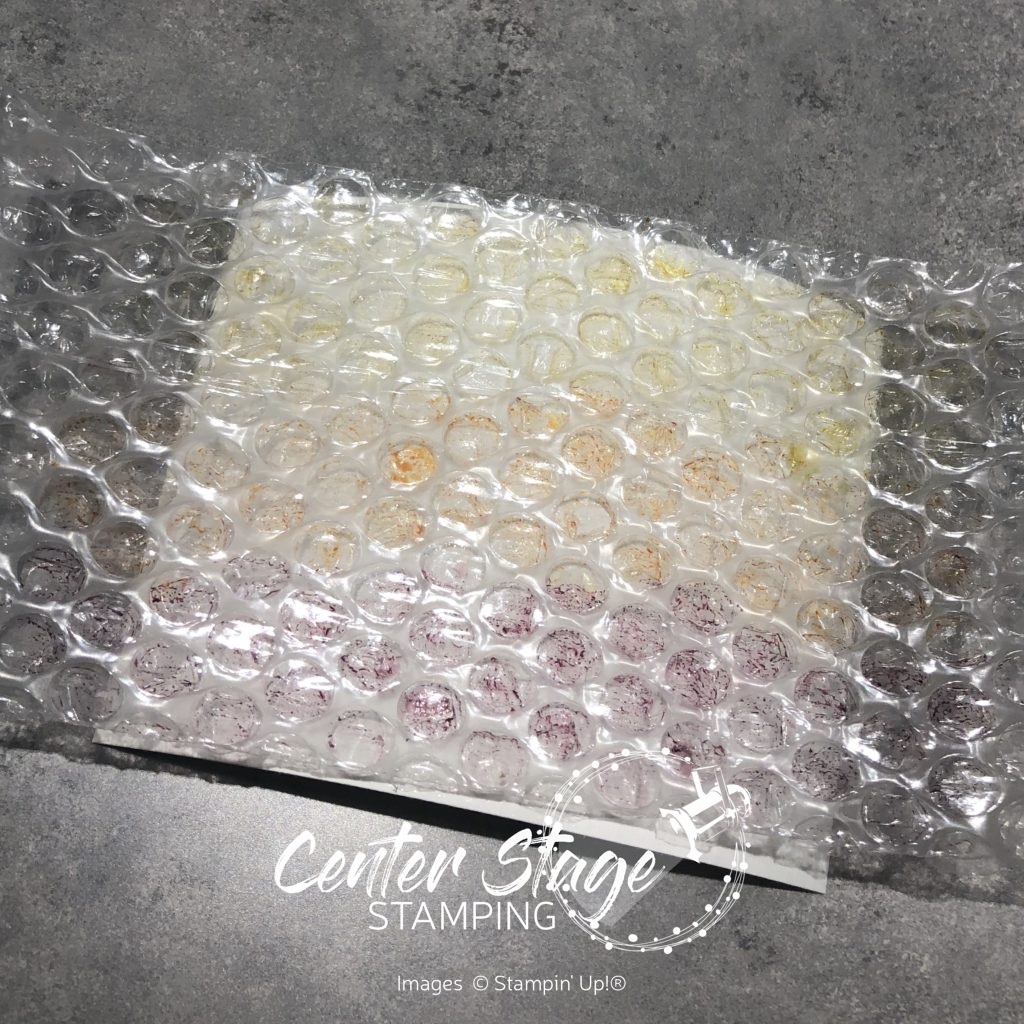
Let the paper dry fully before assembling the card.
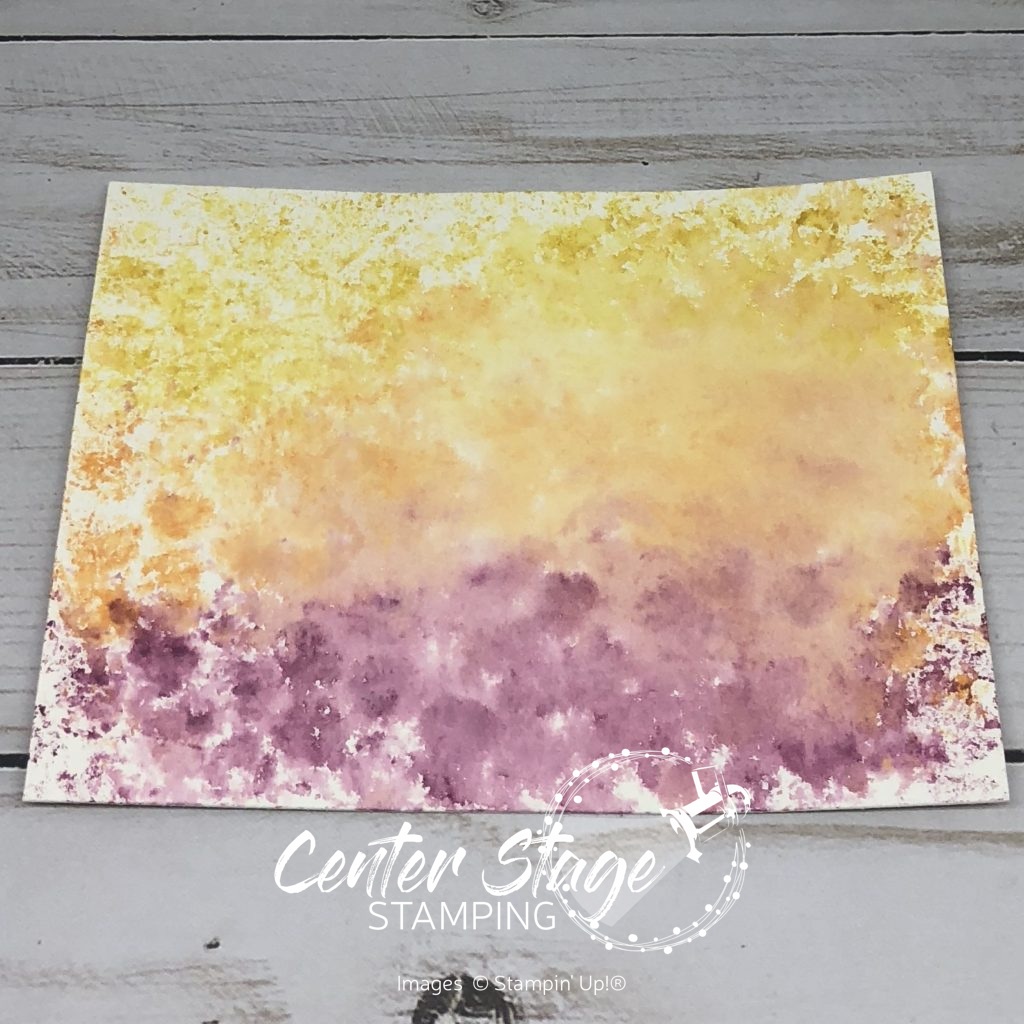
Every time you do this it will turn out a little different. Use less water if you want more of the dots to show, More water if you want it more blended. Color options are endless. Let me know if you give it a try! I’m off to finally pop that bubble wrap…then go get some more!
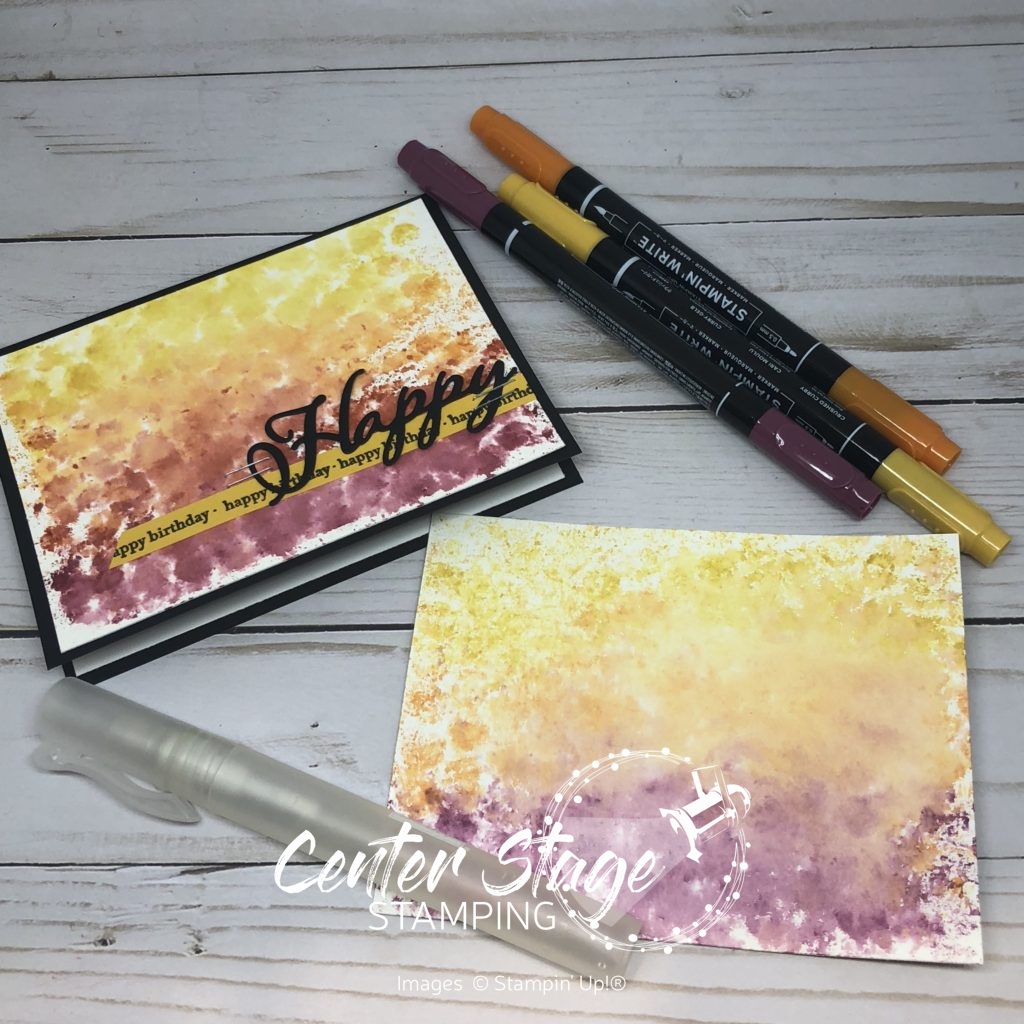
That’s a wrap for today. Join me again to put a spotlight on creativity!
