Card Sketch

Inky Friends: dc 14

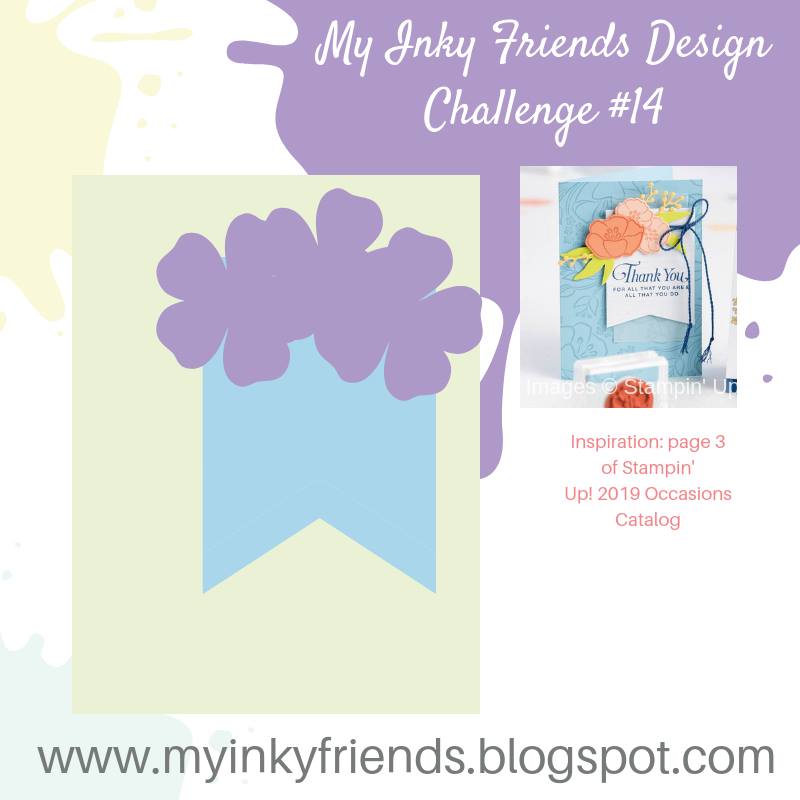
My Inky Friends are back with a new design challenge! This one is a layout based on a card on page 3 of the new Stampin’ Up! Occasions Catalog. Be sure to check out all of the great inspiration over at My Inky Friends and then play along and share your creation based on this fun sketch!

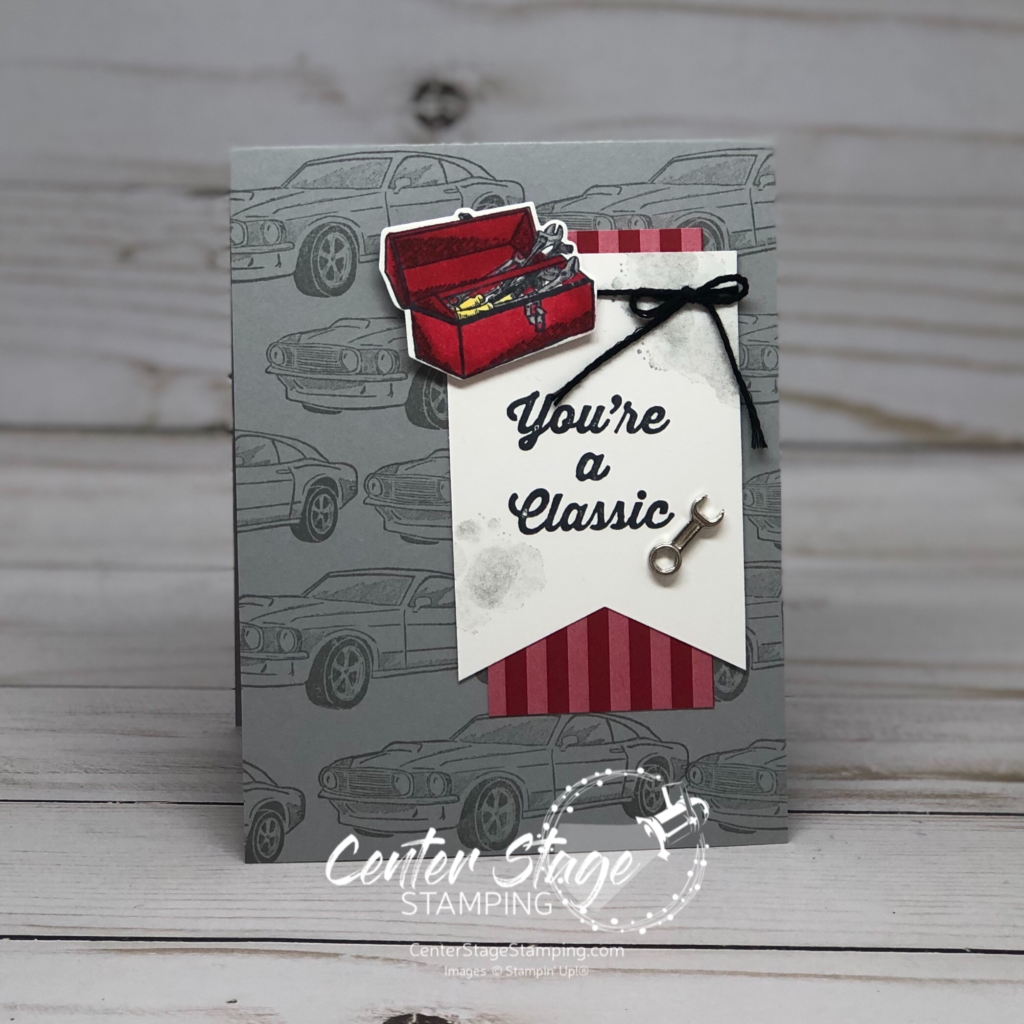
I simply love the card this sketch is based on, so my first instinct was to reach for florals. But then I stopped and thought, “I need to push myself to something different”, so I reached for the new Geared up Garage. I always struggle with making cards for men. But, this set and sketch came together for a fun card that is perfect for the gear head in your life.

Thanks for stopping by! Join me again to shine a spotlight on creativity!

Share with your friends:

inky friends: dc 11


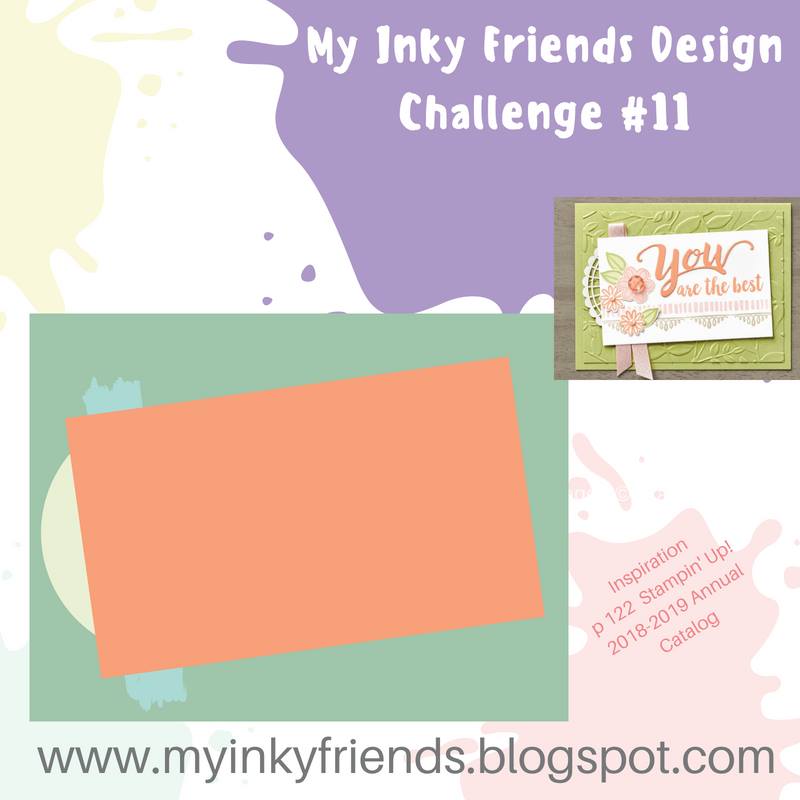
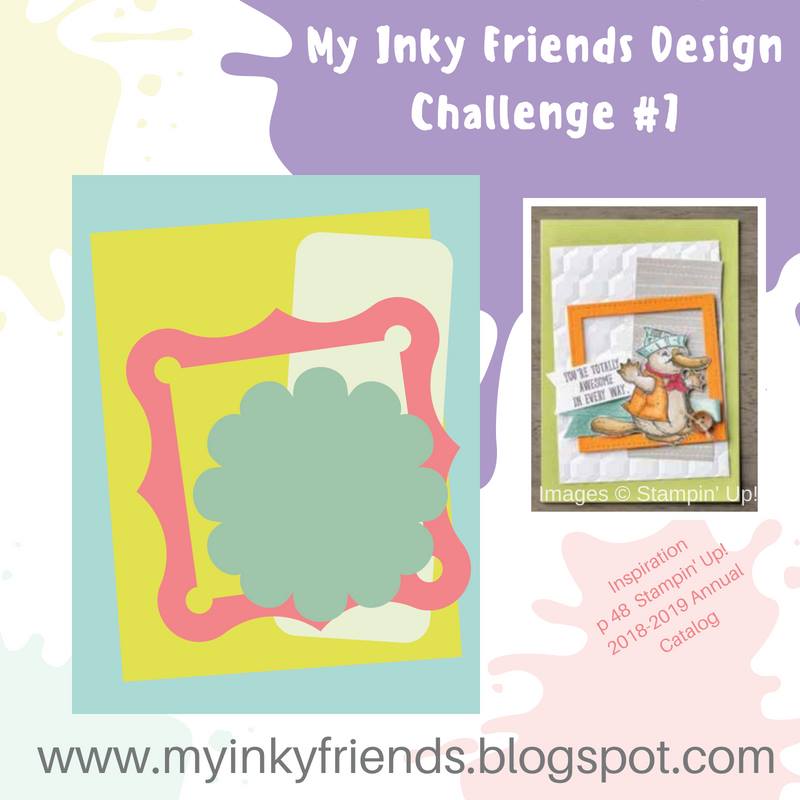
It is time for another design challenge with My Inky Friends!  This one is based on a card layout on page 122 of the 2018-19 Stampin’ Up! catalog.  Here is my creation.

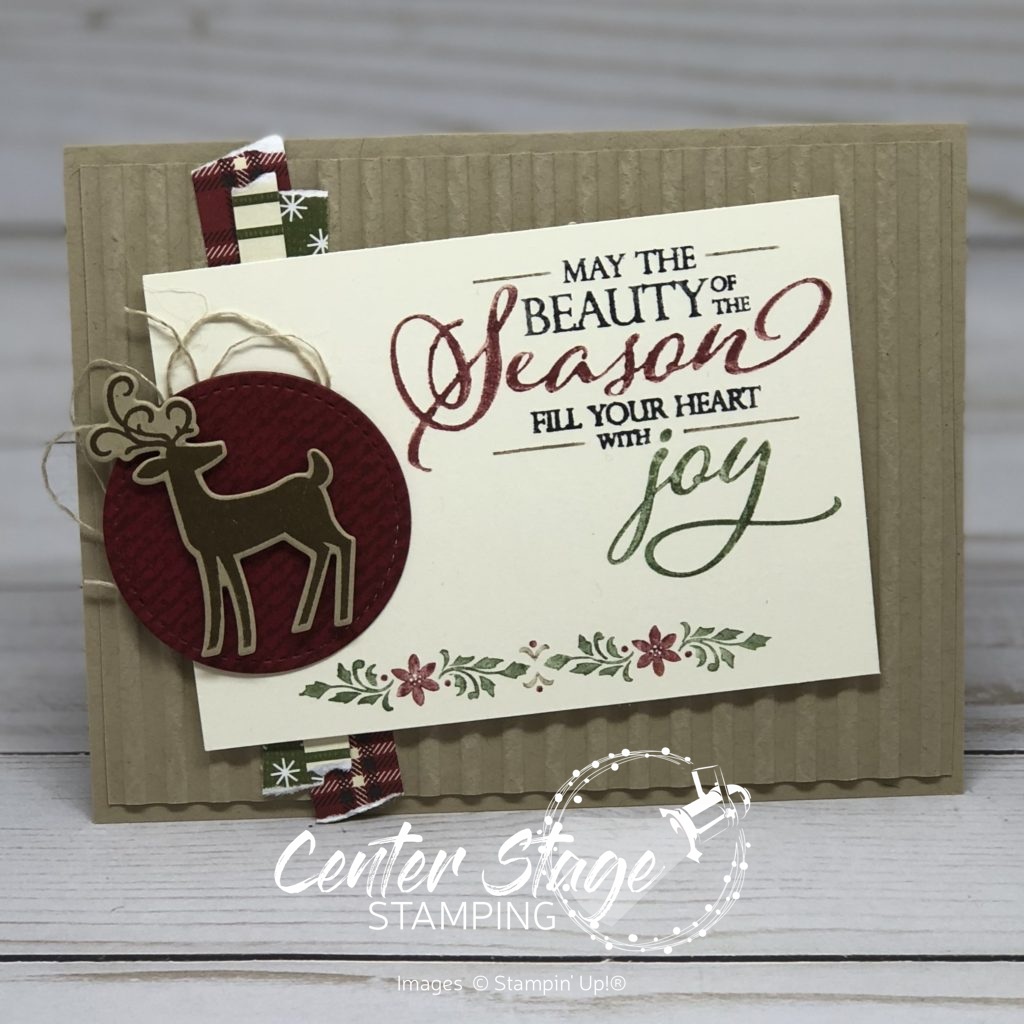
Inky Friends DC11: Dashing Deer - Center Stage Stamping

I used Dashing Deer and Detailed Deer Thinlits.  I think this is my favorite Christmas bundle in the Holiday Catalog.  The Crumb Cake card base has a Crumb Cake layer that I ran through the Corrugated Dynamic Textured Impressions Embossing Folder.  The sentiment is from Merry Christmas to All.  I colored it and the swag with Cherry Cobbler, Mossy Meadow and Crumb Cake markers to get the multi color images.  It is hard to see in the photo, but the Cherry Cobbler circle was stamped with the Burlap background stamp before I cut it out with the Stitched Shapes circle.  I finished off with a few strips of Festive Farmhouse designer series paper and some Linen Thread.

Make sure to check out what the rest of the design team has created for this challenge and then play along!  Make your own creation based on the sketch and share it by linking it to the My Inky Friends page.

Thanks for stopping by! Join me again to shine a spotlight on creativity!


Share with your friends:

inky friends: dc9

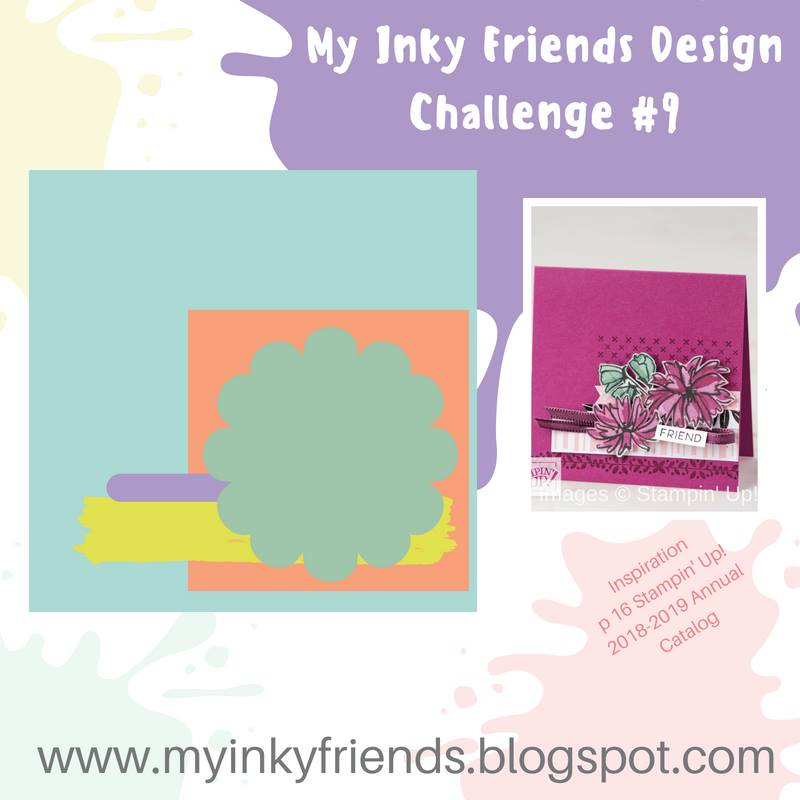
Time for a design challenge from My Inky Friends! For this challenge, we are featuring a square sketch, inspired by page 16 of the Annual Catalog.
I decided to use some new items from the Stampin’ Up! Holiday catalog which goes live tomorrow!  It is chock full of fantastic goodies for all of your holiday projects!  For this challenge, I used the Dashing Deer Bundle – stamp set and coordinating thinlits – and the Joyous Noel Specialty Designer Series Paper. Oh. My. Goodness.  It is sooooooo pretty!  The copper foil accents are stunning.
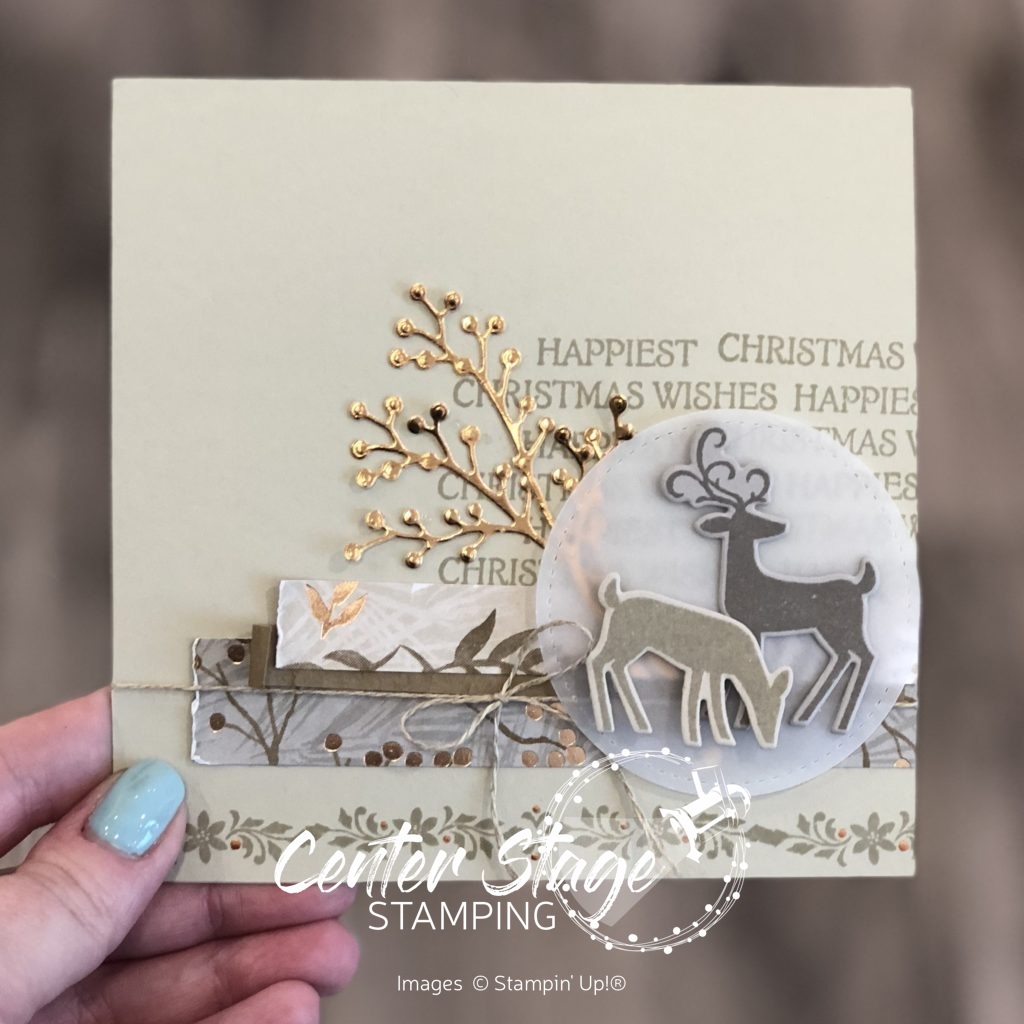
Dashing Deer Happiest Christmas

Colors are Sahara Sand, Gray Granite and Copper.  A close up look at a few details:
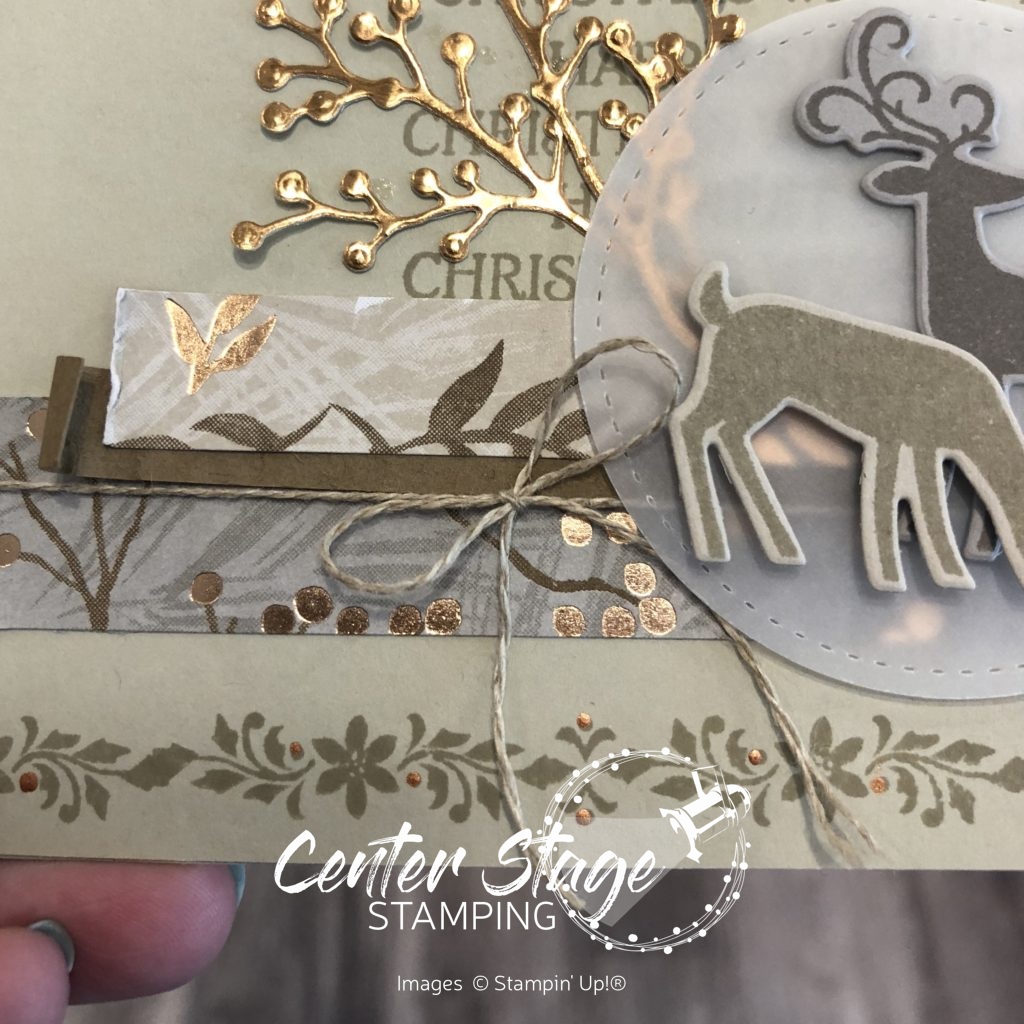
Dashing Deer Happiext Christmas close up - Center Stage Stamping

The vellum circle is cut out with one of the Stitched Shaped Framelits.  The sprig is from the Frosted Bouquet Framelits (part of the Frosted Floral Suite) cut out of Copper Foil.  For the Soft Suede strip I crumpled it up then separated the layers so it has a look of suede (difficult to see in the photo). I used the Bright Copper Shimmer Paint and the stylus end from the Take your Pick too. to put the copper details on the image at the bottom of the card.

Finished project is a 5″x5″ card.  I love the neutral tones on this.  What a fantastic Christmas greeting to send.

Head over to My Inky Friends blog and check out the other projects based on this sketch.  I hope you will join us and play along.  Create your project based on this sketch then upload a link to it on My Inky Friends blog to share it with us.  We love to see your projects!

That’s a wrap for today.  Join me again to put a spotlight on creativity!
Share with your friends:

inky friends – dc7

It’s time for another design challenge from My Inky Friends!  This time it is a layout based on a card on page 48 of the 2018-19 Stampin’ Up! catalog.  I knew the Broadway Bound suite would be great for this challenge.  This set was a must get on my first order from the new catalog.  Hmmmm, I wonder why?  I decided to turn the sketch on its side.


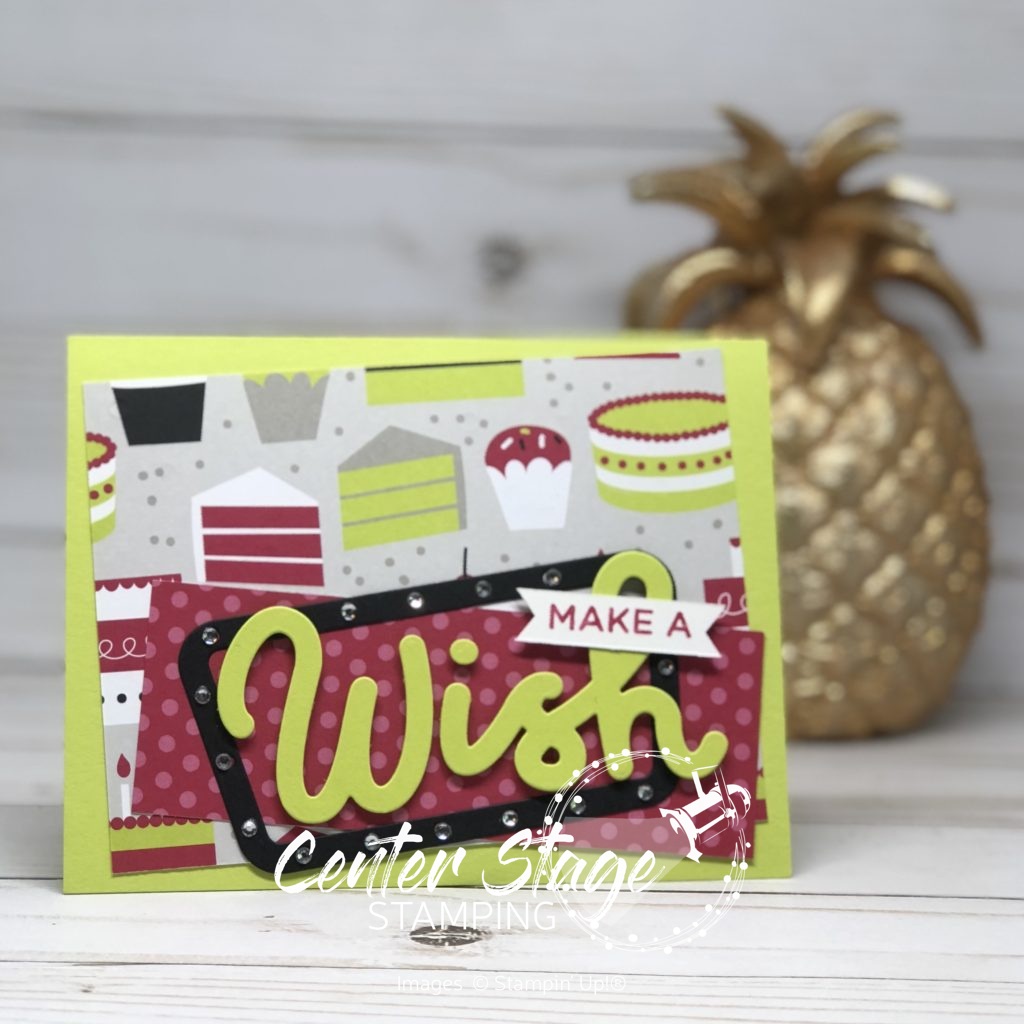
Broadway Birthday Wish - Center Stage Stamping

The only stamping is the “make a” banner.  Gotta love the Broadway Lights framelits!!  The marquee is perfect to fill in with the Metallic Pearls featured in the suite, or my favorite embellishment -Basic Rhinestones!  Perfect for a little Broadway Bling!

Make sure you go over to My Inky Friends and see all the other great ideas for this card layout, then play along! Create your own project based on this sketch and share it with us.

Thanks for stopping by! Happy Stamping!

-Mary

Share with your friends:

inky friends dc 5

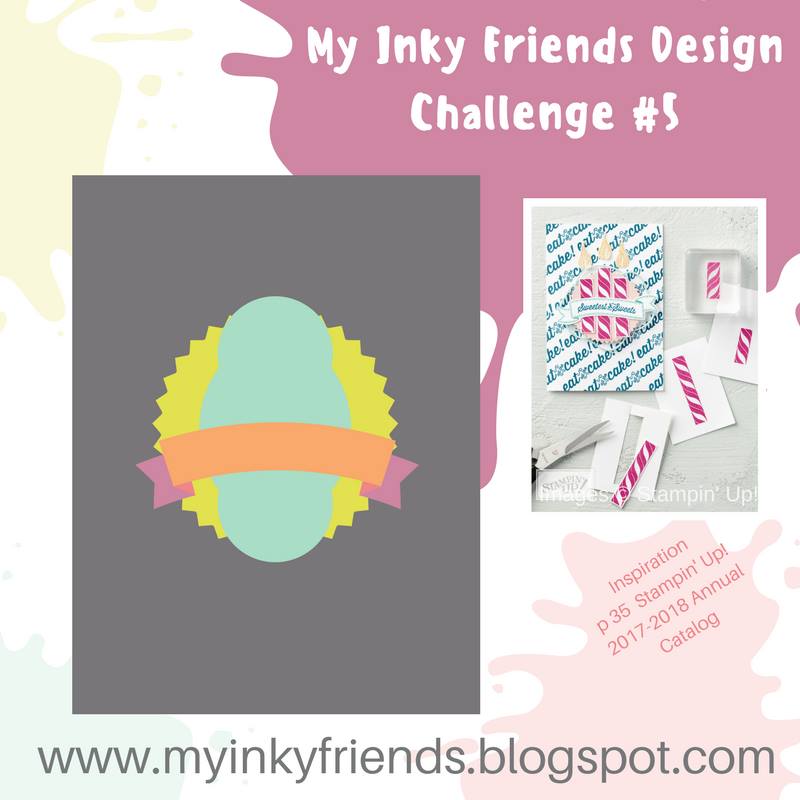
My Inky Friends are back with another Design Challenge.  This one is based on a card layout on page 35 of the 2017-18 Stampin’ Up! catalog.

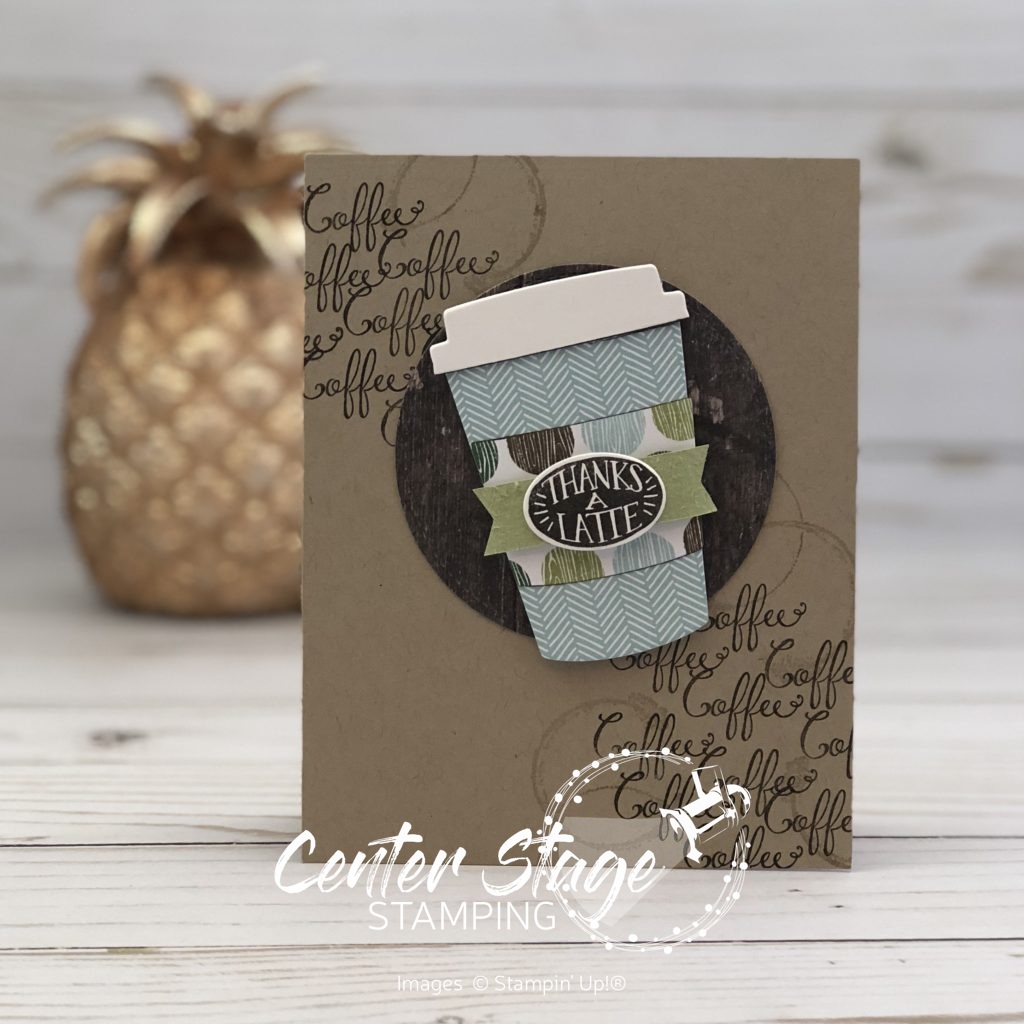
Thanks a Latte - Center Stage Stamping

I decided to use the Coffee Cafe set and added the “coffee” from Balloon Celebration and the coffee rings from Timeless Textures.  The Wood Textures circle is cut out with the Stitched Shapes Framelits, the stitching is hard to see on the dark wood paper. For the Pear Pizazz piece under the Thanks a Latte oval, I went over it with my bone folder to break the fibers.  Next I peeled the paper into two layers.  The piece now has a soft, fuzzy look.

I hope you go check out the other great creations based on this sketch.  Thanks for stopping by! Happy Stamping!

-Mary

Share with your friends:

Inky Friends DC 3

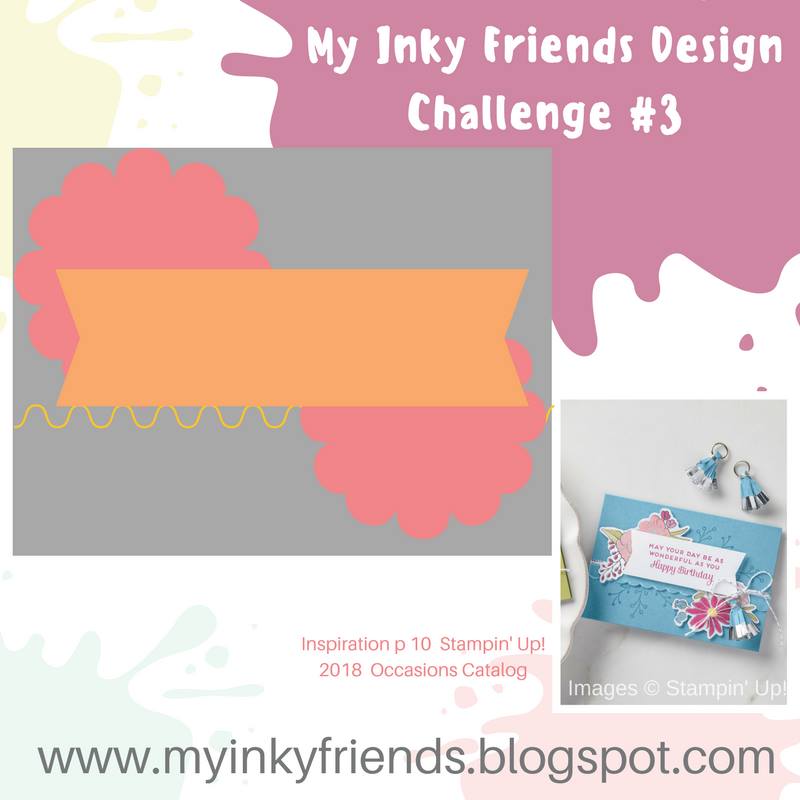
Time for another design challenge over at the Inky Friends blog.  This week is a card sketch challenge based on a sample form page 10 of the Occasions catalog.

Here is my card based on this layout.

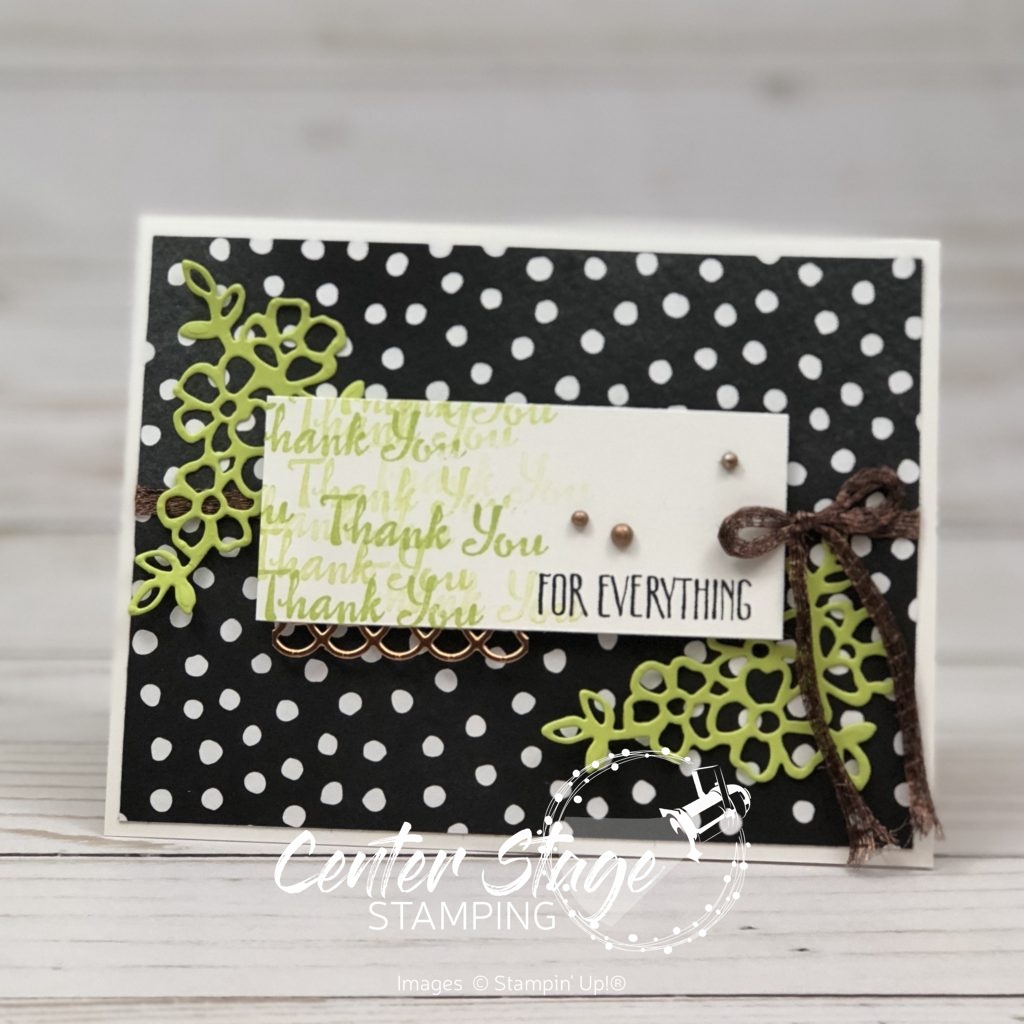
Petal Palette Thank you - Center Stage Stamping

I decided to work with products from the Petal Passion Suite.  I love the bold black and white prints in the Petal Passion designer series paper.  The polk-a-dot print made for a great base for this card.  I used the Petals and More Thinlits to die cut the flowers in Lemon Lime Twist and the scallops in copper metallic. The top panel has the sentiments stamped in Lemon Lime Twist and Basic Black.  I added a copper trim bow and finished off with some Basic Pearls the I colored with a copper sharpie marker.  Head over to My Inky Friends and check out the other Design Team members take on this sketch.  Then create your own and share it with us on the Inky Friends blog.  We would love to have you play along!!

Thanks for stopping by! Happy Stamping!

-Mary

Share with your friends:

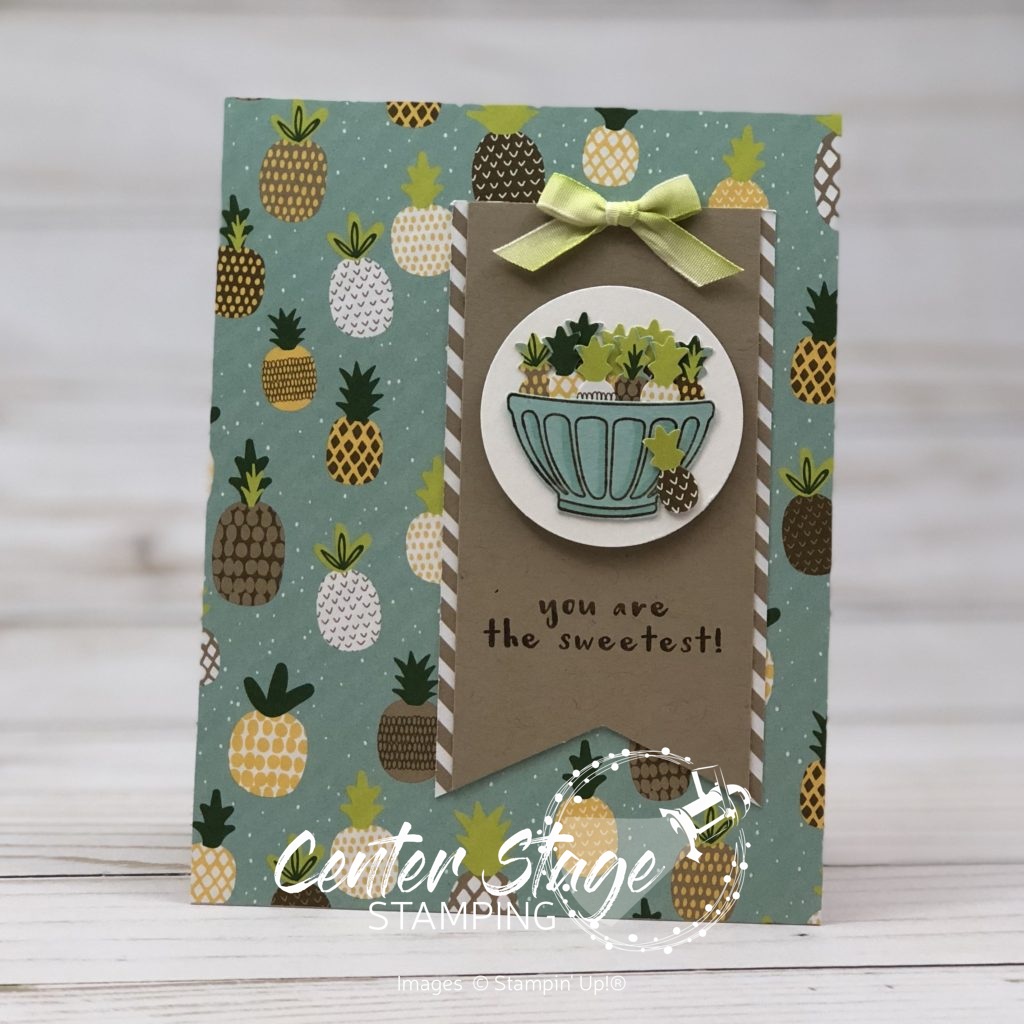
Sweet Pineapple

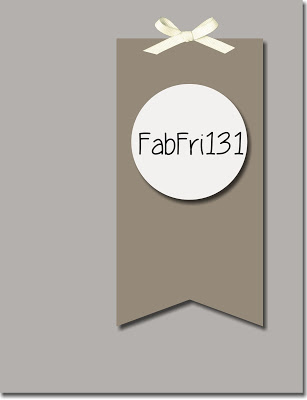
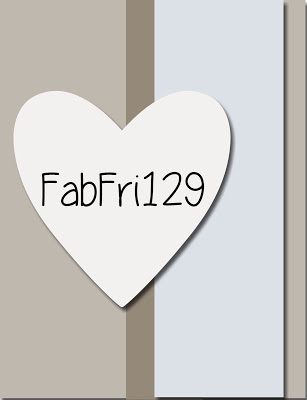
Fab Friday has a new sketch challenge up and I was inspired to play along.  I really like sketch challenges when I need to jump start my stamping mojo.  Here is the sketch:

And here is my take on it:

Sweet pineapples - Center Stage Stamping

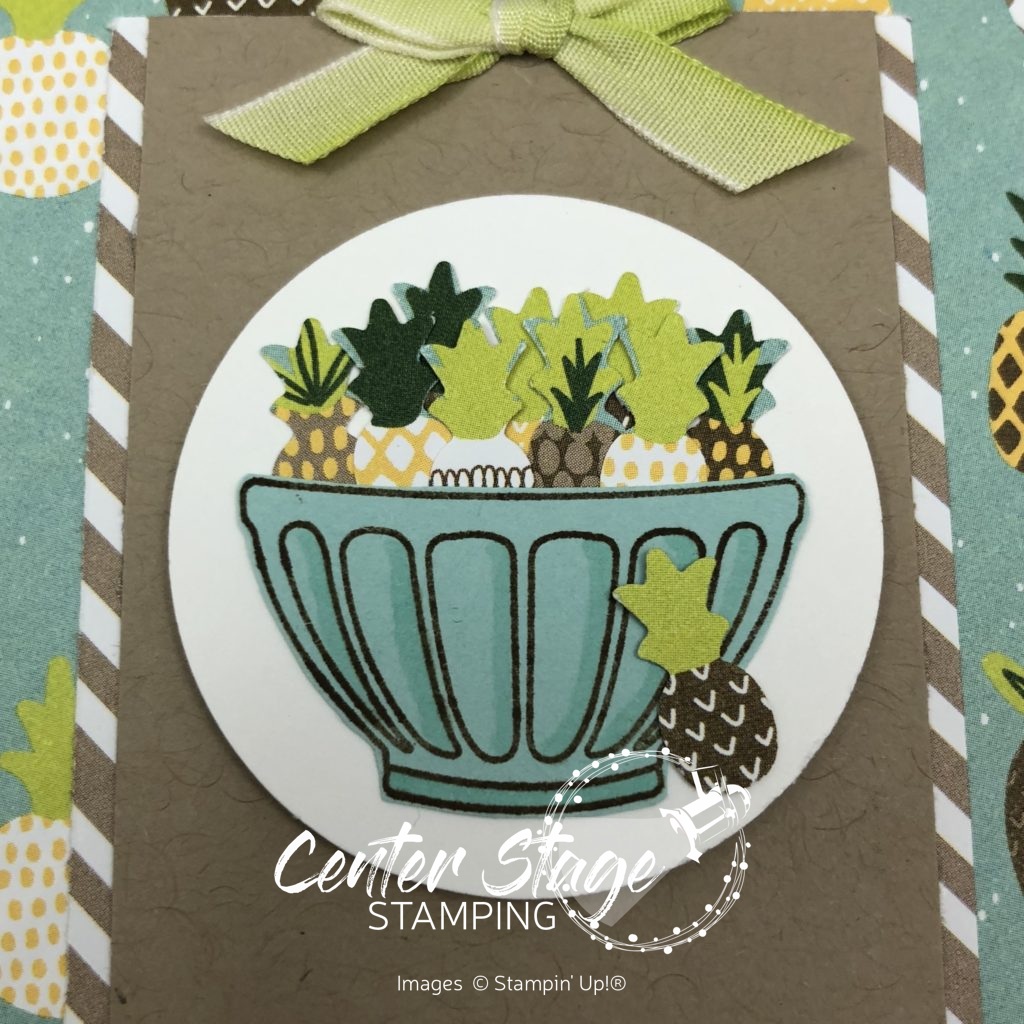
I love this pineapple print from the Tutti-frutti designer series paper stack.  I used the pineapple from the Itty Bitty Fruit punch pack to punch out tiny pineapples from the patterned paper.  I stamped the bowl from the Fruit Basket stamp set on Pool Party card stock and fussy cut it out.  To add a little detail, I added some shadows with the light Pool Party Stampin’ Blends marker.  Here is a close up so you can see it better.

Pineapple bowl close up - Center Stage Stamping

I think it added some nice depth to the bowl.  And, aren’t those little pineapples adorable?  I LOVE that little punch.  The whole Tutti-frutti suite in the Occasions catalog is fun.  I can’t wait to play with it some more.  I have lots of ideas floating around in my head, just need time in my studio!

Thanks for stopping by!  Happy Stamping!

-Mary

Share with your friends:

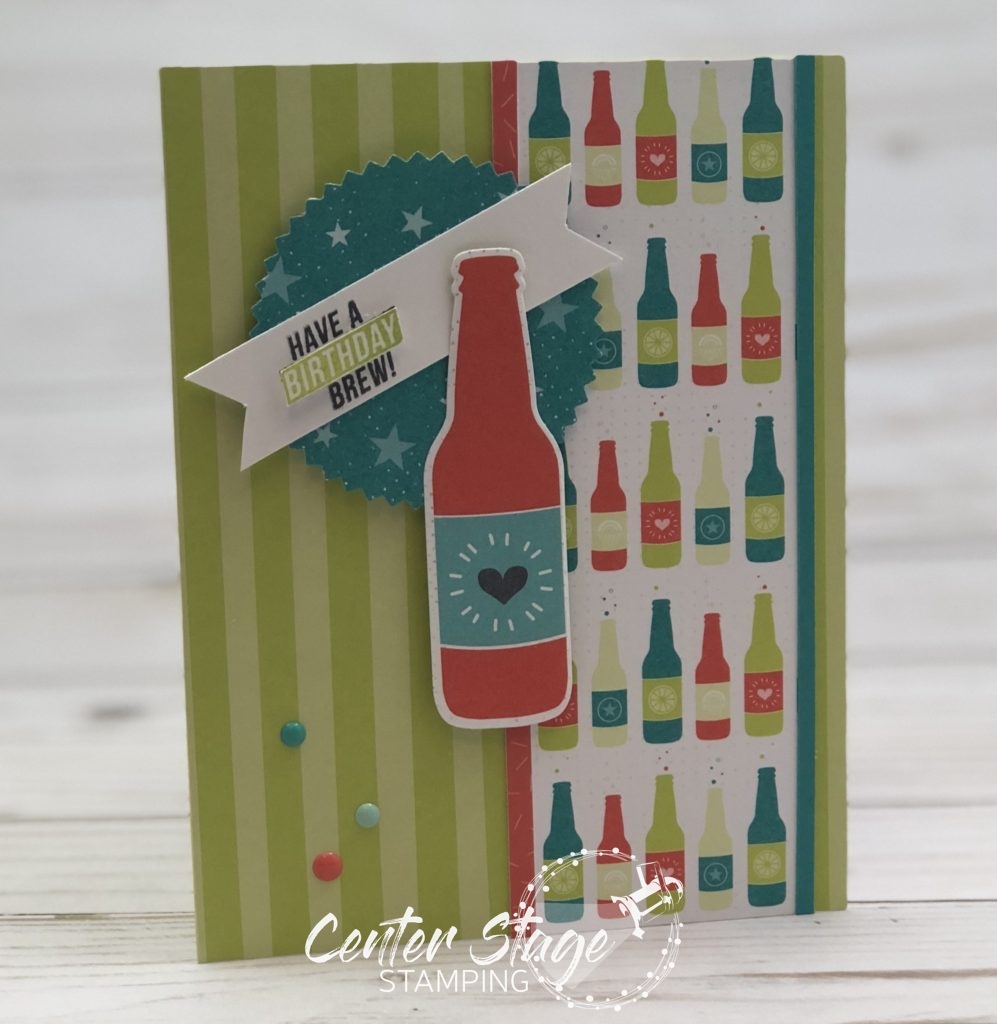
Have a Birthday Brew

I had some fun playing along with another challenge at Fab Friday.  This time it is a sketch challenge.  Go check it out and play along!

I was inspired to use the Bubble Over set.  I have been having a lot of fun with this one lately.  I stayed pretty true to the sketch with my card, but decided to expand the focal shape.

Stampin' Up! Bubble Over - Center Stage Stamping


I am in love with the Bubbles and Fizz dsp in the Sale-A-Bration brochure.  These colors are so bright and fun. Started with one of the Tutti-frutti cards also from the Sale-A-Bration brochure. Layered the bottle print strip and the this strips (the thin coral strip is from one of the Tutti-frutti cards, too).  I die cut the bottle out from one of the sheets of dsp and layered it on a Starburst punched from another pattern in the pack.  Added the banner with the sentiment and finished off with some of the enamel dots.

Thanks for stopping by! Happy Stamping!

-Mary


Share with your friends: