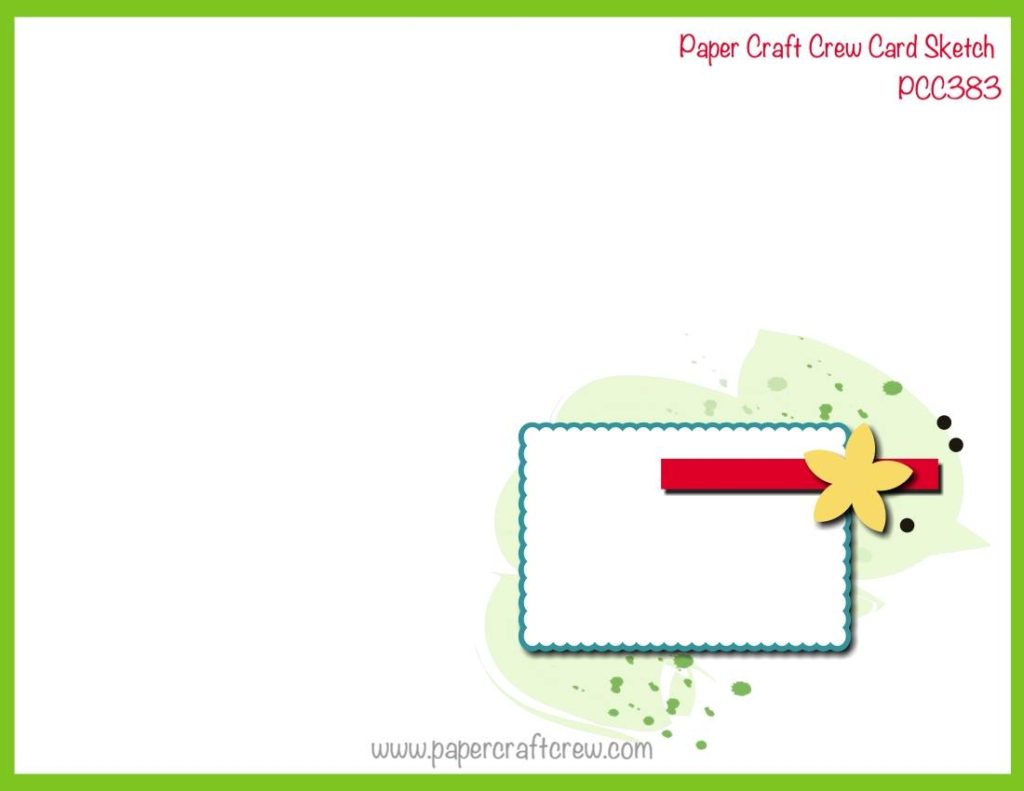
Hello crafty friends! Let’s kick off July with a fun sketch challenge from the Paper Craft Crew!
What a great sketch! So many possibilities for shapes in the corner. I like all of the detail in the corner, so I decided to stay pretty true to the sketch.
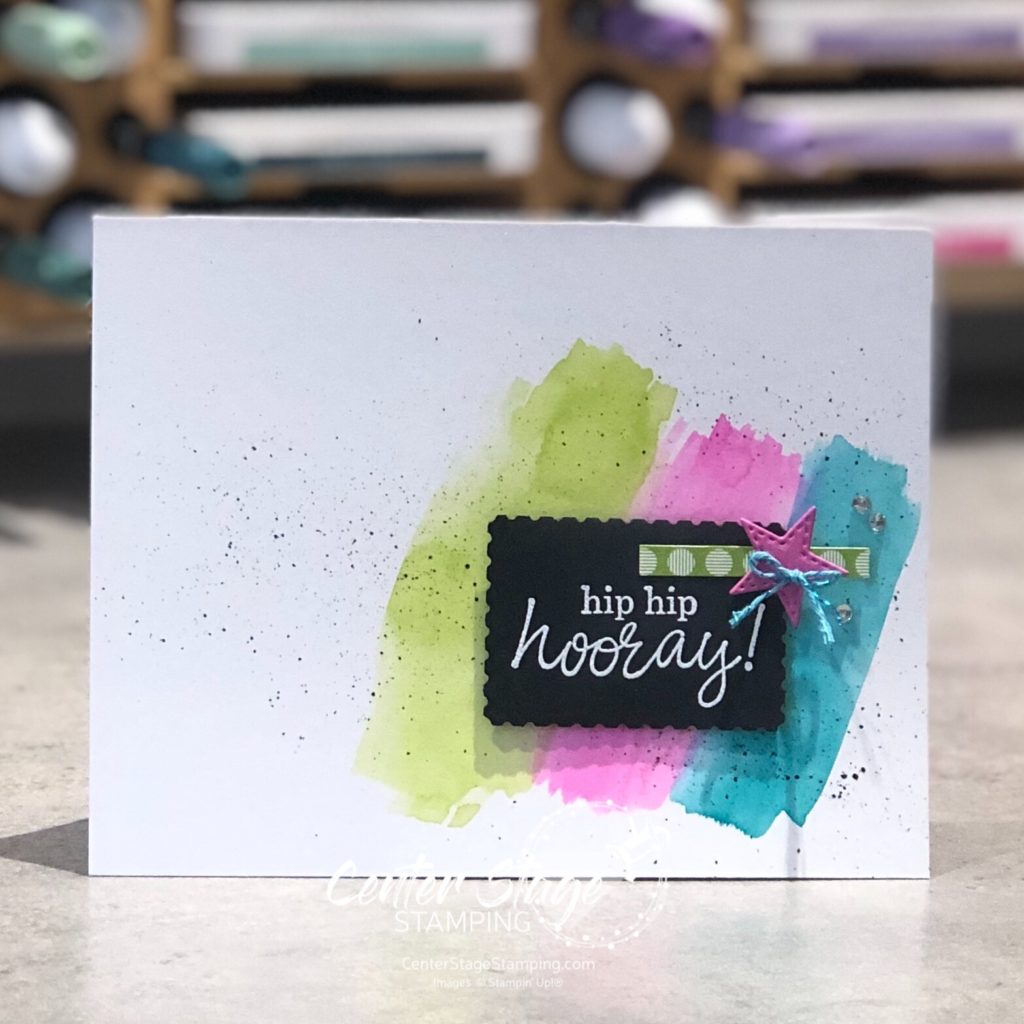
I started with a sheet of Canson Bristol Smooth paper. It is water friendly, so it was easy to add the watercolor wash swatches. I was kind of feeling a neon groove, so I used Granny Apple Green, Magenta madness and Bermuda Bay. Once it was fully dry, I added some spatters with my black marker. The sentiment, from the new Best Year stamp set, is embossed in white on black card stock and punched out with the new Postage punch from Stampin’ up!
A fun bright way to cheer for someone. I’d love to see your take on this sketch. Head on over to the Paper Craft Crew blog and play along! You’ve got two weeks to join in for this challenge, so give it a try!
Thanks for stopping by! Join me again to shine a spotlight on creativity!
Hello crafty friends! I’m so happy to be hopping with the super creative Stamp Review Crew Design Team! Today we are shining a spotlight on Painted Poppies. This beautiful set is in the current Stampin’ Up! mini catalog and is part of a beautiful suite of products, including coordinating dies and some gorgeous designer series paper.
For stamp sets that are part of a product suite like this, I try to create a project or two not using any of the coordinating products. It helps me find more versatility in the stamp set. That’s what I did for today’s projects.
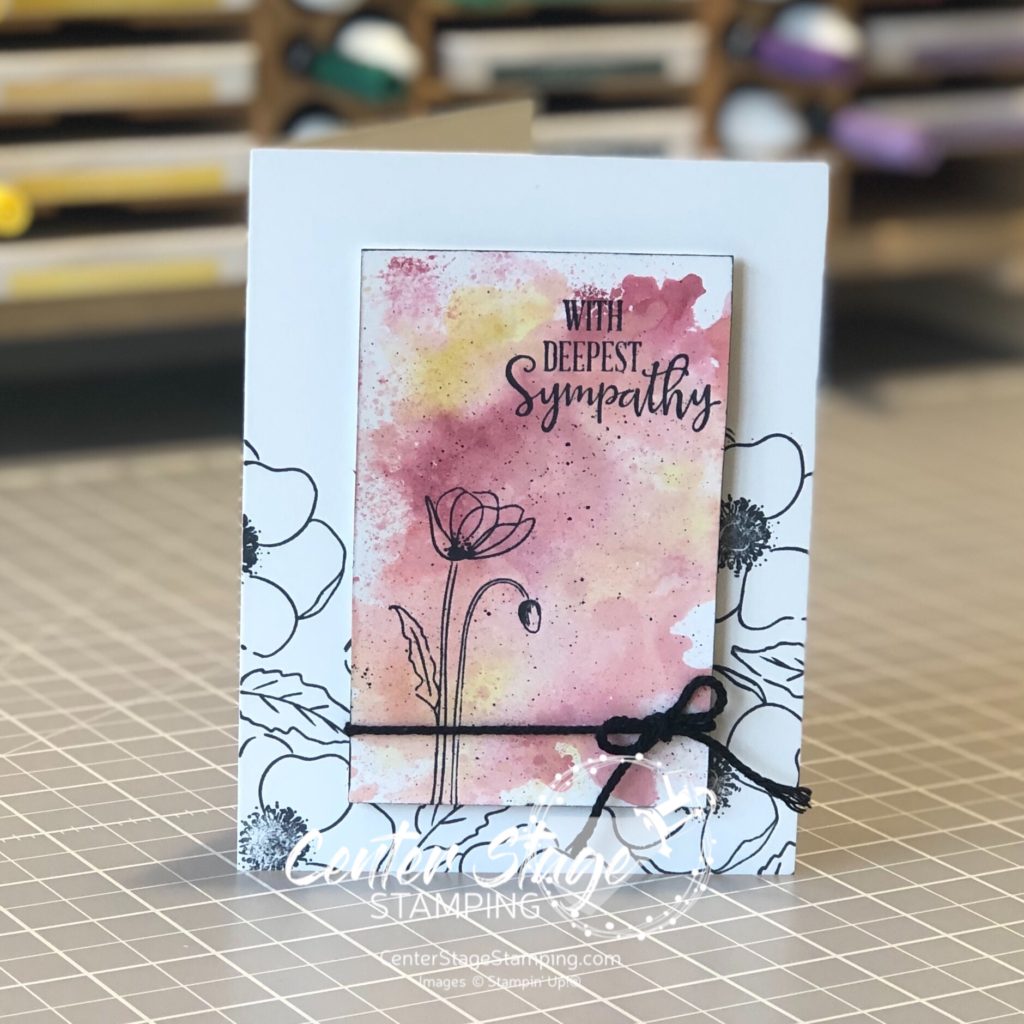
For this first card, I did a simple watercolor smooshing to create a background to stand out against images stamped in black.
I used Cherry Cobbler, Terracotta Tile and Crushed Curry Stampin’ Write markers and scribbled them on my silicon mat. Next I spritzed the mat with water and laid my Whisper White (thick) panel on to pick up the color. This technique works better with watercolor paper, but I wanted a smooth surface. You do have to be careful not to over saturate the Whisper White card stock or it will pill. Let the panel completely dry before stamping the image in Memento Black ink.
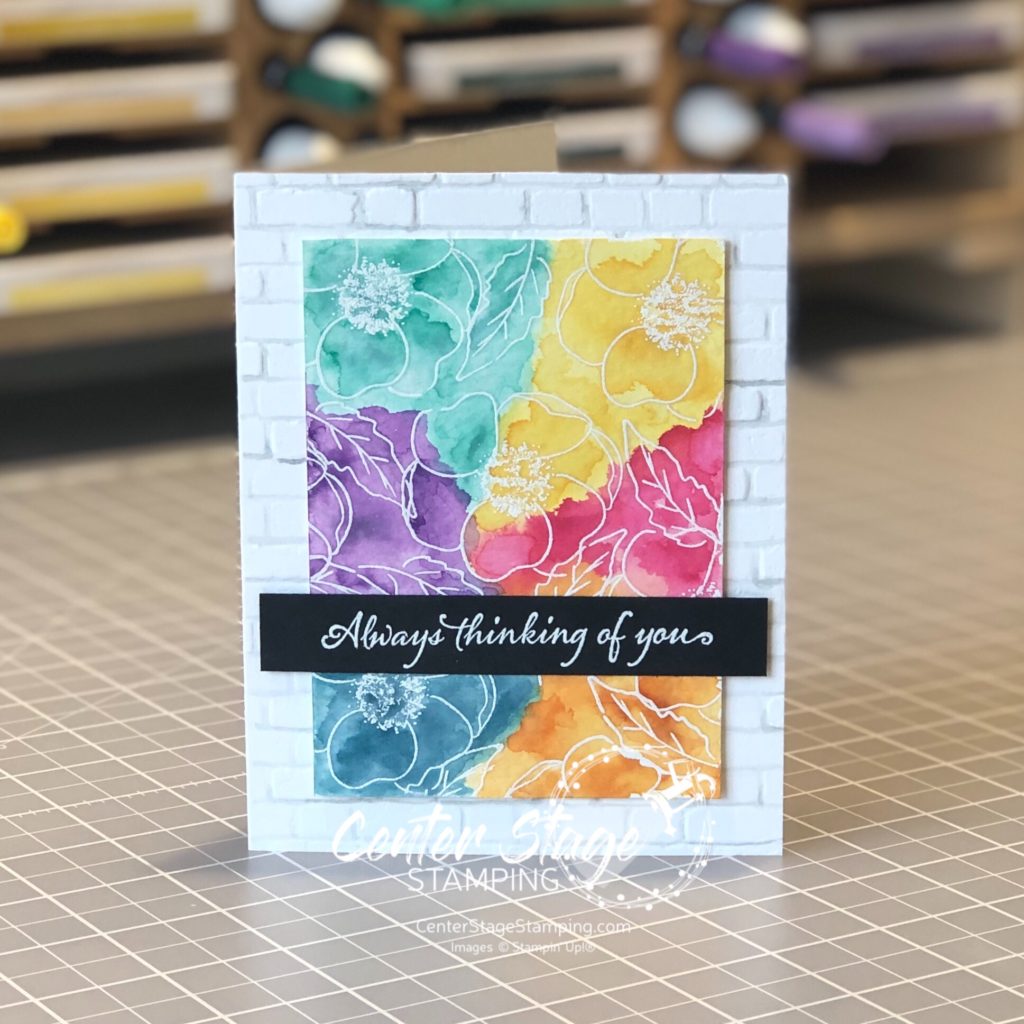
My second card uses a much bolder color scheme. I started by stamping the flower images in VersaMark ink and embossing them with white embossing powder on watercolor paper.
I did a watercolor wash across the panel, doing one color section at a time. Be sure to let dry between colors to control color bleeding. I used Daffodil Delight, Lovely Lipstick, Pumpkin Pie, Pretty Peacock, Gorgeous Grape, and Coastal Cabana. The card base was embossed with the Brick&Mortar 3D embossing folder. I painted the grout lines with a light wash of Smokey Slate to help create additional depth. The sentiment is from Very Versailles stamp set.
Thanks for stopping by! Be sure to check out the full blog hop for more inspirational projects featuring this beautiful stamp set! You can head on over to the talented Cindy by clicking on the NEXT button below or you can go back to the creative Nikki by clicking on the PREVIOUS button.
Thanks for stopping by! Join me again to shine a spotlight on creativity!
Hello friends! I am excited to be hopping once again with the Stamp Review Crew. If you are not familiar with The Stamp Review Crew, we are a group of international Stampin’ Up! Demonstrators who hop together on the first and third Monday of the month to bring you some great inspiration. Each blog hop features a different stamp set. You can find all of the blog hops archived on the Stamp Review Crew blog. Today we are shining a spotlight on the Honey Bee stamp set.
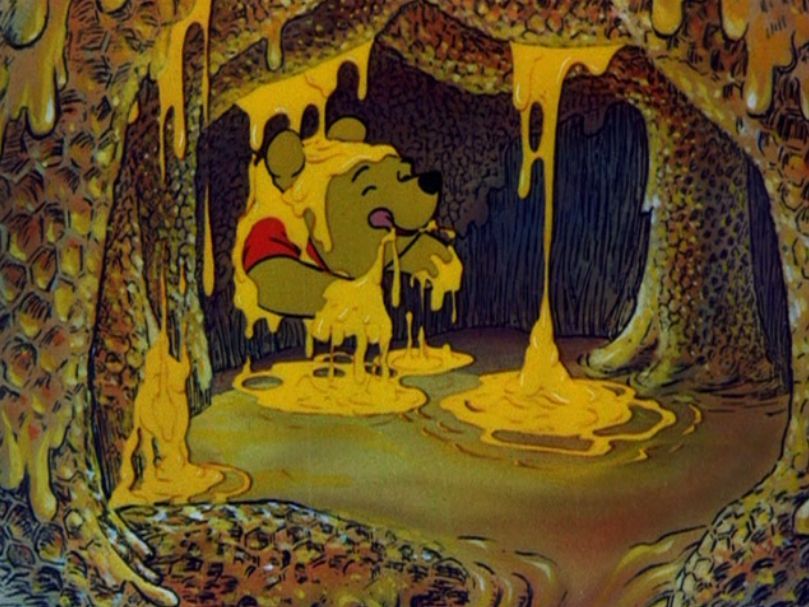
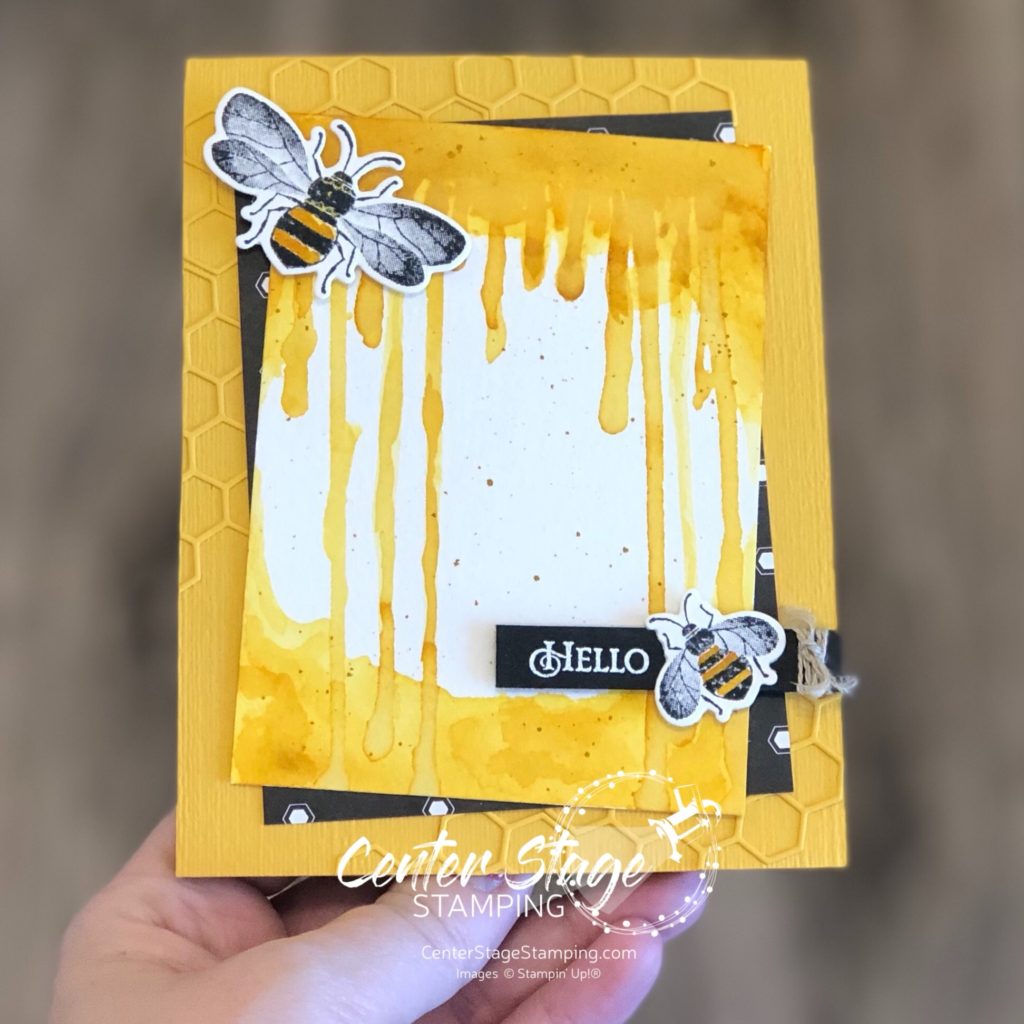
This stamp set is so much fun to work with. For my first card, I was inspired by one of my favorite Disney characters with a love for Hunny – Winnie the Pooh! I was thinking about the scene where he gets stuck in the honey tree and honey is dripping all around him.
I created a Crushed Curry watercolor wash to try to create a similar look.
I added a couple of bees, some Golden Honey DSP and some die cut honey comb for added texture.
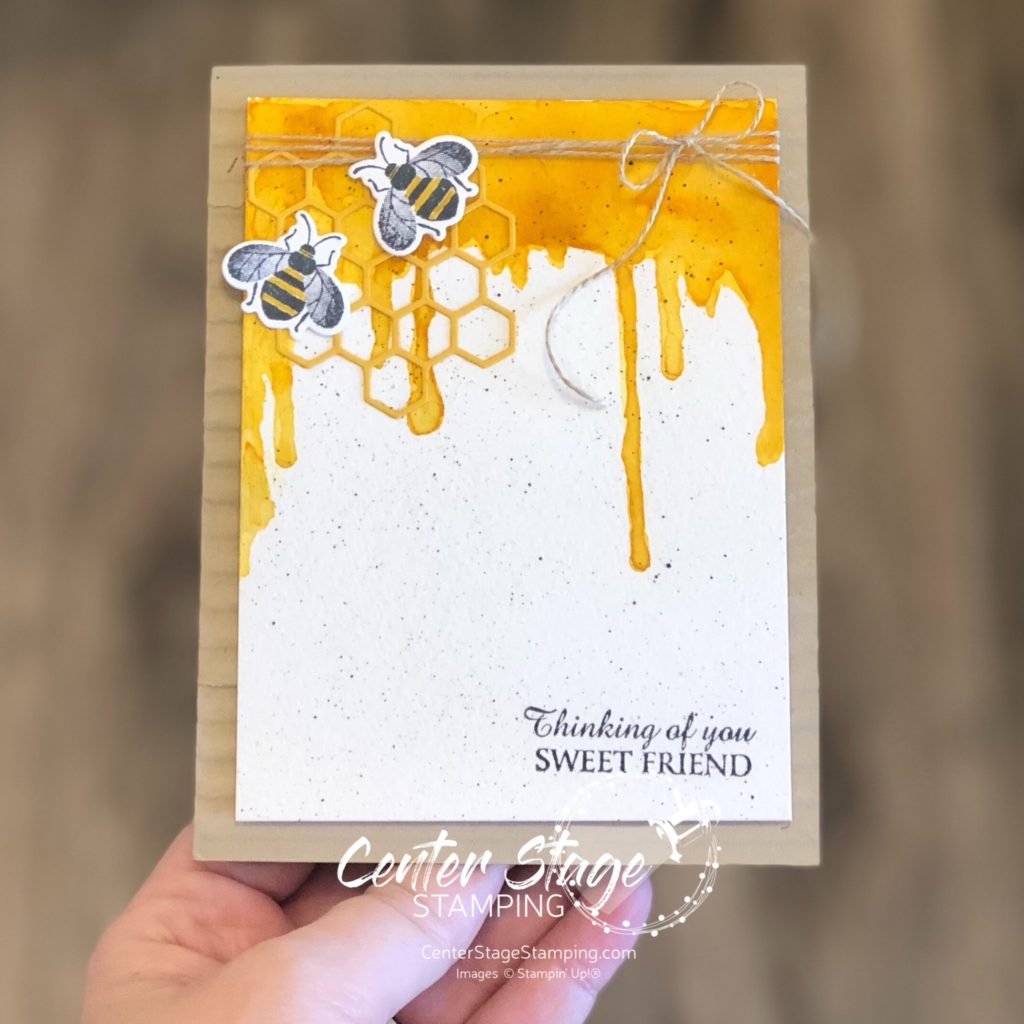
My second project continues the dripping honey theme.
This time I added the panel to a card base embossed with the Corrugated 3D emboss folder.
I think that Silly Ol’ Bear would approve, don’t you? Time for you to continue your way to more creative inspiration through the blog hop. From here you can head over to Linda by clicking the NEXT button below or you can go back to Holly by clicking the PREVIOUS button
Thanks for stopping by! Join me again to shine a spotlight on creativity!
Hello crafty friends and welcome to another Stamp Review Crew blog hop! Taking the stage today is the beautiful Forever Blossoms form the Mini Catalog. I believe the large sprig is a cherry blossom. (I’m guessing based on the fact that Cherry Blossoms is the coordinating die set.)
I started with a color scheme of various shades of pink. I used Petal Pink, Flirty Flamingo, Melon Mambo, and Lovely Lipstick. For the first card, I started with a water color wash for the back ground. I added a little Daffodil Delight and Calypso Coral for more color depth.
Once the water color was completely dry, I stamped the flower sprig in black ink and added some white accents with a white color pencil. Then I colored the petal with some Wink of Stella for a delicate shimmer. The card base is stamped with All Wired Up in Flirty Flamingo.
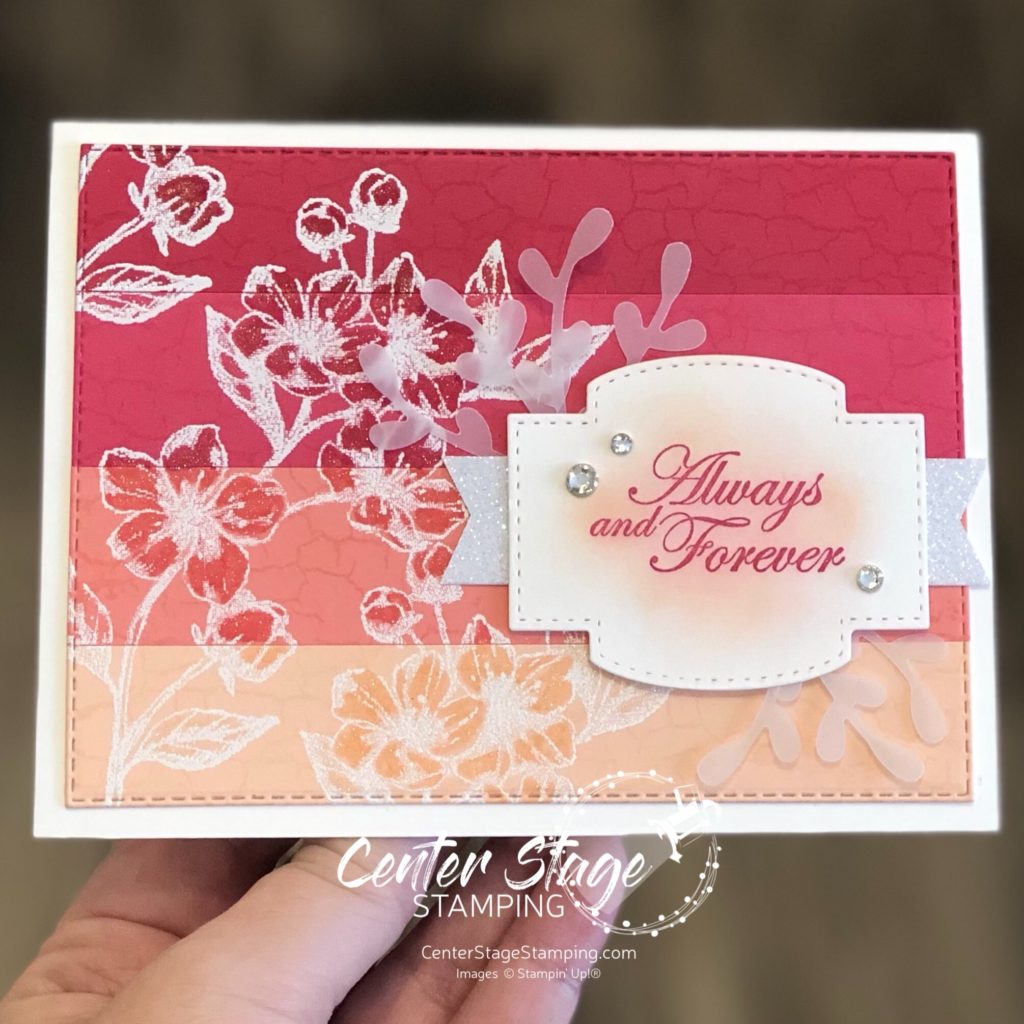
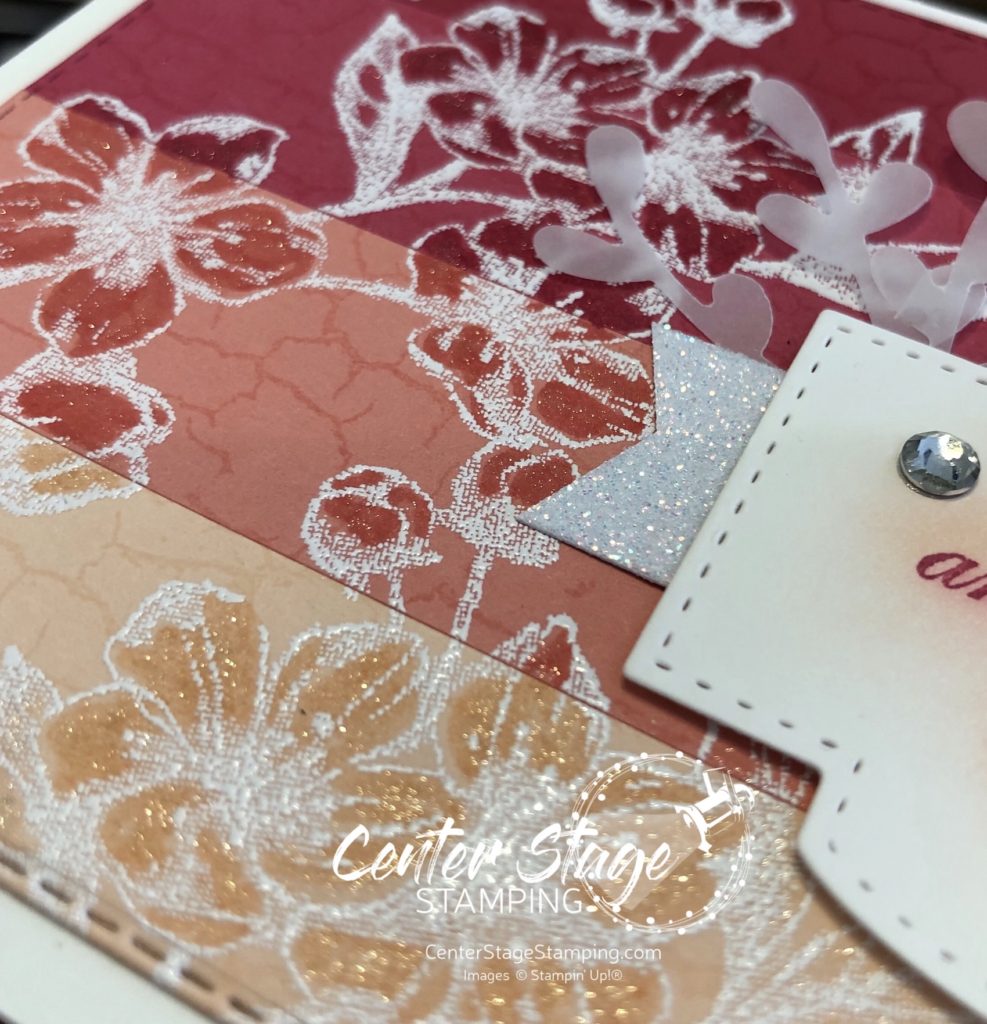
For the second card, I glued down strips of card stock for an ombre look. I heat embossed the flowers in white and colored them in with the same color Stampin’ Write markers to make them stand out. This panel was then stamped with the Crackle background using VersaMark ink for a subtle background. I added Wink of Stella to the flowers for sparkle and cut the panel with a stitched rectangle die. The sentiment is on one of the Stitched So Sweetly dies with a little glimmer paper for more sparkle. Finished off with some vellum sprigs and a few rhinestones.
I love the delicate sparkle on these cards. It’s really giving me some springtime vibes. Sigh. That’s a long way off. Let’s go see what the rest of the design team has in store for this beautiful set! You can head over to Ann by clicking on the NEXT button below or go back to Lauren by clicking the PREVIOUS button.
Thanks for stopping by! Join me again to shine a spotlight on creativity!
A few weeks ago I had the opportunity to attend the Stampin’ Up! On Stage event in Las Vegas. It was so much fun getting to see old friends, make new ones and get to see the NEW Stampin’ Up! Mini Catalog! Check back for some fun sneak peeks soon.
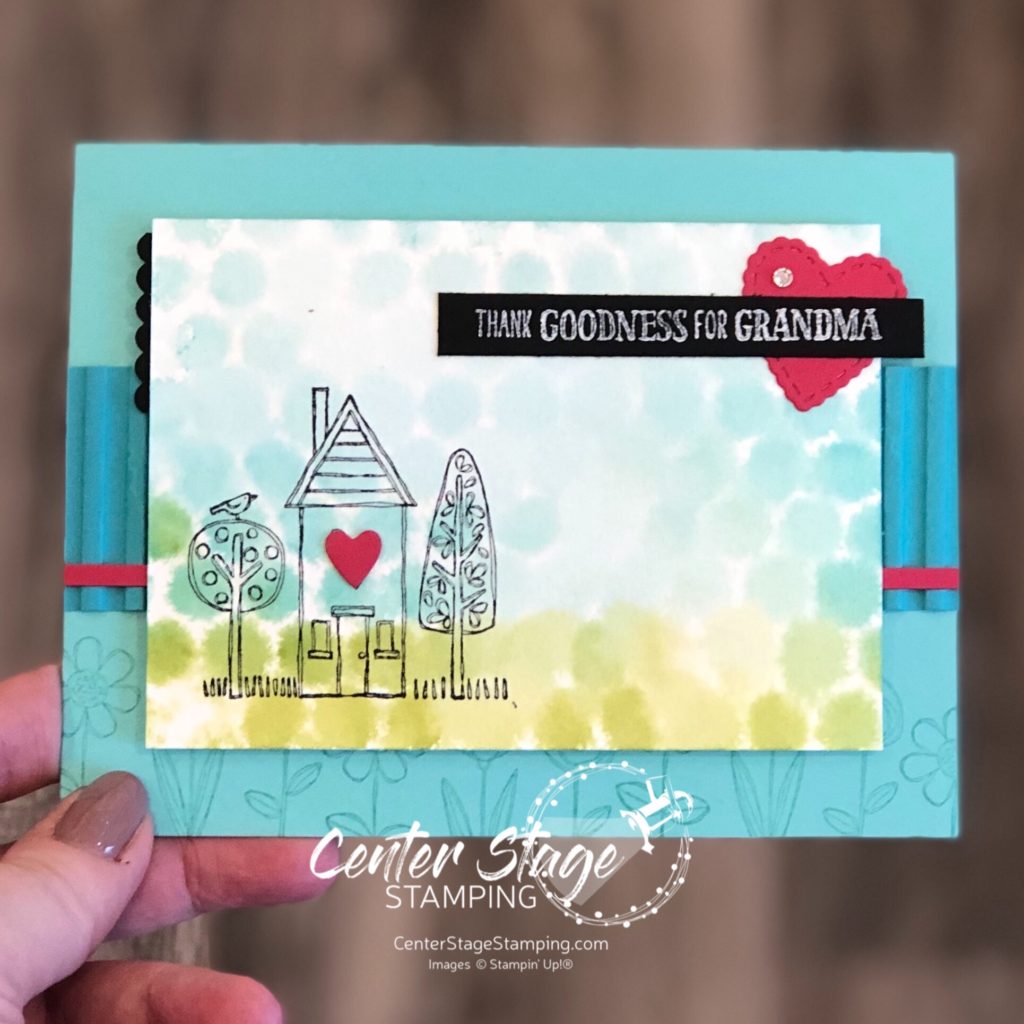
I also had the chance to attend a fun event hosted by the TGIF Challenges design team. Fabulous make&takes, amazing displays, and more wonderful friends. We each made a card to swap for this event. Here is mine:
I used Grandma’s House stamp set and the bubblewrap water color technique. Colors are Coastal Cabana, Bermuda Bay, Old Olive, Lovely Lipstick, Basic Black.
I love swapping at these events. It is so much fun to meet new people and get so many great card ideas.
Thanks for stopping by. Join me again to shine a spotlight on creativity!
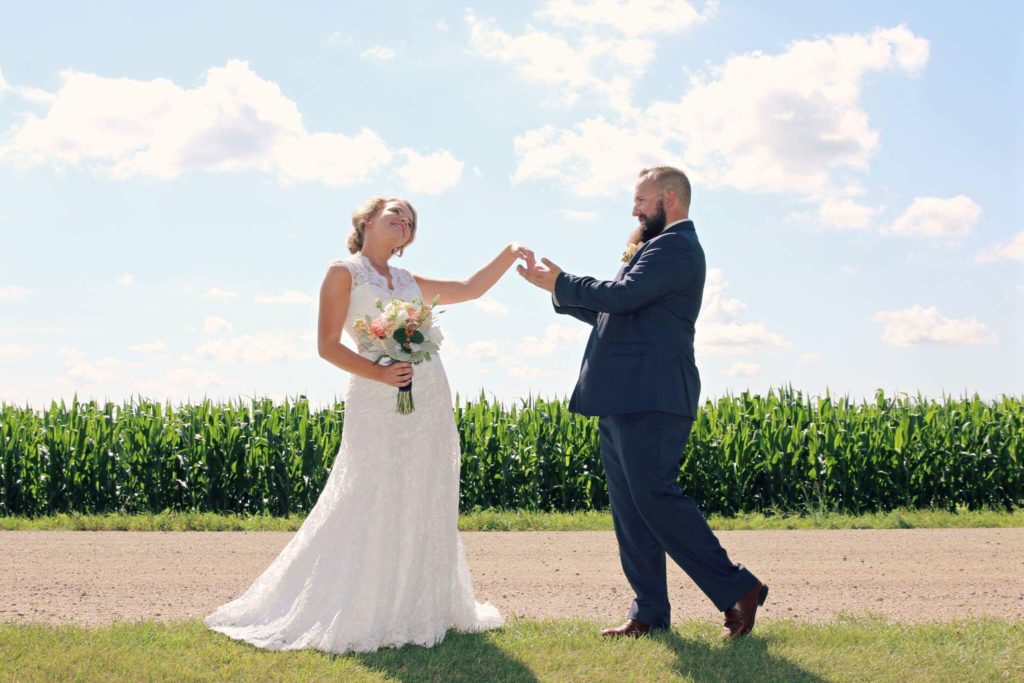
My daughter Jessica and her husband Tyler celebrated their first wedding anniversary on July 22.
We spent this past weekend in Fargo, ND moving them into their first house! I was able to hand deliver the card I made for them.
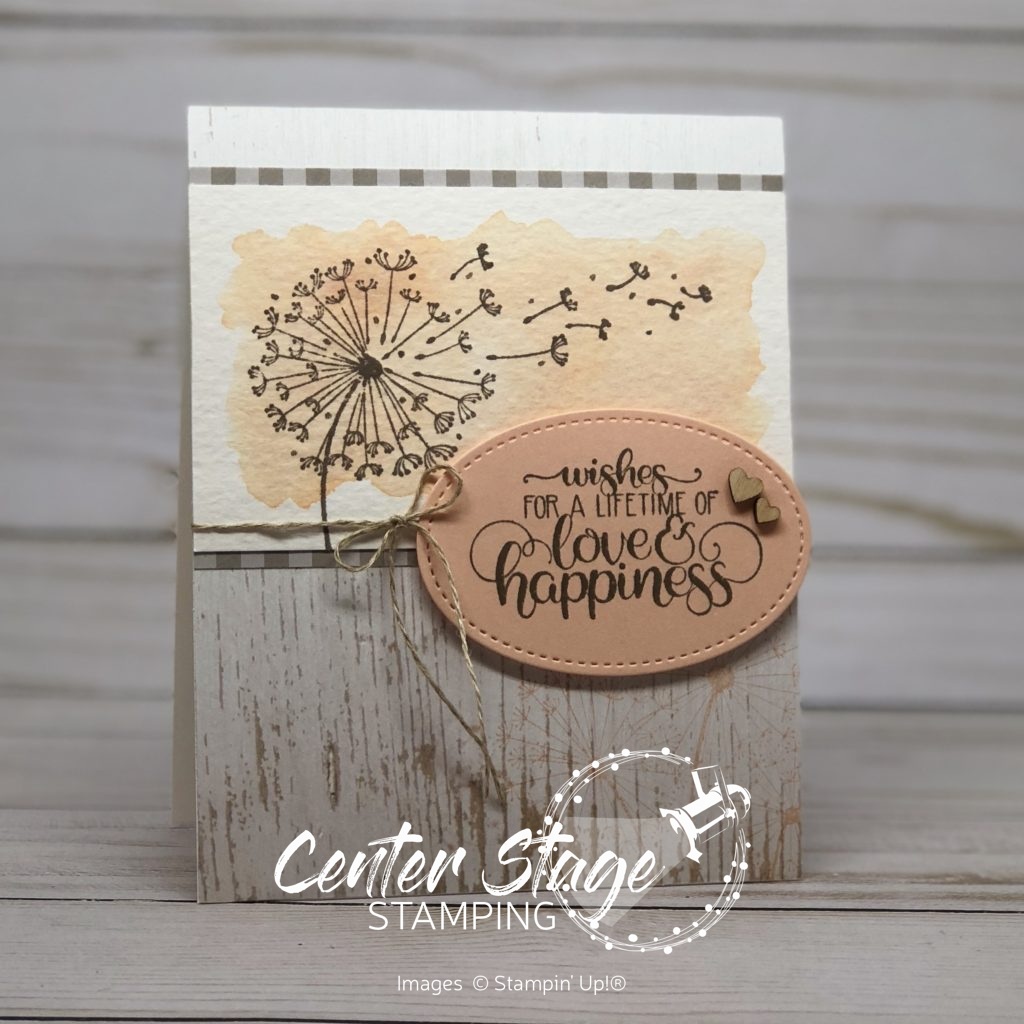
I thought Dandelion Wishes was perfect for this occasion. I was able to capture the rustic style that was the wedding decor. I love the Wood Texture dsp. I stamped the trio of dandelions in petal Pink on the lower right corner. I did w water color wash of Petal Pink on a piece of water color paper. Once it was dry, I stamped the dandelion in Gray Granite Ink. I layered it with a bit of Gray Granite striped paper from the Neutrals Designer Series Paper stack. The sentiment is stamped in gray granite ink on Petal Pink card stock and cut out with an oval from the Stitched Shaped Framelits. The Linen Thread and wooden hearts tie everything together.
I hope Jess and Tyler have fun settling into their house. I’m excited to see what is in store for year two!
Dandelions are so pretty when they are fluffy white, but such a nightmare in my yard. Well, Stampin’ Up!’s new Dandelion Wishes stamp sets lets me enjoy them with out the frustration of dealing with them in my lawn. I’ll admit, I kind of overlooked it at first. But, I’m so glad it caught my attention.
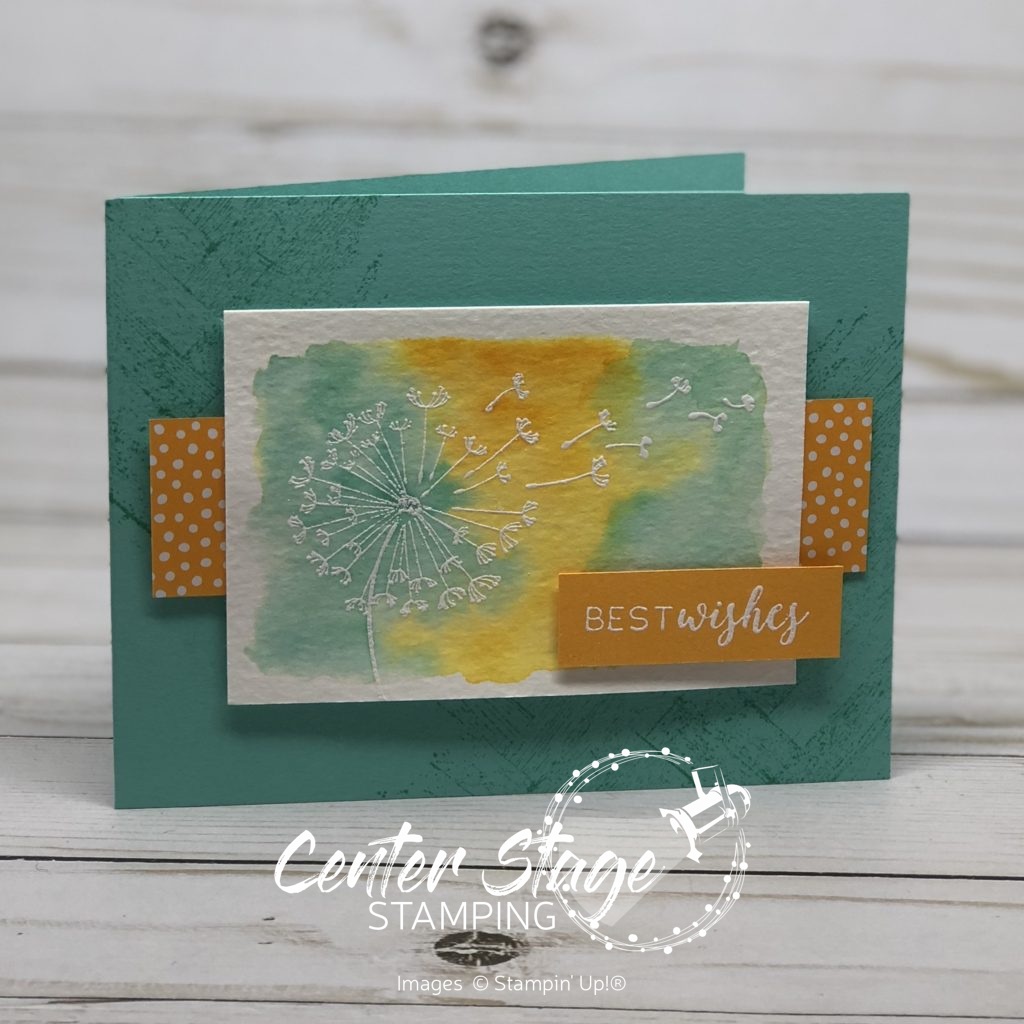
For today’s card I combined Dandelion Wishes with Stitched All Around (sentiment) and Gallery Grunge (background). For the main panel, I embossed the dandelion image in white embossing powder. Next, I did a water color wash. I started with Mango Melody and let it dry. Then I added the Coastal Cabana. I really like how it turned out. I love water color wash backgrounds. Each one you do is unique. I mounted this panel on a strip of mango dots from the Brights Designer Series Paper stack. This was added to the card base that I had stamped with this great image from the Gallery Grunge set. Finally, I added the white embossed sentiment on a piece of Mango Melody card stock.
I definitely prefer this kind of dandelion over the ones in my yard!