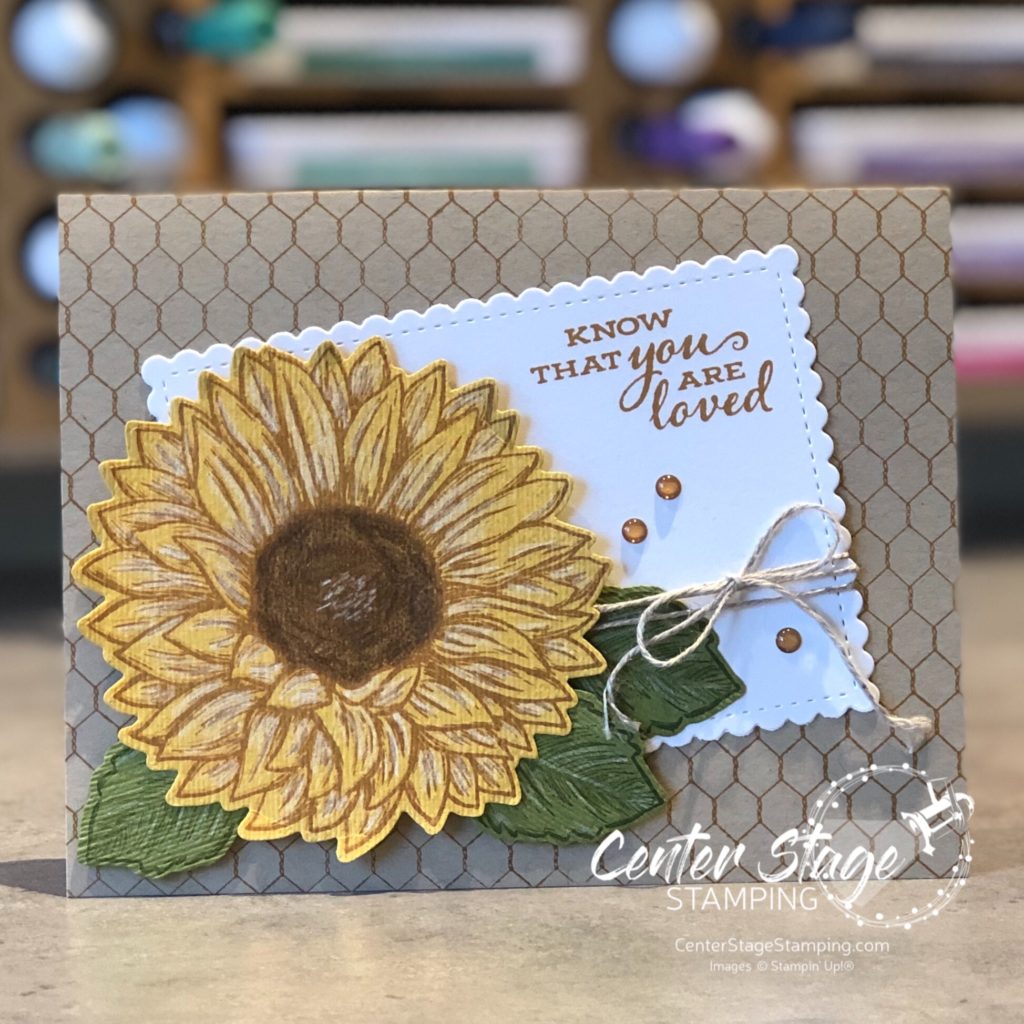
I’m back with another sunflower card! This giant image is so much fun to work with. It is great for coloring with markers or watercolor. Plus, the image looks great stamped on its own without any coloring. You can also stamp it on colored card stock.
For this card, I stamped it on Daffodil Delight card stock in Cinnamon Cider ink, leaves are stamped on Old Olive card stock in Mossy Meadow ink. I colored the flower center with a brown colored pencil and added highlights with a white one. For added texture I embossed the flower and leaves with the Subtle Embossing Folder.
Thanks for stopping by! Join me again to shine a spotlight on creativity!
Hello crafty friends! I’m so happy to be hopping with the super creative Stamp Review Crew Design Team! Today we are shining a spotlight on Painted Poppies. This beautiful set is in the current Stampin’ Up! mini catalog and is part of a beautiful suite of products, including coordinating dies and some gorgeous designer series paper.
For stamp sets that are part of a product suite like this, I try to create a project or two not using any of the coordinating products. It helps me find more versatility in the stamp set. That’s what I did for today’s projects.
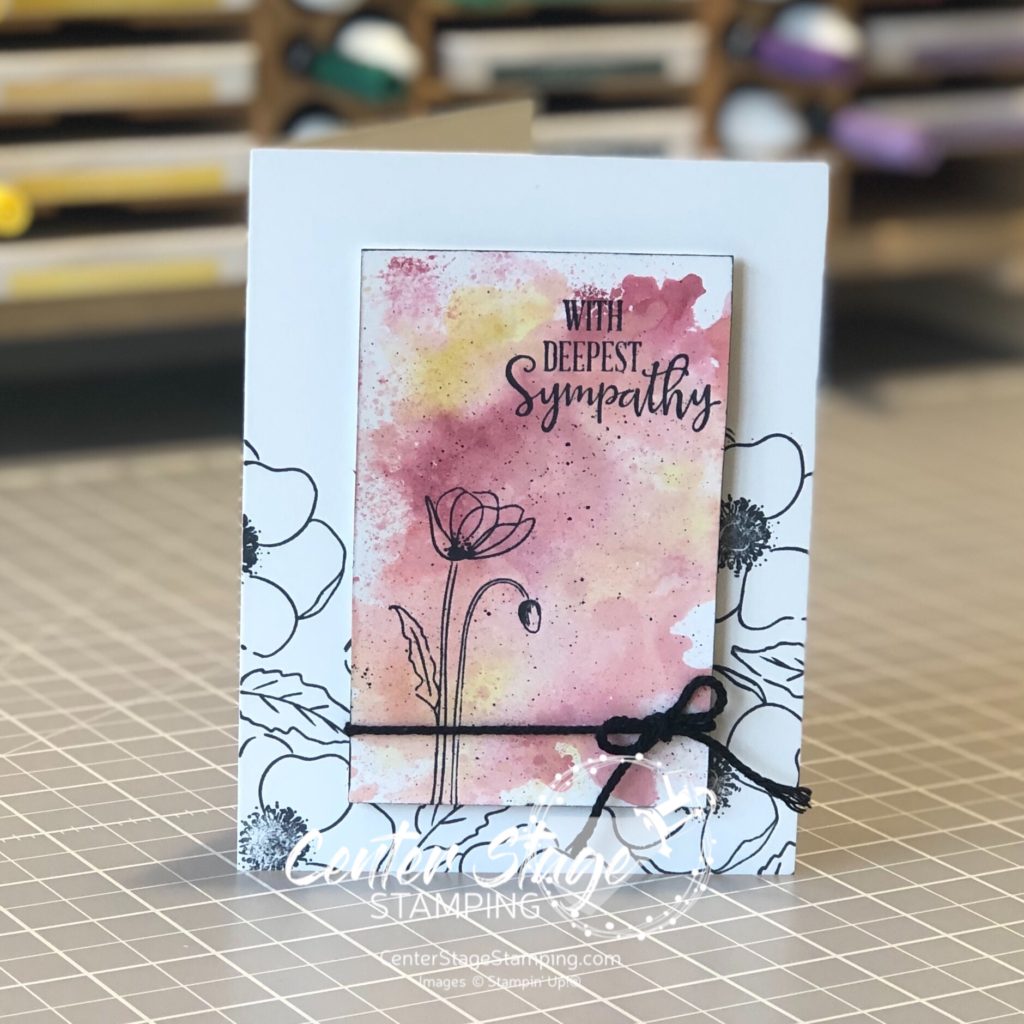
For this first card, I did a simple watercolor smooshing to create a background to stand out against images stamped in black.
I used Cherry Cobbler, Terracotta Tile and Crushed Curry Stampin’ Write markers and scribbled them on my silicon mat. Next I spritzed the mat with water and laid my Whisper White (thick) panel on to pick up the color. This technique works better with watercolor paper, but I wanted a smooth surface. You do have to be careful not to over saturate the Whisper White card stock or it will pill. Let the panel completely dry before stamping the image in Memento Black ink.
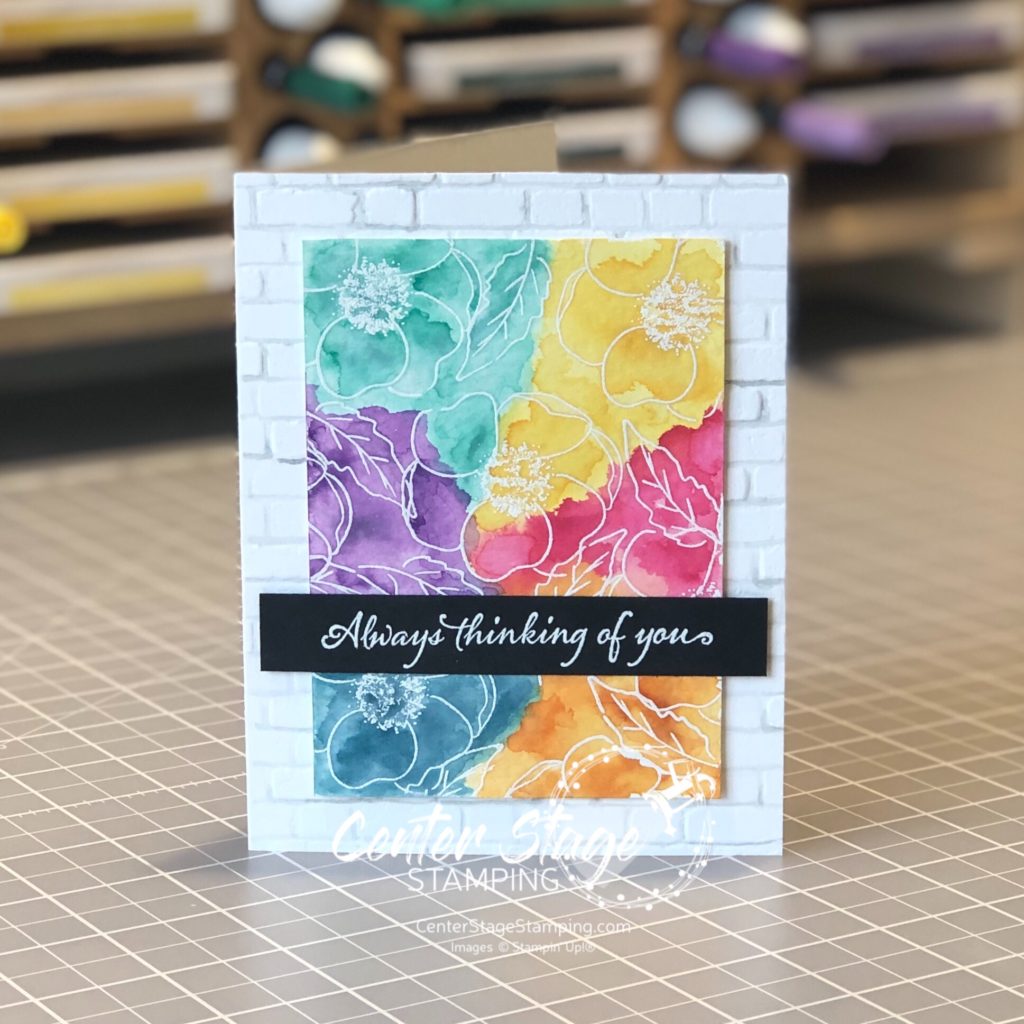
My second card uses a much bolder color scheme. I started by stamping the flower images in VersaMark ink and embossing them with white embossing powder on watercolor paper.
I did a watercolor wash across the panel, doing one color section at a time. Be sure to let dry between colors to control color bleeding. I used Daffodil Delight, Lovely Lipstick, Pumpkin Pie, Pretty Peacock, Gorgeous Grape, and Coastal Cabana. The card base was embossed with the Brick&Mortar 3D embossing folder. I painted the grout lines with a light wash of Smokey Slate to help create additional depth. The sentiment is from Very Versailles stamp set.
Thanks for stopping by! Be sure to check out the full blog hop for more inspirational projects featuring this beautiful stamp set! You can head on over to the talented Cindy by clicking on the NEXT button below or you can go back to the creative Nikki by clicking on the PREVIOUS button.
Thanks for stopping by! Join me again to shine a spotlight on creativity!
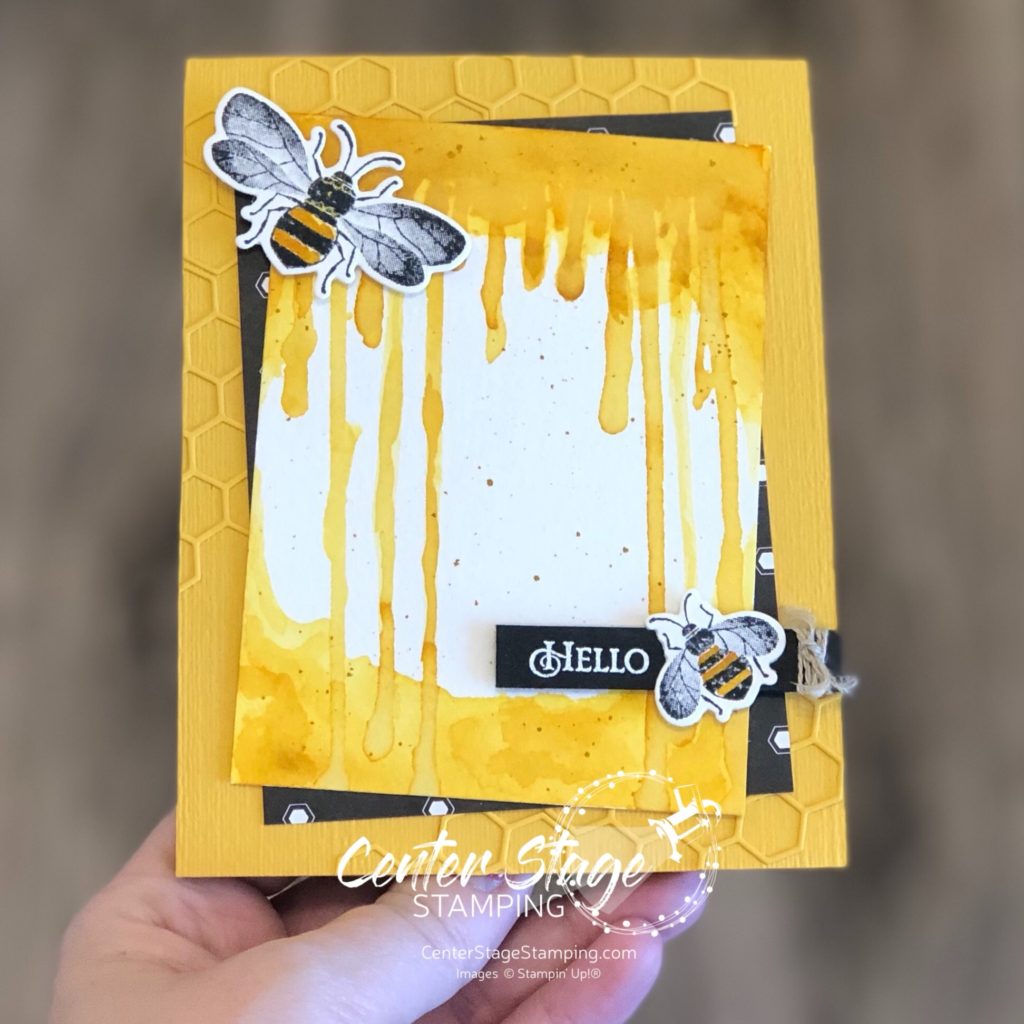
Hello friends! I am excited to be hopping once again with the Stamp Review Crew. If you are not familiar with The Stamp Review Crew, we are a group of international Stampin’ Up! Demonstrators who hop together on the first and third Monday of the month to bring you some great inspiration. Each blog hop features a different stamp set. You can find all of the blog hops archived on the Stamp Review Crew blog. Today we are shining a spotlight on the Honey Bee stamp set.
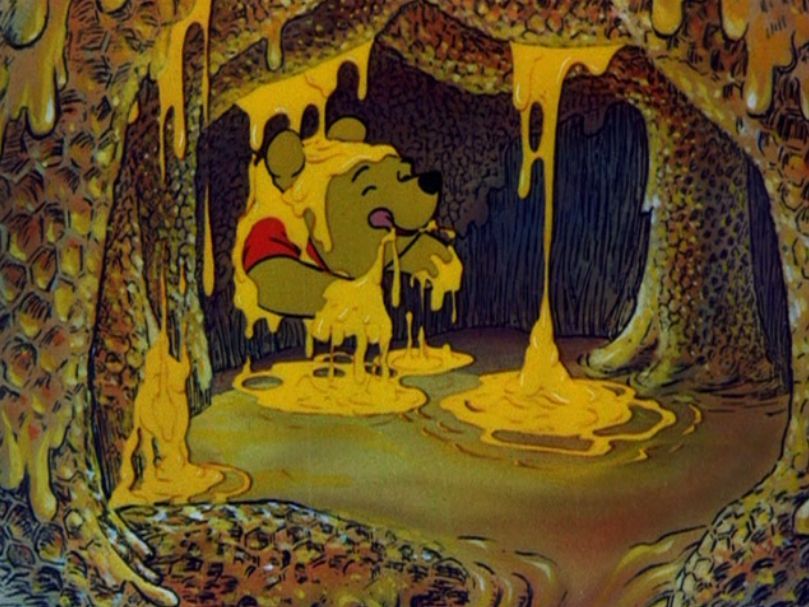
This stamp set is so much fun to work with. For my first card, I was inspired by one of my favorite Disney characters with a love for Hunny – Winnie the Pooh! I was thinking about the scene where he gets stuck in the honey tree and honey is dripping all around him.
I created a Crushed Curry watercolor wash to try to create a similar look.
I added a couple of bees, some Golden Honey DSP and some die cut honey comb for added texture.
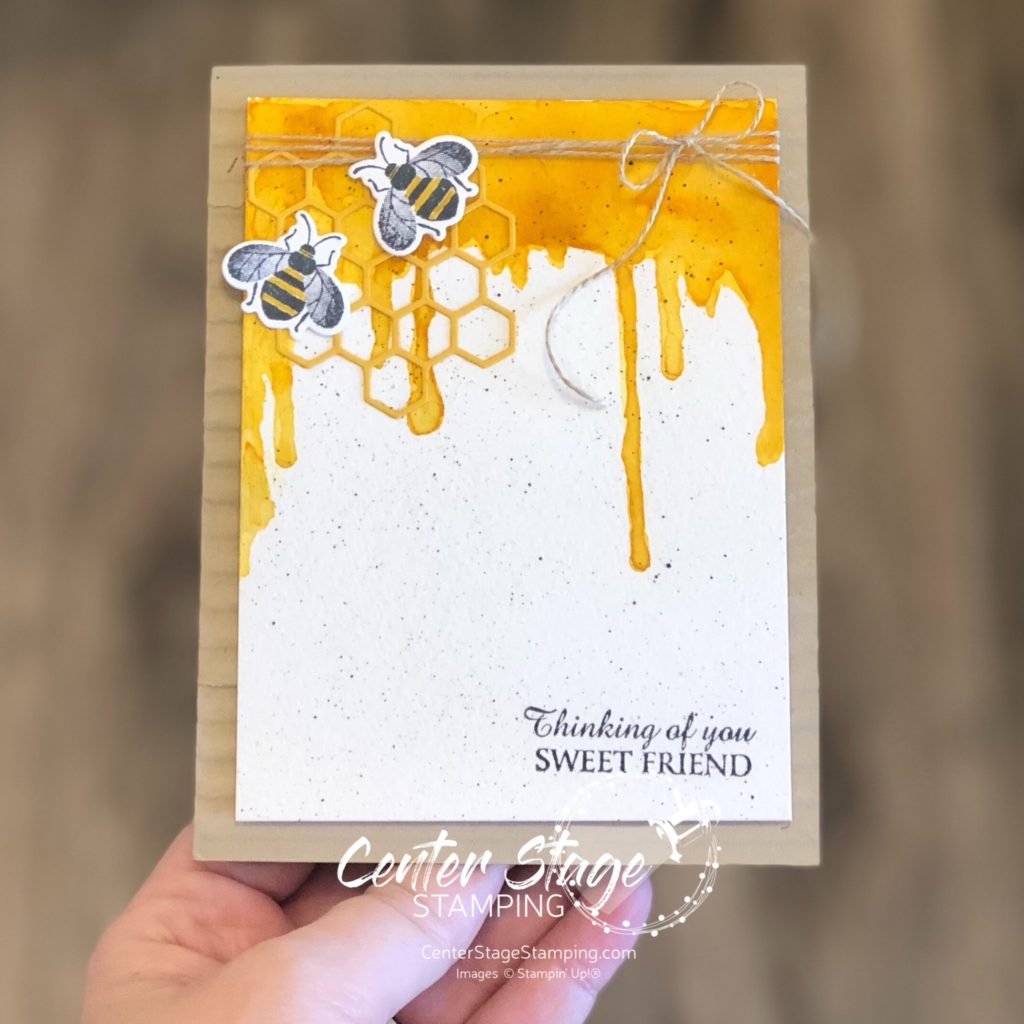
My second project continues the dripping honey theme.
This time I added the panel to a card base embossed with the Corrugated 3D emboss folder.
I think that Silly Ol’ Bear would approve, don’t you? Time for you to continue your way to more creative inspiration through the blog hop. From here you can head over to Linda by clicking the NEXT button below or you can go back to Holly by clicking the PREVIOUS button
Thanks for stopping by! Join me again to shine a spotlight on creativity!
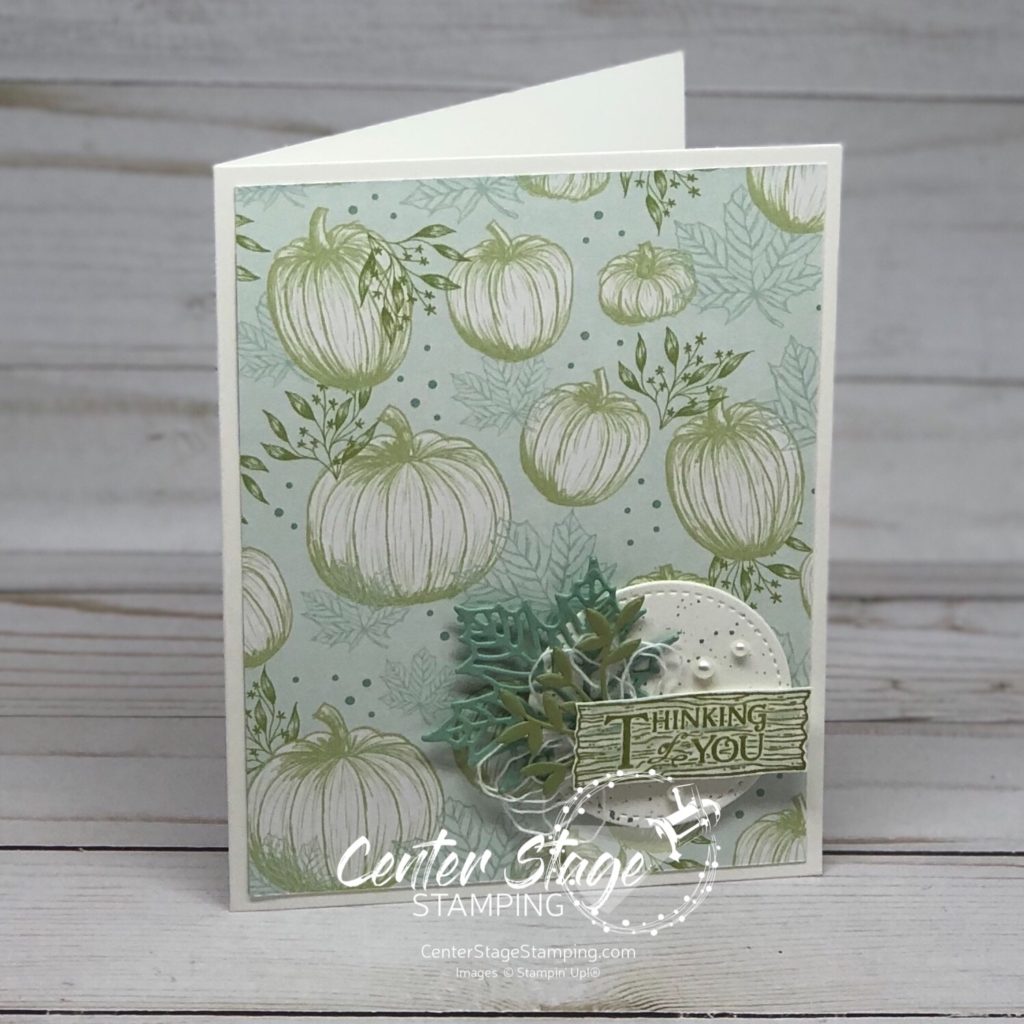
Just popping in with a quick card today. This one shows off the beautiful Come to Gather Designer Series Paper. I just love the soft colors of this print, not your typical fall/ Thanksgiving colors.
The sentiment is from Rustic Retreat and the die cuts are from Stitched Shapes, Seasonal Layers, and Animal Friends. I added some ink spatter to the white stitched circle to echo the spatter on the DSP/ . Quick and easy card!
Thanks for stopping by. Join me again to shine a spotlight on creativity!
Wow, it is already the middle of July. Why does it seem like time is passing by faster and faster? Is this the perception as you get older? It would be nice if things would slow down a bit.
I have had a lot of creative time in my studio working with products from the NEW Stampin’ Up! catalog. I have some fun projects waiting to share with you!
I recently participated in a few card swaps with other demonstrators. I love to trade ideas! It is so much fun to see everyone’s creativity and get ideas for stamp sets I may not own.
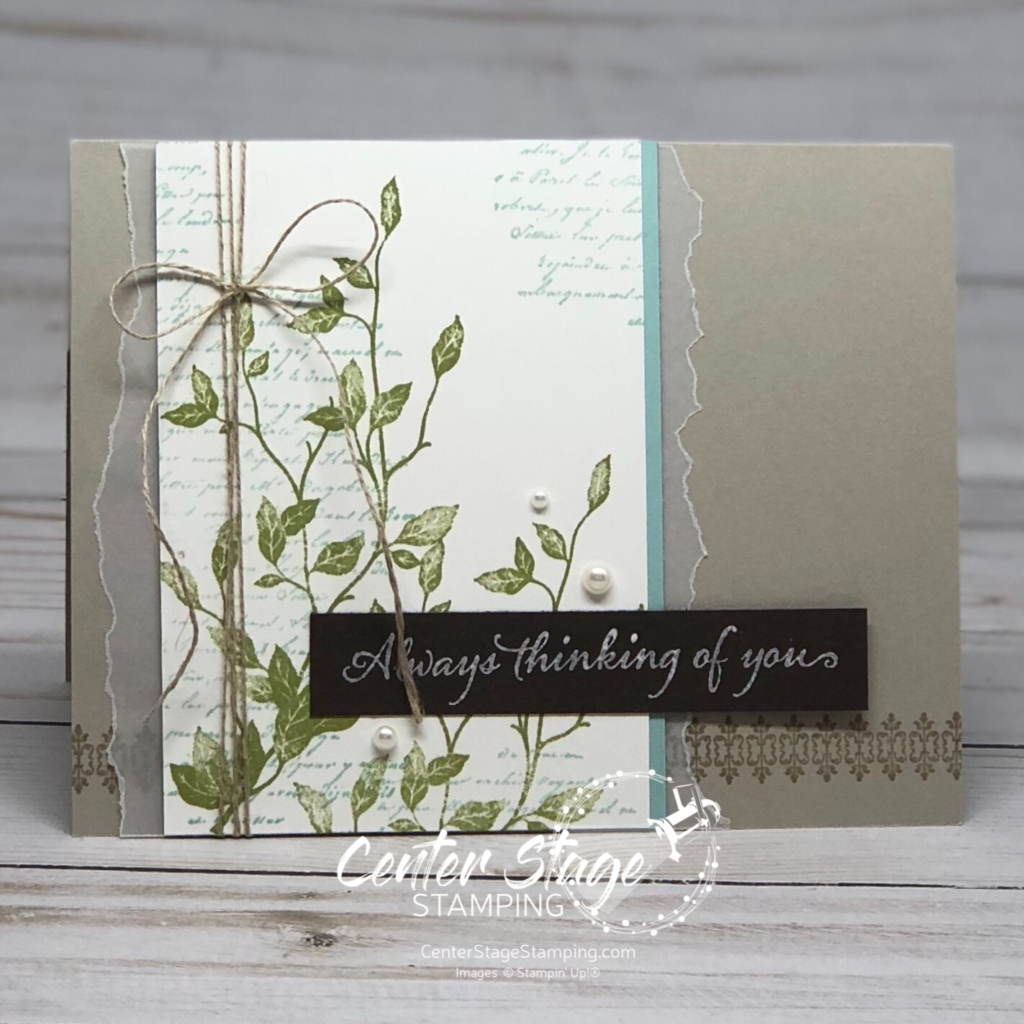
This is one of the cards I designed to swap –
It features the new stamp set Very Versaille. I absolutely LOVE the script stamp! Colors are: Sahara Sand, Whisper White, Pool Party, Pear Pizzazz and Early Espresso. The torn edges are a bit of vellum. It gives added texture and softens the background color. I often overlook vellum. It really has a lot of versatility.
Thanks for stopping by. Join me again to shine a spotlight on creativity!
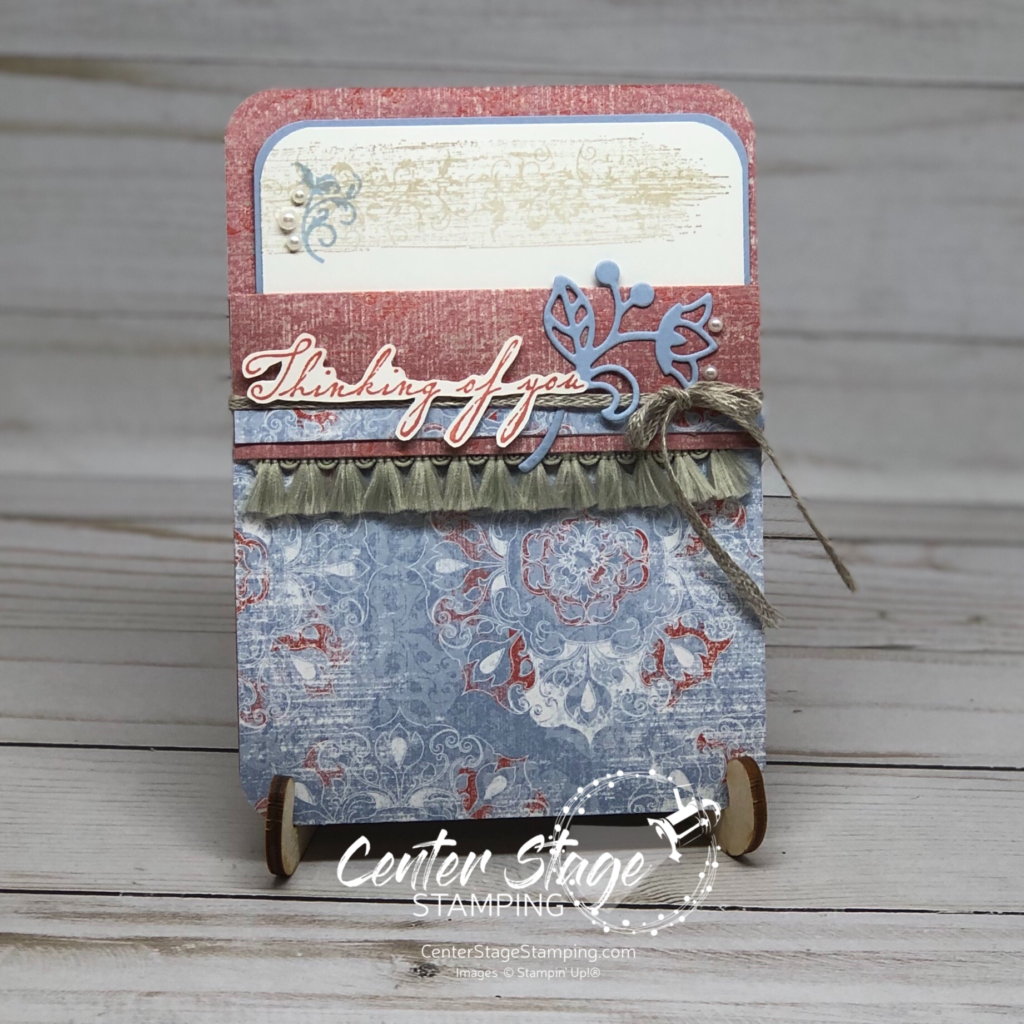
Today’s card features the woven threads suite of products in the 2019-20 Stampin’ Up! catalog (p.12-13). This suite has beautiful vintage feel and features the NEW 2019-21 In Colors.
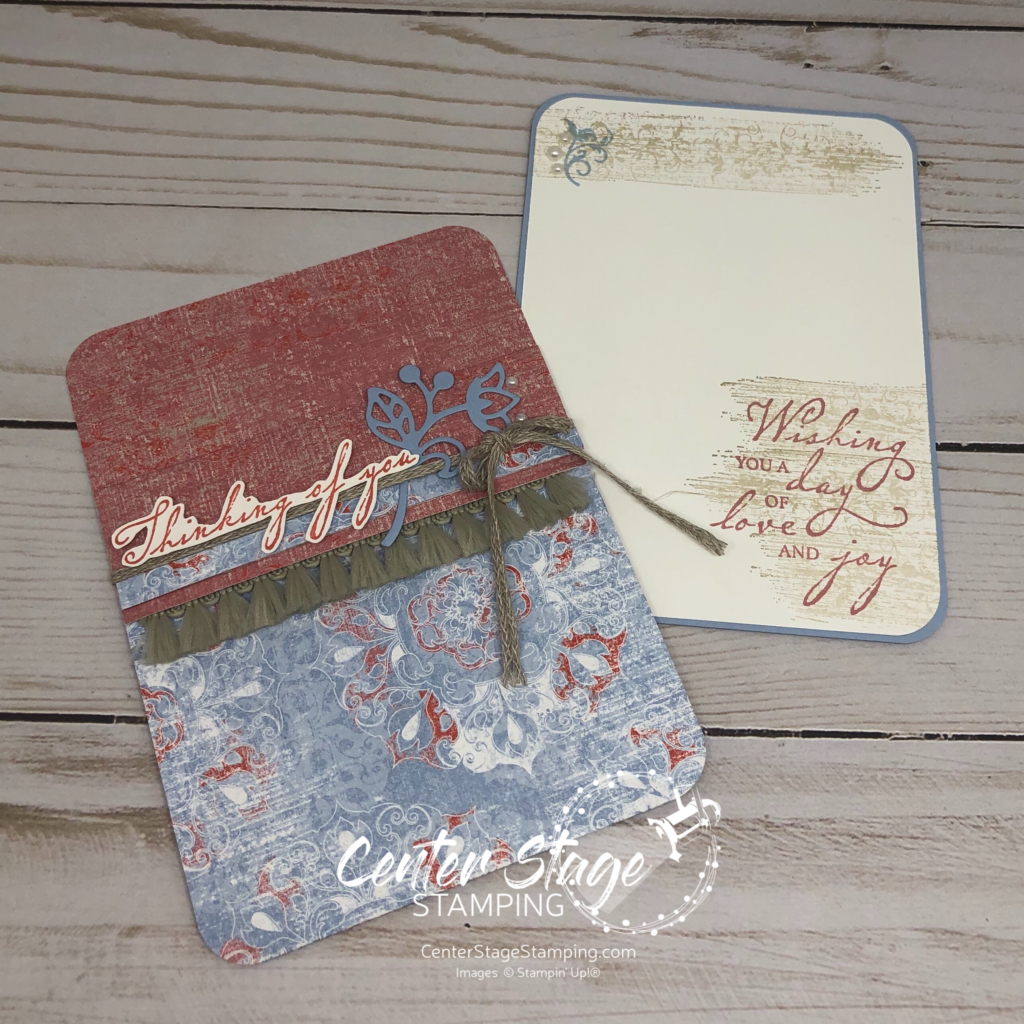
I thought a pocket card would work beautifully with this suite. It’s a great way to show off both sides of that gorgeous paper. Colors are Seaside Spray, Rococo Rose, Terracotta Tile and Sahara Sand.
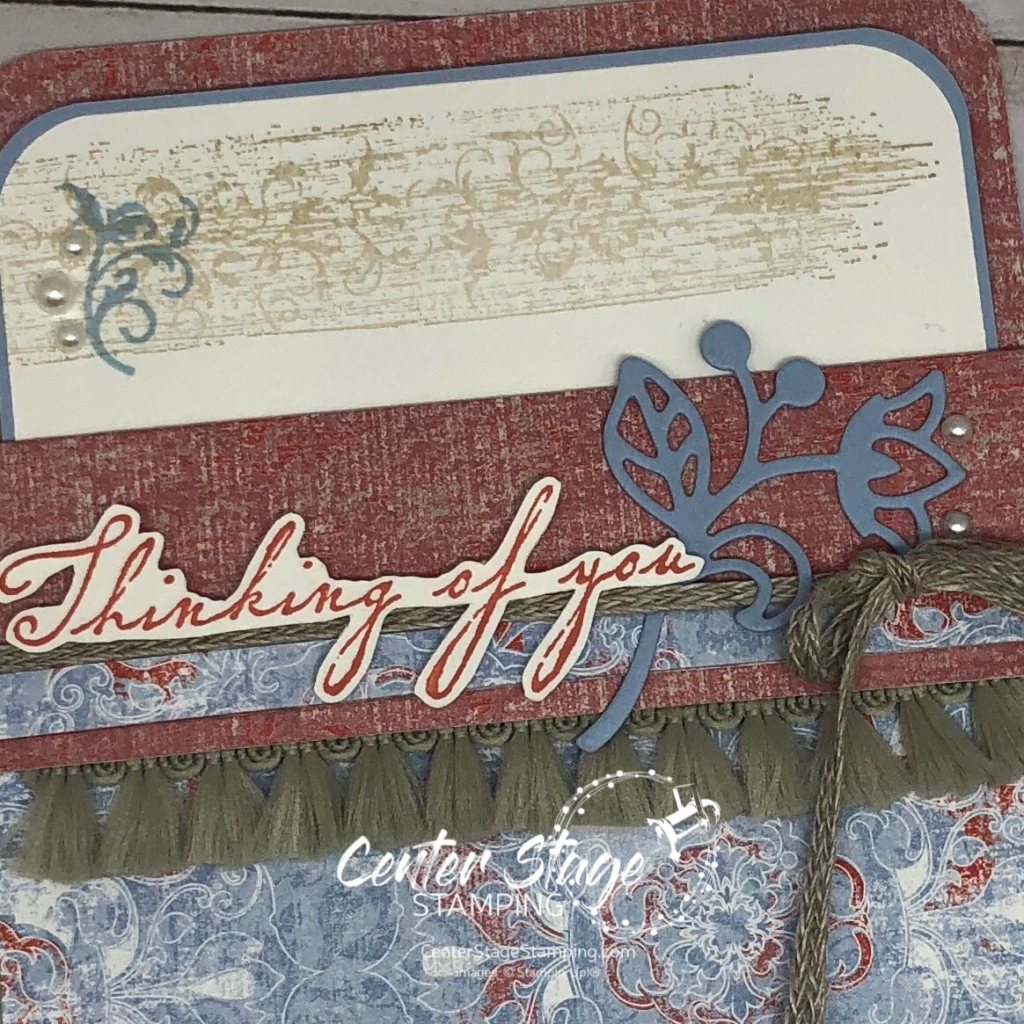
I started with the Woven Threads Designer Series Paper. I cut a 4″x11″ piece and scored at 5.5″ and 9.5″. Fold on the scored lines to create a pocket card. I trimmed .25″ off the 1.5″ fold and glued the reverse side up for and added detail on the flap. The pocket is created by the Braided Linen Trim wrapped around the card. There is no adhesive down the edges. The Woven Threads Trim adds a fun tassel detail under the flap. I fussy cut the sentiment and added a Flourish die cut. The coordinate nicely with this suite.
The insert is simply stamped with a couple of pearls for extra detail. Here’s a close up of some of the details.
I have to admit, the vintage look usually isn’t my style. But I am loving this product suite. It’s good to try something new! Thanks for stopping by. Join me again to shine a spotlight on creativity!
Only in Minnesota: Two weeks ago, it was in the 80’s – 90’s, last week was mostly rainy, and this week we are in the 50’s. I am so not ready for the winter gloom to set in. I am desperately trying to hang on to summer. Give me warmth and sunshine! I decide to play around with the Tropical Chic stamp set to help keep that summertime feelin’ going.
I started by stamping the various leaves all over a Whisper White card base. I used Petal Pink, Flirty Flamingo, Melon Mambo and Calypso Coral inks. Next I added a panel of the Wood Textures designer series paper (have I mentioned it is my FAVE!!) with the sentiment stamped in Black Memento Ink. I cut the leaves from the coordinating Tropical Thinlits in Petal Pink, Melon Mambo and Calypso Coral card stock and added a Linen Thread bow. A quick and simple card, but it really pops. Think I have to try this in some other color combinations…endless possibilities!
That’s a wrap for today! Join me again to put a spotlight on creativity!
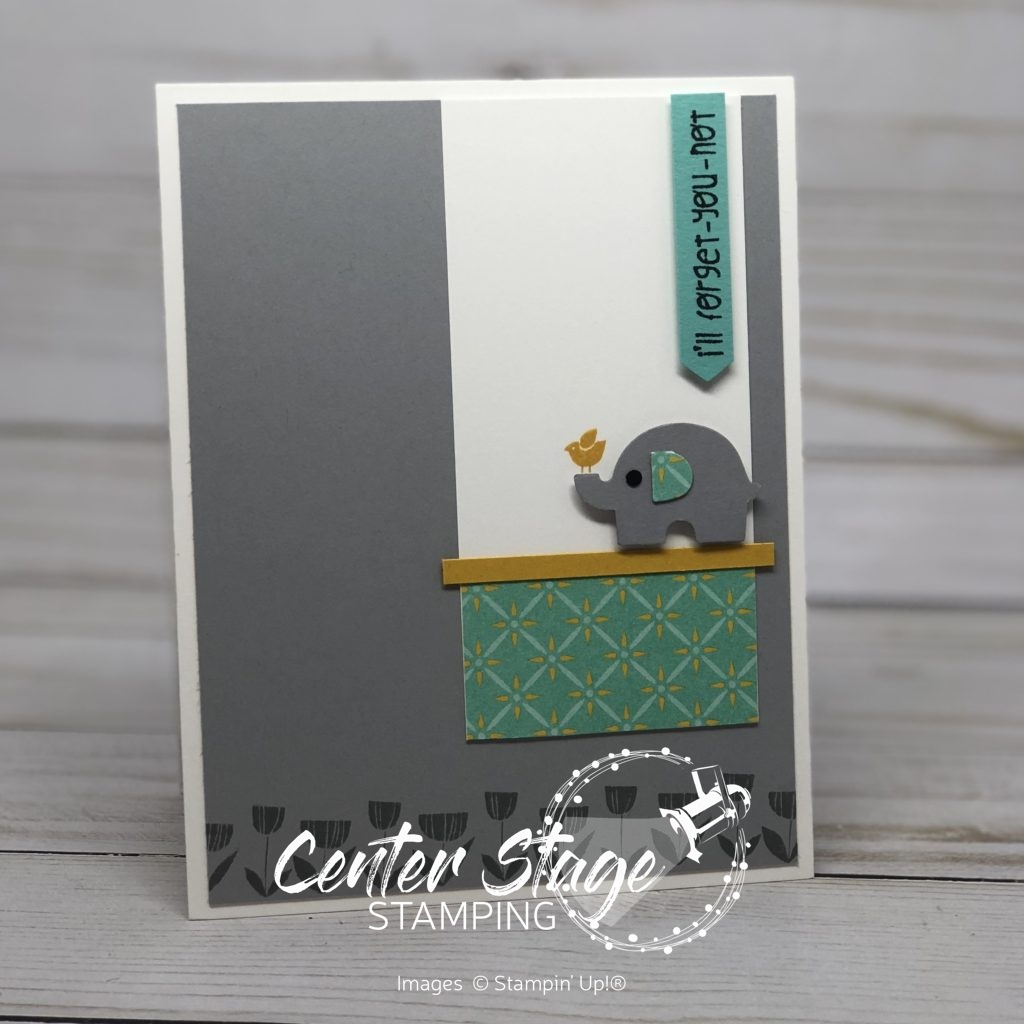
Today, the adorable Little Elephant stamp set and coordinating Elephant Builder punch are taking center stage.
How cute is this little guy!? The elephant punch makes this so easy. I used Smokey Slate (for the elephant), Basic Black (for the eye) and the pattern from the Tea Room Specialty DSP (for the ear). The sentiment is punched with the Classic Label punch. That little bird on his trunk would be really tough to line up and stamp just right. But, with the Stamparatus, it is easy peasy.
Hello, everyone! Quick post today as I am deep in the chaos of moving back into my craft studio! There are still finishing details to wrap up (like trim and installing Brett’s desk), but my space is ready for occupancy! I’m excited to share it with you once it is presentable. Right now, I need to figure out where everything is going.
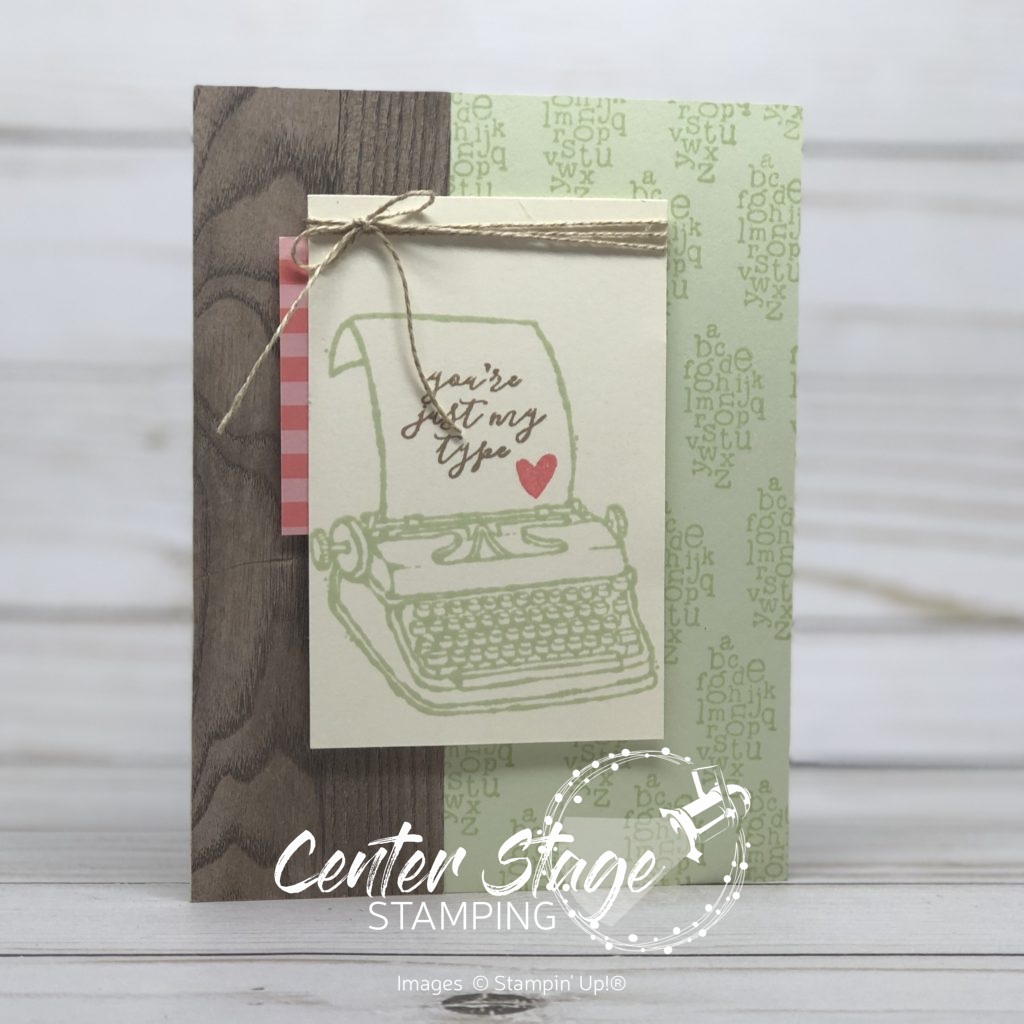
Today’s card features the stamp set P.S You’re the Best. I am really drawn to typewriters. They invoke a nostalgic feeling. I’d love to get one for display some day.
I love the combo of Wood Textures DS, Soft Sea Foam and a pop of Flirty Flamingo. The subtlety of the Soft Sea Foam, DSP and Linen Thread really let the tiny bits of Flirty Flamingo grab you.
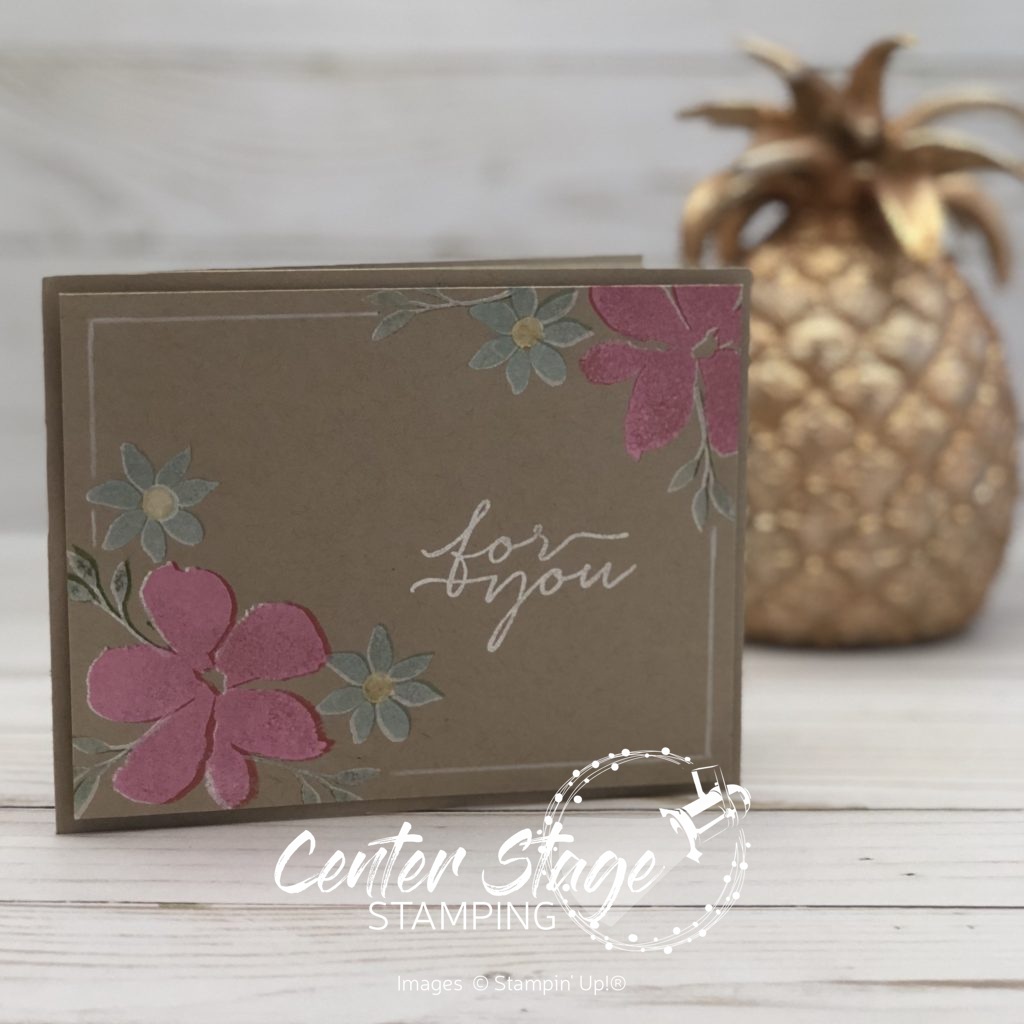
Today I have a fun technique to share as we say good bye to the Blooms and Wishes set. This is a fun way to make colors really stand out on Crumb Cake or kraft card stock.
First, I stamped the various images with Whisper White ink on the Crumb Cake panel and let it dry. Next, I stamped the same images, but in color. I din’t worry about lining up the images perfectly. It gives some great shading if it is slightly off. I stamped the sentiment and heat embossed it with white embossing powder. The final touch was to take a white colored pencil and draw the border lines to tie things together. I adhered this panel to the card base with dimensionals. How much fun is that! I really love this effect.