technique

forever blossoms

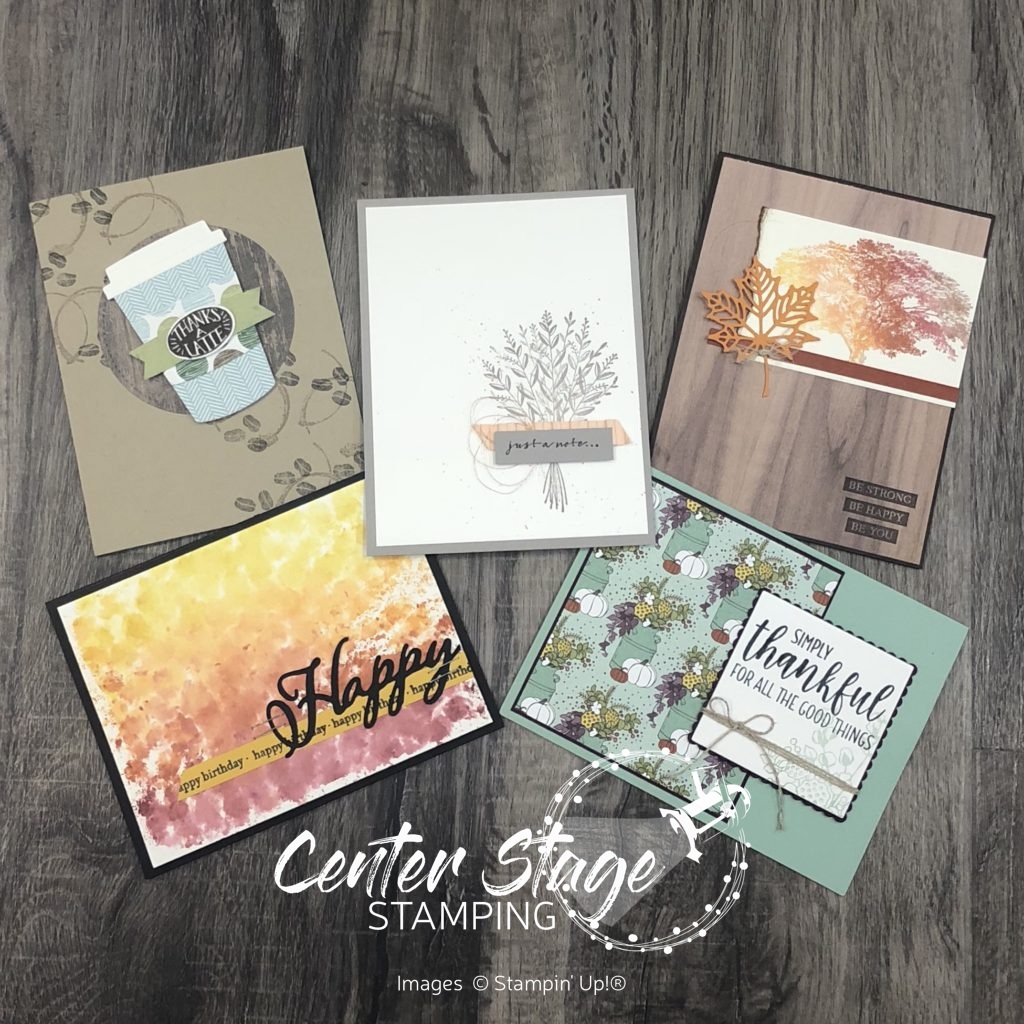
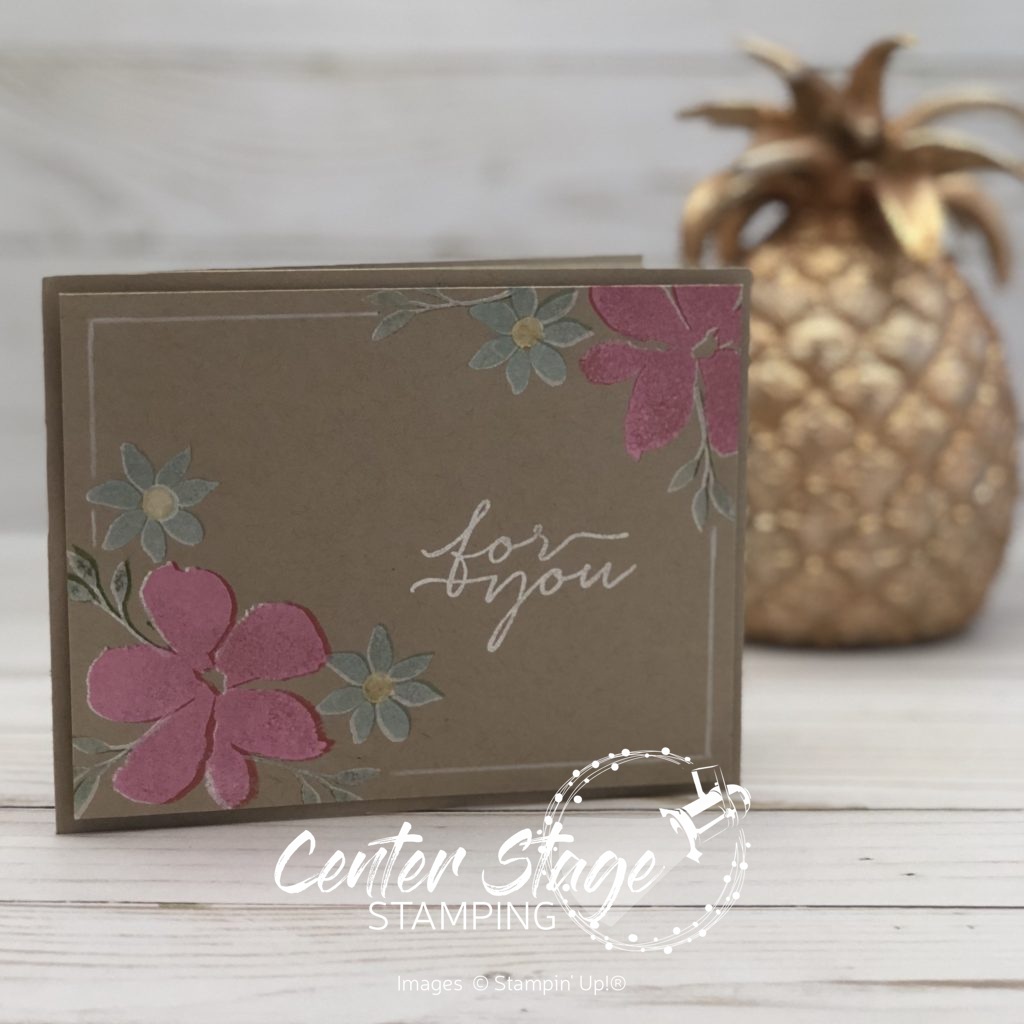
Ready for another sneak peek from the NEW Stampin’ UP! Mini Catalog? Let me introduce you to a few products from one of my favorite suites: Parisian Blossoms. And possibly my favorite product in the entire mini catalog…Champagne Rhinestones!!! I will definitely be stocking up on these!

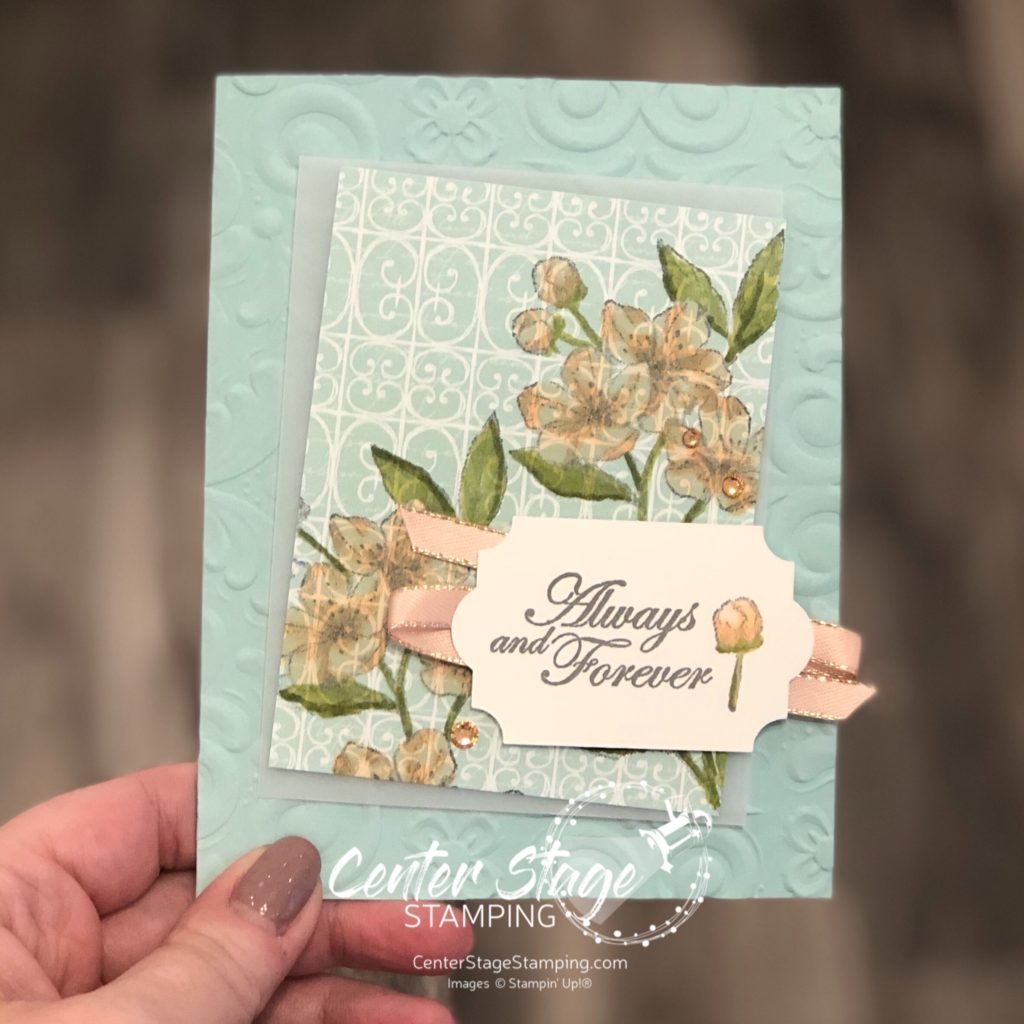
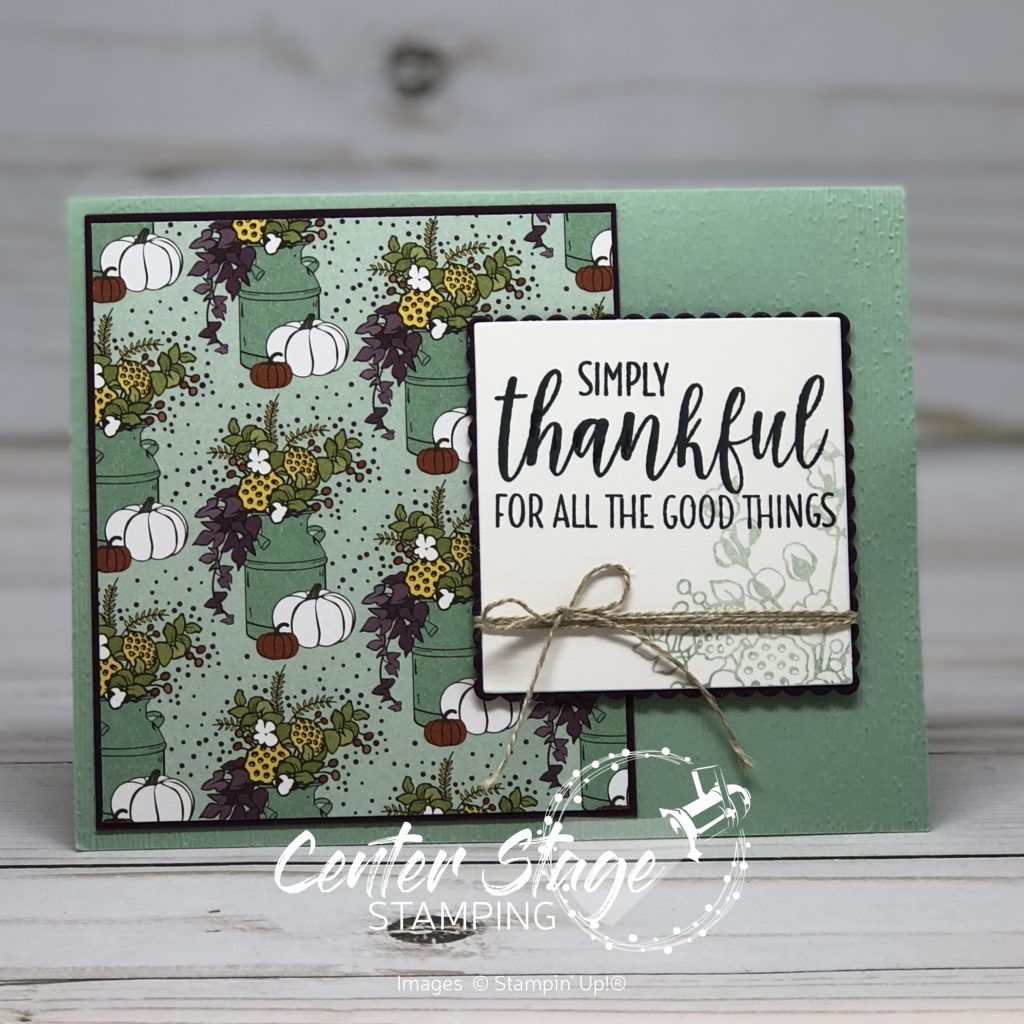
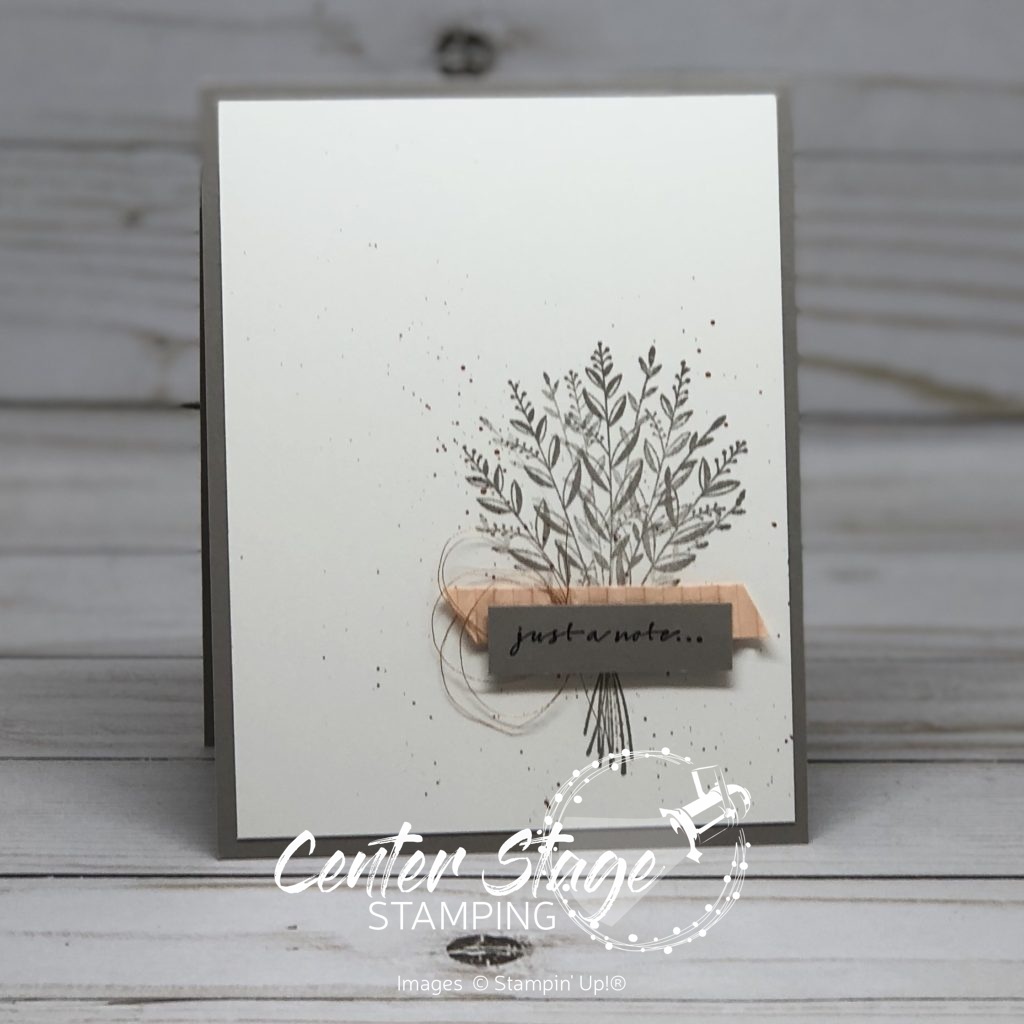
This card is another of the make&take projects from November’s Stampin’ Up! OnStage event. These projects not only give us a chance to use new products, they also give us a chance to try new techniques. On the last card we stamped on ribbon. This time we stepped up designer series paper! The flowers were stamped in Basic Gray ink and colored with Petal Pink and Old Olive Stampin’ Blends. You can really customize your projects with this technique.

Thanks for stopping by. Join me again to shine a spotlight on creativity!

Share with your friends:

bubble wrap background

Hello!  I’m back with a quick tutorial for that fantastic watercolor background featured on this card yesterday:

Happy Birthday: bubble wrap water color - Center Stage Stamping

Would you believe it is done with bubble wrap?!  Seriously… it is!  It is really easy, you just have to resist the urge to pop all of the bubbles!  You will need watercolor paper, markers (I used Crushed Curry, Pumpkin Pie and Rich Razzleberry) a spritzer filled with water and of course bubble wrap.


Bubble wrap background: supplies - Center Stage Stamping

Use your markers to color directly on the bubble wrap, starting with the lightest color.  Make sure you color on the bumpy side, not the smooth or you won’t get the dot effect.

Bubble wrap background: color on bubble wrap - Center Stage Stamping

Next spritz the water color paper with water.  Make sure to get it good and saturated.  less water means a more dotted, less blended outcome.

Bubble wrap background: spritz paper - Center Stage Stamping

Next press the bubble wrap colored side down onto the wet watercolor paper.  You can lift and set back down to fill in light areas or to blend colors more.

Bubble wrap background: step3 - Center Stage Stamping

Let the paper dry fully before assembling the card.

Bubble wrap background: step 4 - Center Stage Stamping


Every time you do this it will turn out a little different.  Use less water if you want more of the dots to show, More water if you want it more blended.  Color options are endless.  Let me know if you give it a try!  I’m off to finally pop that bubble wrap…then go get some more!

Bubble wrap background - Center Stage Stamping

That’s a wrap for today.  Join me again to put a spotlight on creativity!


Share with your friends:

october creative class projects

I taught a Creative Class at Stamp-n-Storage on Saturday, October 20.  We had a great time stamping and creating five fall themed cards.  I thought I would pop on today and share those projects with you.

Country Home: Thankful for all the good things - Center Stage Stamping

Coffee Cafe: thanks a latte - Center Stage Stamping

Rooted in Nature: Be Bold fall - Center Stage Stamping

Wishing You Well: just a note - Center Stage Stamping

Happy Birthday: bubble wrap water color - Center Stage Stamping

We had a lot of fun putting these cards together.  Especially that last one!  I was able to teach a fun new water color technique.  I will be back on Wednesday with a quick tutorial for this.

Stamp-n-Storage Oct Creative Class projects - Center Stage Stamping

Here is everyone with their finished projects!  They all did a great job.

Stamp-n-Storage Oct Creative Class group photo

The next Stamp-n-Storage Creative Class is Saturday, November 17 at 1:00PM.  You can find more details and register for the class over on the Stamp-n-Storage website HERE.  I’d love to have you join us!

That’s a wrap for today.  Join me again to put a spotlight on creativity!


Share with your friends:

blooms for you

Today I have a fun technique to share as we say good bye to the Blooms and Wishes set.  This is a fun way to make colors really stand out on Crumb Cake or kraft card stock.

Blooms for you - Center Stage Stamping

First, I stamped the various images with Whisper White ink on the Crumb Cake panel and let it dry.  Next, I stamped the same images, but in color.  I din’t worry about lining up the images perfectly.  It gives some great shading if it is slightly off. I stamped the sentiment and heat embossed it with white embossing powder.  The final touch was to take a white colored pencil and draw the border lines to tie things together.  I adhered this panel to the card base with dimensionals.  How much fun is that! I really love this effect.

Thanks for stopping by! Happy Stamping!

-Mary

Share with your friends: