Dashing Deer

inky friends: dc 11


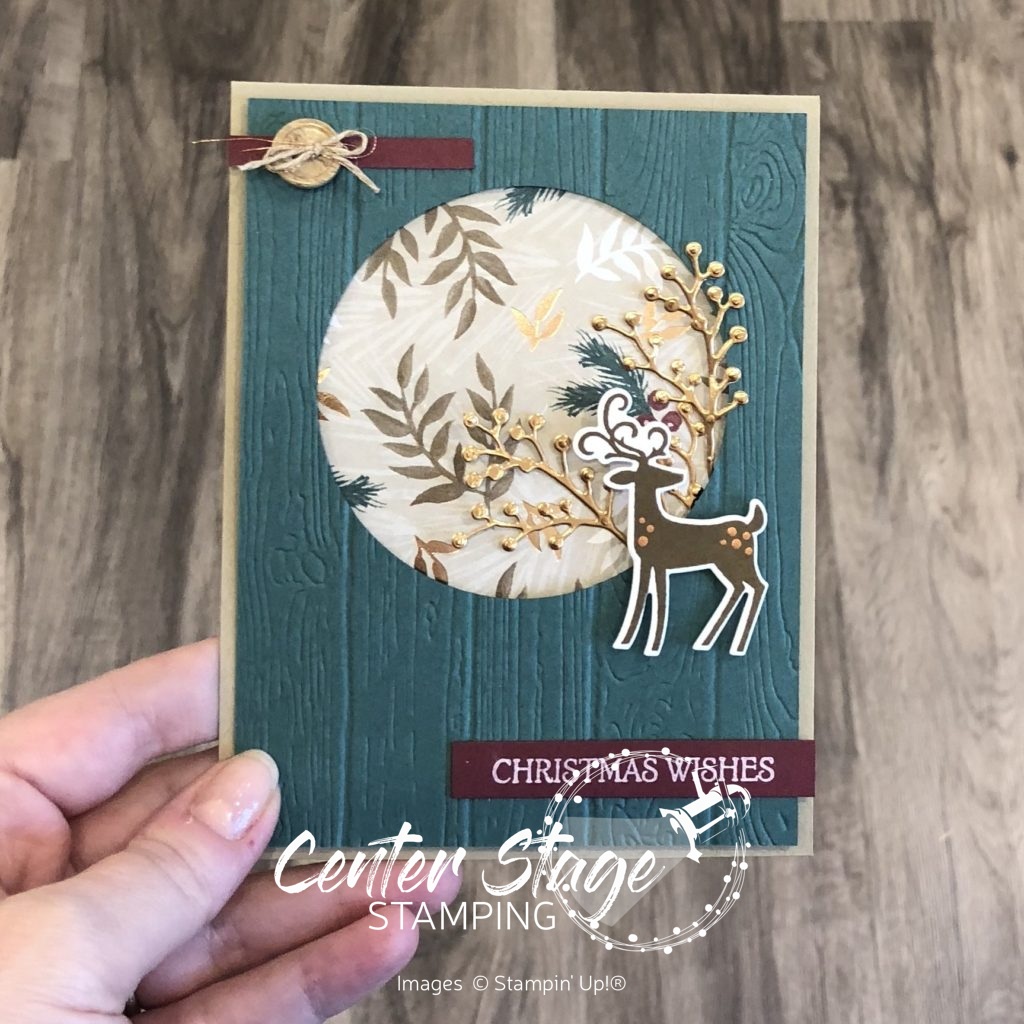
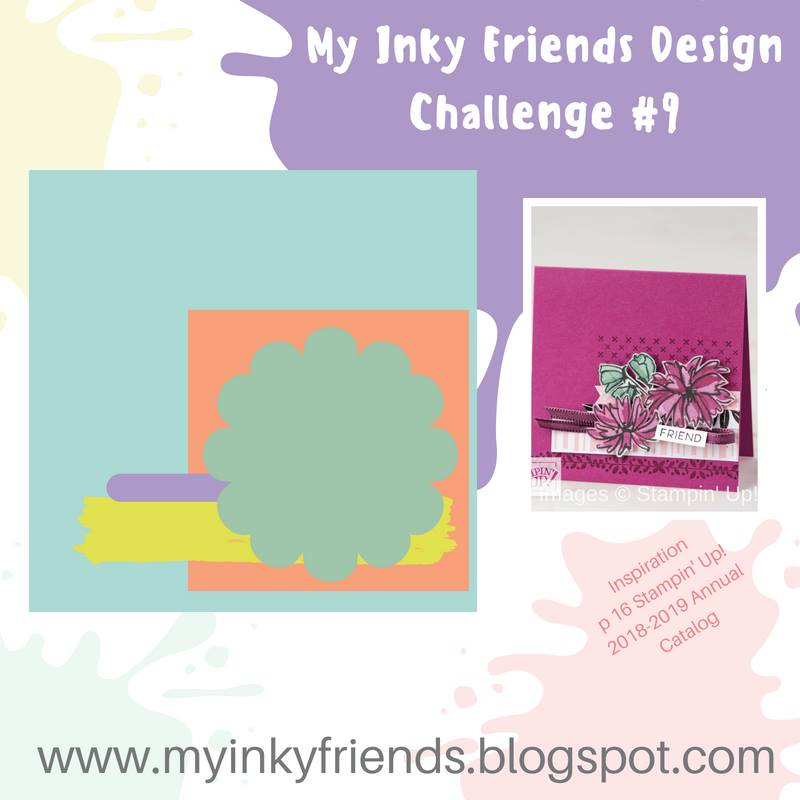
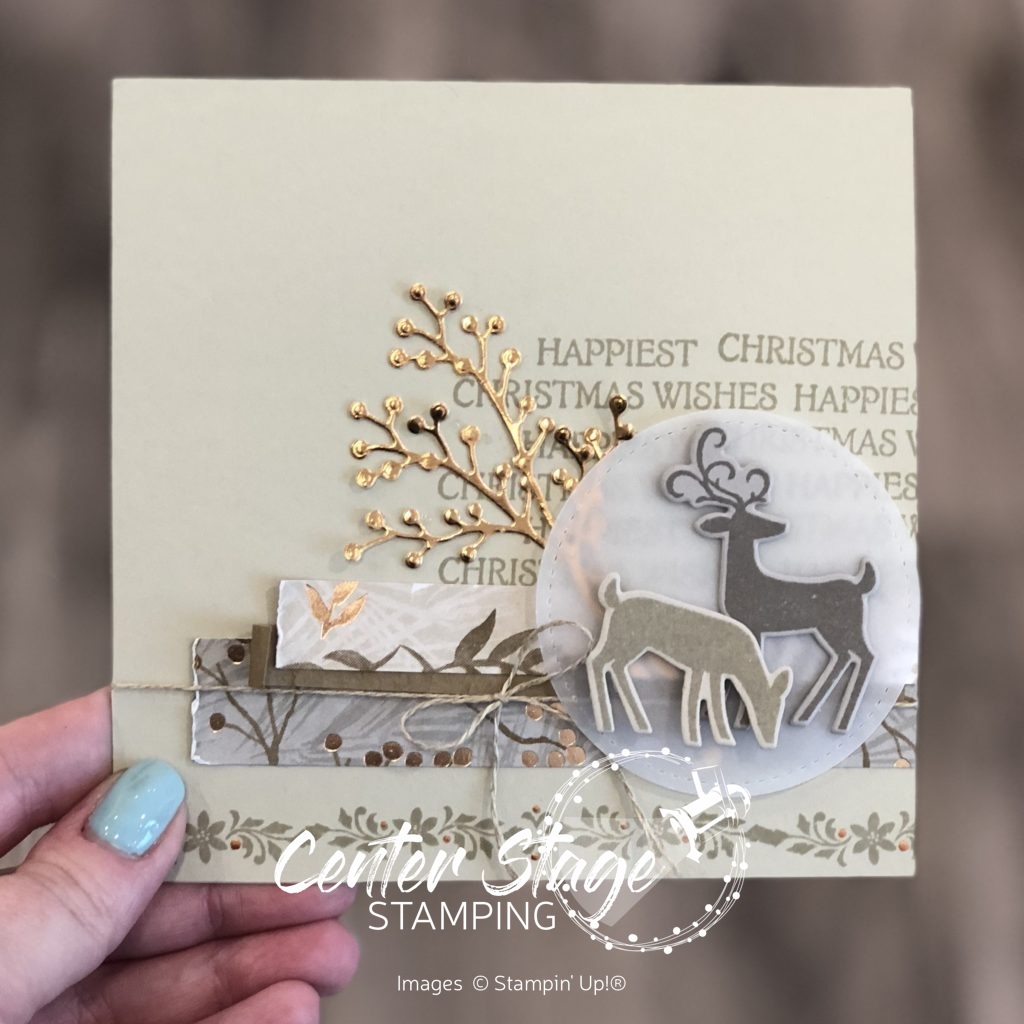
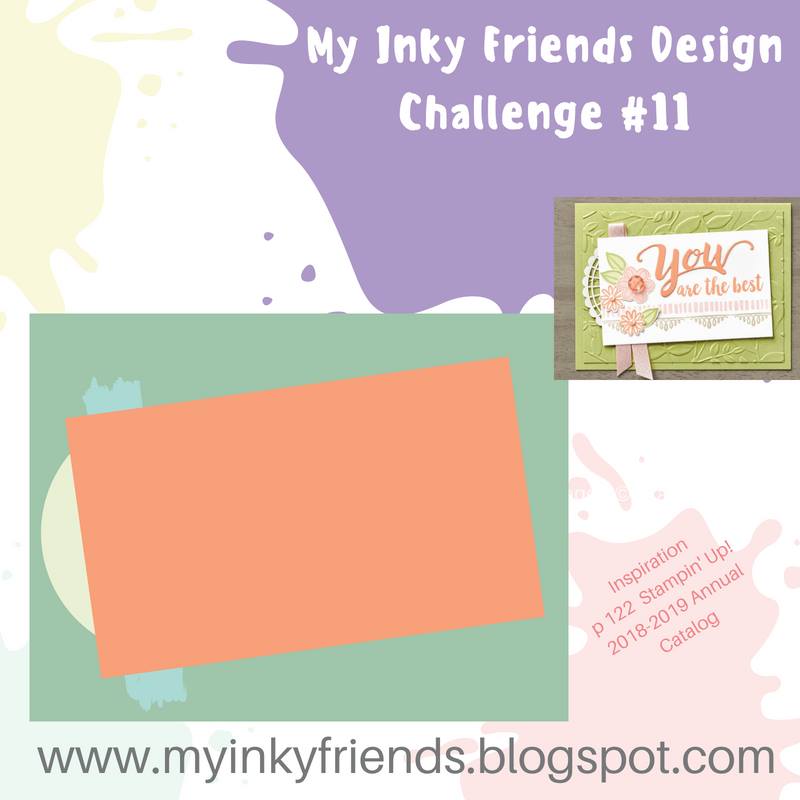
It is time for another design challenge with My Inky Friends!  This one is based on a card layout on page 122 of the 2018-19 Stampin’ Up! catalog.  Here is my creation.

Inky Friends DC11: Dashing Deer - Center Stage Stamping

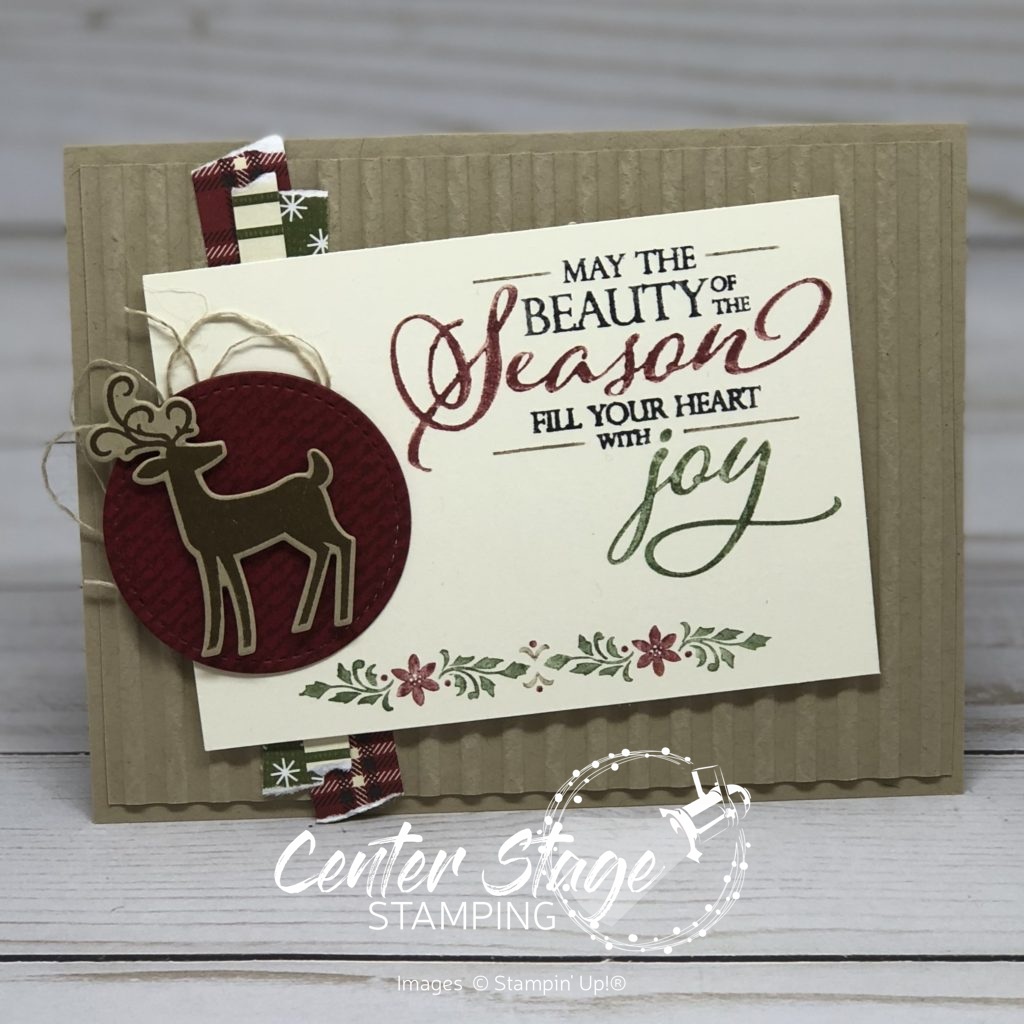
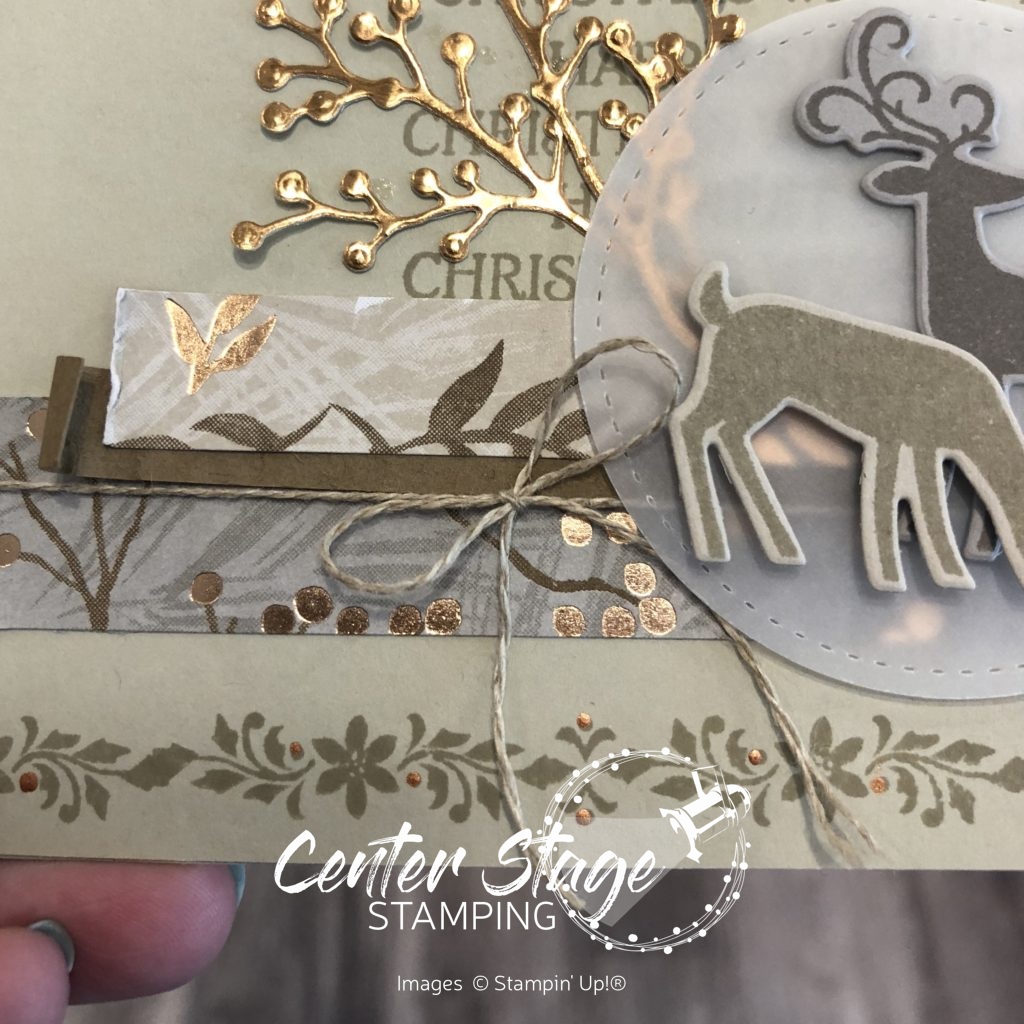
I used Dashing Deer and Detailed Deer Thinlits.  I think this is my favorite Christmas bundle in the Holiday Catalog.  The Crumb Cake card base has a Crumb Cake layer that I ran through the Corrugated Dynamic Textured Impressions Embossing Folder.  The sentiment is from Merry Christmas to All.  I colored it and the swag with Cherry Cobbler, Mossy Meadow and Crumb Cake markers to get the multi color images.  It is hard to see in the photo, but the Cherry Cobbler circle was stamped with the Burlap background stamp before I cut it out with the Stitched Shapes circle.  I finished off with a few strips of Festive Farmhouse designer series paper and some Linen Thread.

Make sure to check out what the rest of the design team has created for this challenge and then play along!  Make your own creation based on the sketch and share it by linking it to the My Inky Friends page.

Thanks for stopping by! Join me again to shine a spotlight on creativity!


Share with your friends:

stamp review crew: dashing deer

Welcome to another Stamp Review Crew blog hop!  This time we are featuring the fantastic Dashing Deer stamp set!  I have been having a lot of fun creating with this set.  And to think, I almost didn’t get it.  What was I thinking?!  I am so glad I came to my senses and ordered it right away.  I LOVE it!  I have featured it on two previous blog post that you can find here and here.  For today’s spotlight, I decided to showcase two different looks for the set.  The first is a very deep, rich card pairing Dashing Deer with the Joyous Noel Designer Series Paper.

Dashing Deer: Christmas Wishes - Center Stage Stamping

I started with a Crumb Cake card base.  I embossed the Tranquil Tide panel with the Pinewood Planks Textured Impressions Embossing Folder and used my Layering Circles Framelits to cut out a circle in the panel.  I backed this with some of the Joyous Noel DSP.  I stamped the little deer in Soft Suede and cut him out with the coordinating Detailed Deer Thinlit.  I added a few dots of Copper Shimmer Paint for some extra detail. I cut out the twig spray from the Frosted Bouquet Thinlits in copper foil paper and adhered it poking out of the circle.  The sentiment is embossed in White on Merry Merlot card stock with a smaller strip at the top of the card with a True Gentleman button tied with Linen Thread.  My second card has a much lighter color scheme.

Dashing Deer duo - Center Stage Stamping

For this card I wanted a winter white woods look. The white panel is embossed with the Woodland embossing folder.  I stamped the large deer with Gray Granite ink on Sahara Sand card stock.  The smaller deer is stamped with Sahara Sand ink on Sahara Sand card stock.  I added some Frost White Shimmer Paint dots on the smaller deer.  The sentiment is stamped in Early Espresso ink on Sahara Sand card stock with Linen Thread wrapped on the ends.  I love these two deer together.

I am now going to send you over to the wonderfully creative Tanya.  Wait until you see what she can do with this great set!  Or you can go back to Lou and her beautiful projects.  Either way, make sure to go all the way through the blog hop – you won’t want to miss any of the inspiration for the gorgeous stamp set!  You can find the full blog hop order on the Stamp Review Crew page.

That’s a wrap for me.  Join me again to put a spotlight on creativity!

Share with your friends:

dashing deer

Let’s kick off the week with another Christmas card.  Now, I am totally NOT ready for winter: the snow, cold, short days, ice, cold, gray skies, cold, snow and did I mention the cold?  But, with the release of the NEW Stampin’ Up! Holiday Catalog – and so many great products waiting to be used – it is hard not to get a jump start on some great Holiday creating!  Today’s card is a wonderful Christmas greeting using the Dashing Deer stamp set, coordinating Detailed Deer thinlits and Joyous Noel designer series paper.

Dashing Deer - Center Stage Stamping

First off, I love the Joyous Noel designer series paper!  The touches of copper accents really dress it up.  I started with a strip of it on the left and added a thin strip of copper foil sheet on a Gray Granite card base.  I stamped the greeting on the right to create the background for the deer die cut.  I really love the pattern on this deer stamp.  I added a couple of the tiny flowers cut out of copper foil and layered with a pearl center, and a bow made from Braided Linen Trim.  I am loving these colors for Christmas cards.  Do you like to change up your Christmas color schemes or are you a traditional green and red person?

That’s a wrap for today. Join me again to put a spotlight on creativity!

Share with your friends:

inky friends: dc9

Time for a design challenge from My Inky Friends! For this challenge, we are featuring a square sketch, inspired by page 16 of the Annual Catalog.

I decided to use some new items from the Stampin’ Up! Holiday catalog which goes live tomorrow!  It is chock full of fantastic goodies for all of your holiday projects!  For this challenge, I used the Dashing Deer Bundle – stamp set and coordinating thinlits – and the Joyous Noel Specialty Designer Series Paper. Oh. My. Goodness.  It is sooooooo pretty!  The copper foil accents are stunning.

Dashing Deer Happiest Christmas

Colors are Sahara Sand, Gray Granite and Copper.  A close up look at a few details:

Dashing Deer Happiext Christmas close up - Center Stage Stamping

The vellum circle is cut out with one of the Stitched Shaped Framelits.  The sprig is from the Frosted Bouquet Framelits (part of the Frosted Floral Suite) cut out of Copper Foil.  For the Soft Suede strip I crumpled it up then separated the layers so it has a look of suede (difficult to see in the photo). I used the Bright Copper Shimmer Paint and the stylus end from the Take your Pick too. to put the copper details on the image at the bottom of the card.

Finished project is a 5″x5″ card.  I love the neutral tones on this.  What a fantastic Christmas greeting to send.

Head over to My Inky Friends blog and check out the other projects based on this sketch.  I hope you will join us and play along.  Create your project based on this sketch then upload a link to it on My Inky Friends blog to share it with us.  We love to see your projects!

That’s a wrap for today.  Join me again to put a spotlight on creativity!

Share with your friends: