Create

on stage: theatre and stamping

Well… the past two months flew by! I haven’t had much creative time in my studio lately. My days were filled with directing the play “Shadowlands” for our local community theatre. It was a beautiful story and I am grateful for the opportunity to bring it to life on stage.

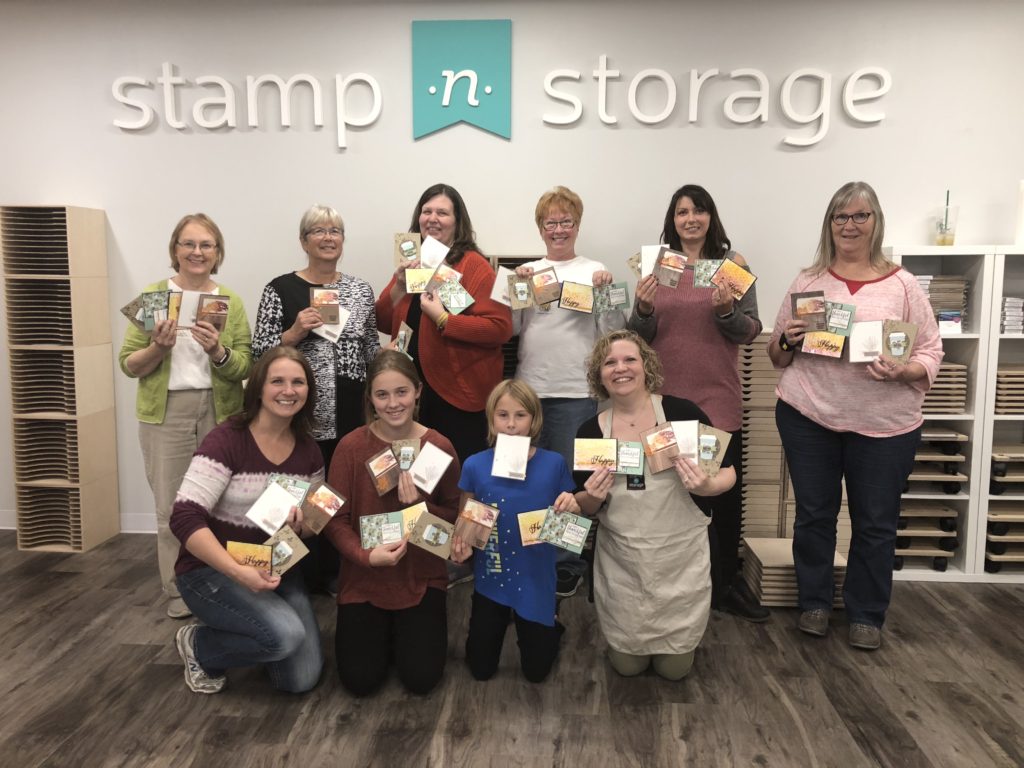
I also had the opportunity to attend Stampin’ Up!’s local On Stage event in Minneapolis on April 13. (Yep, same day as the final performance of Shadowlands. I made it back just in time!) It was a great time to reconnect with my demonstrator friends and of course getting the NEW 2019-20 Stampin’ Up! catalog!

So many exciting and fun new stamp sets and products are coming! One of the benefits of attending On Stage is the opportunity to preview products from the new catalog. We got to use new product for our make and take projects, plus we were able to order from a selection of new items!

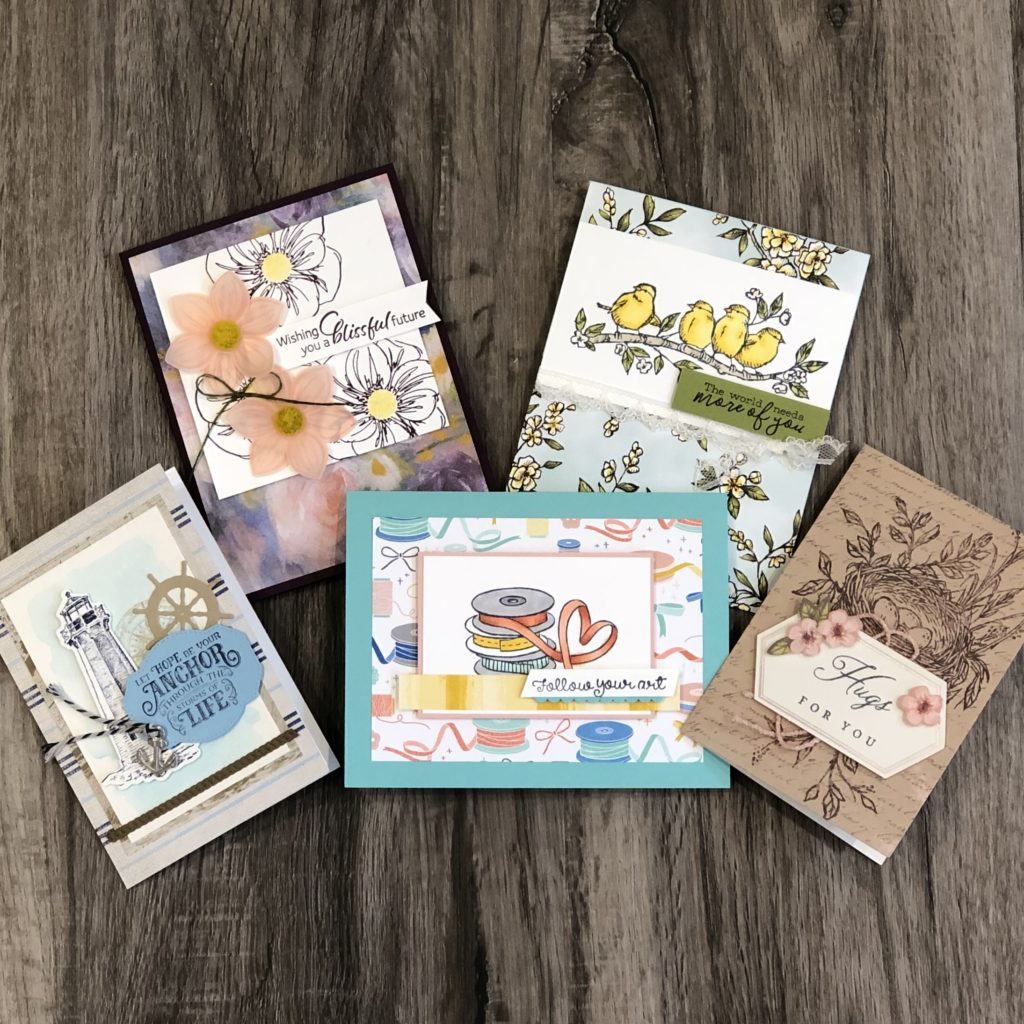
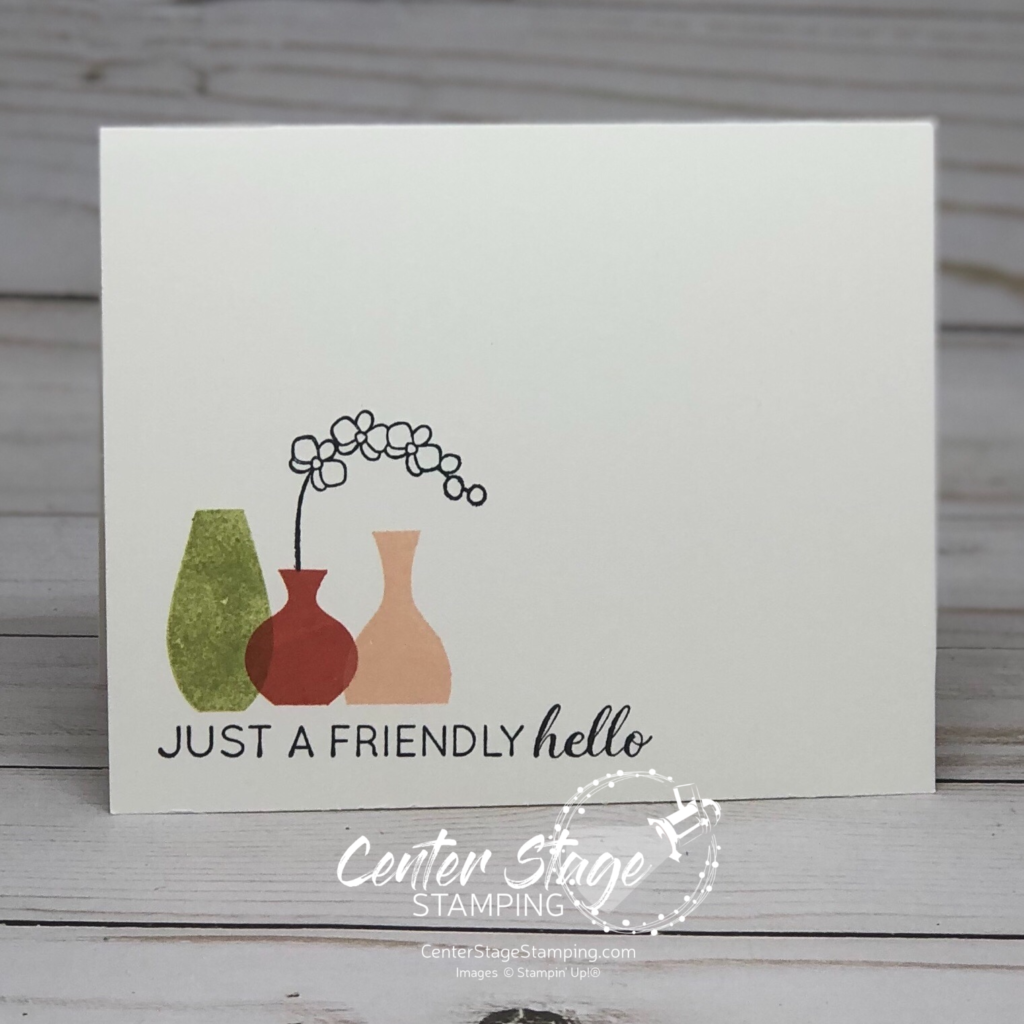
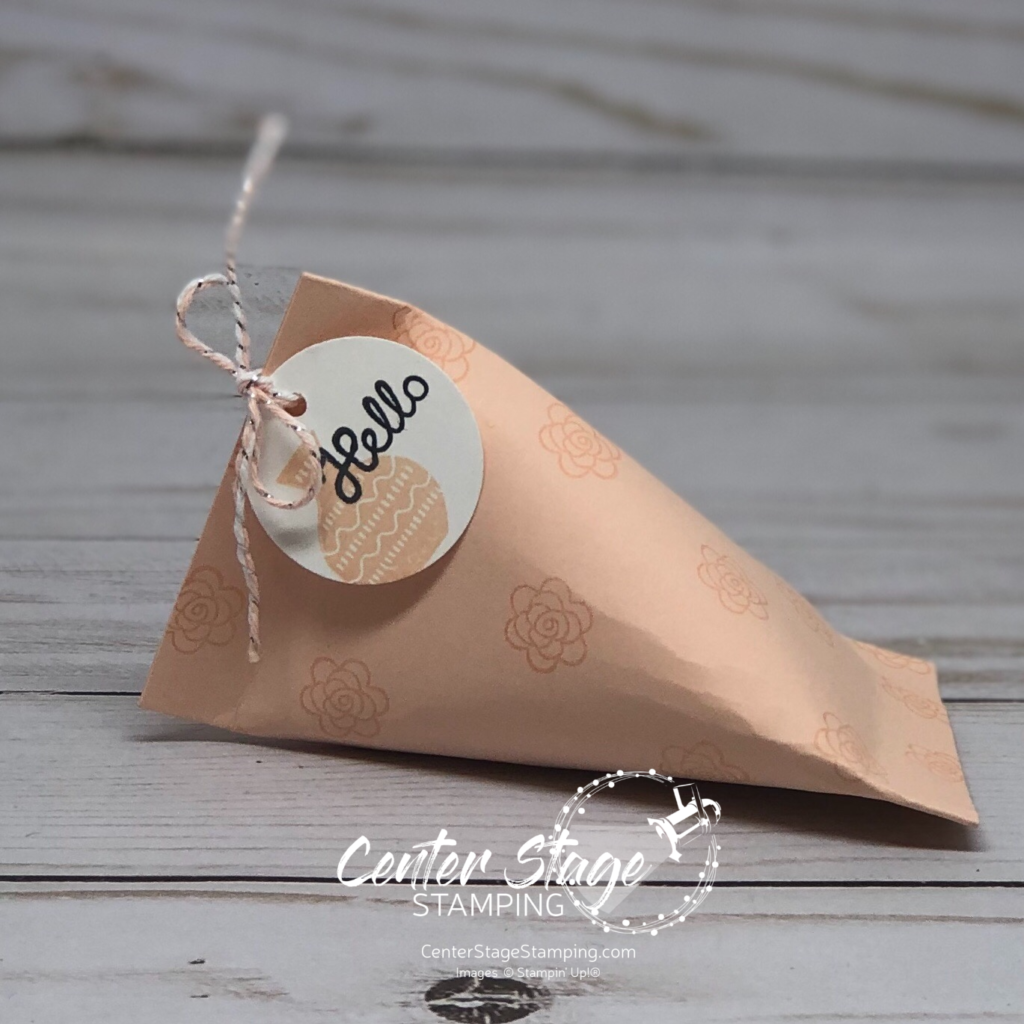
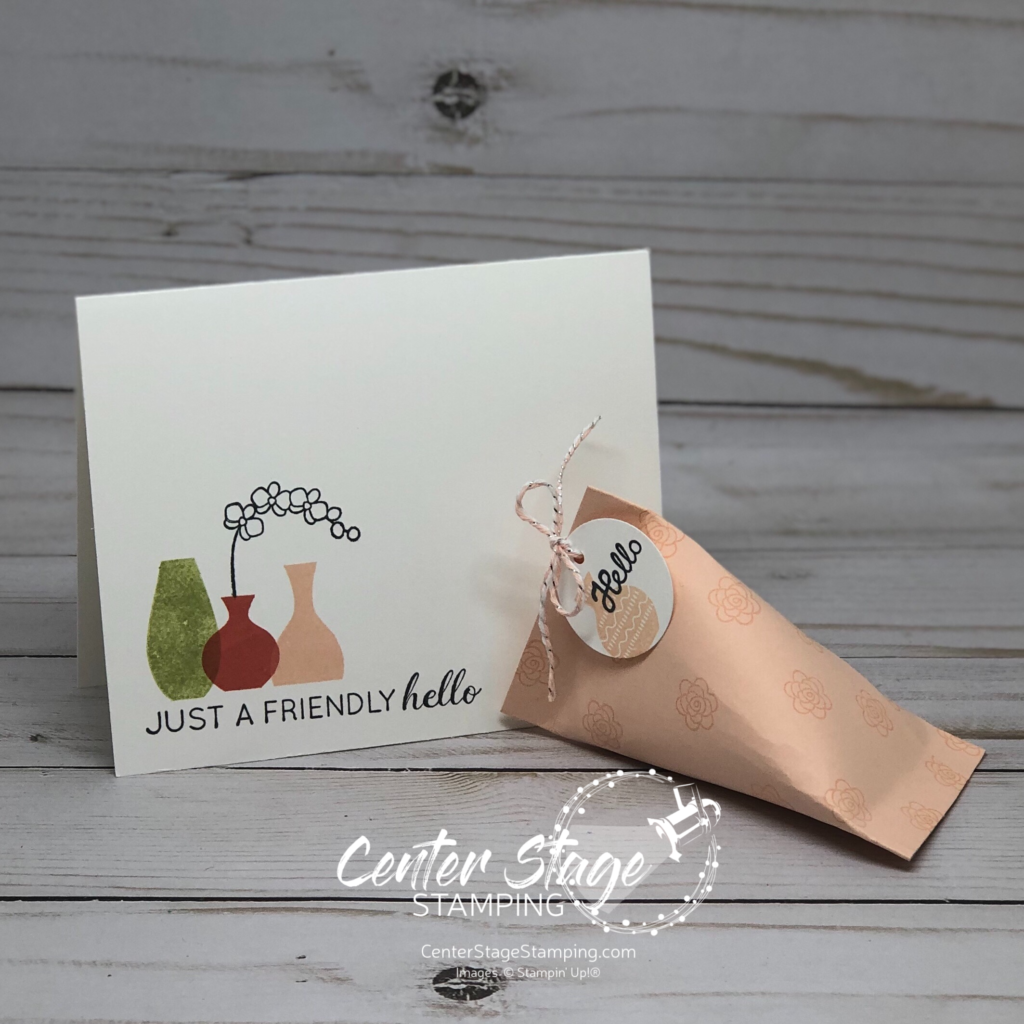
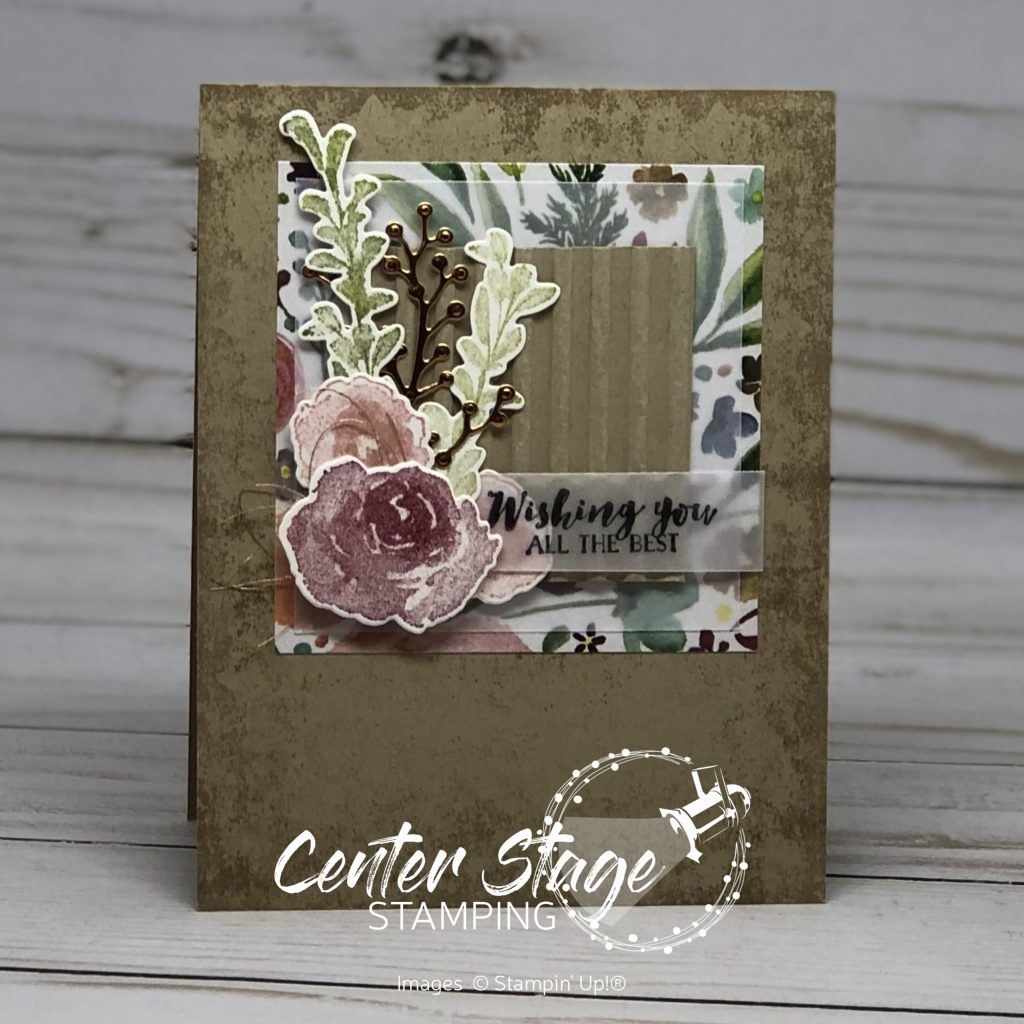
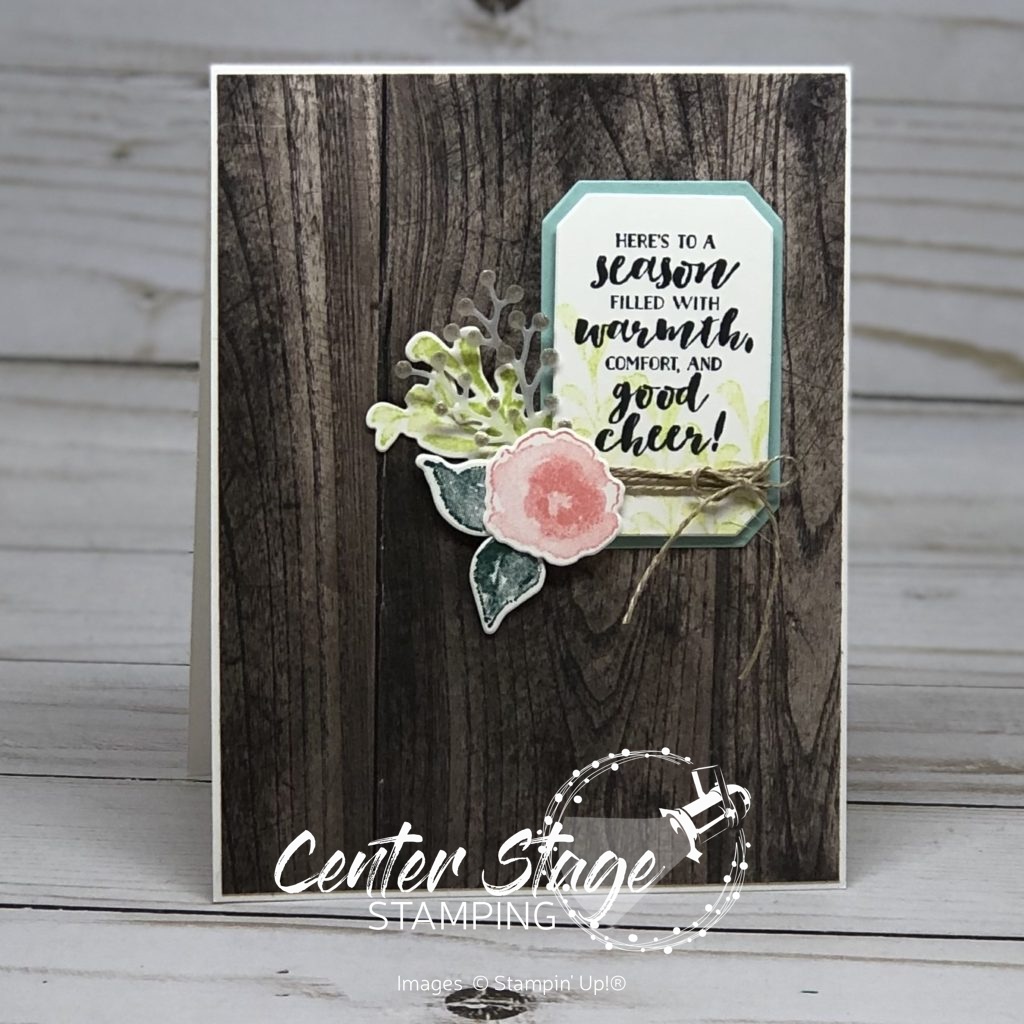
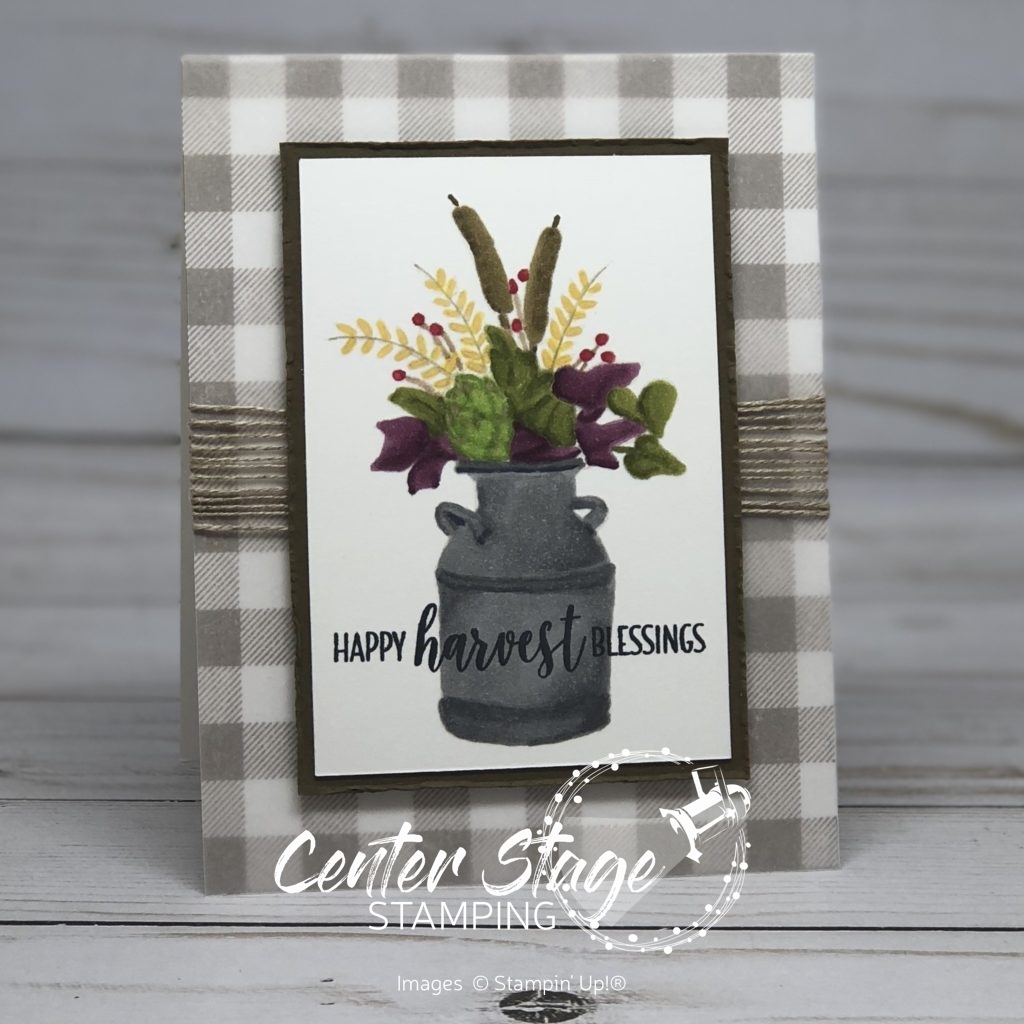
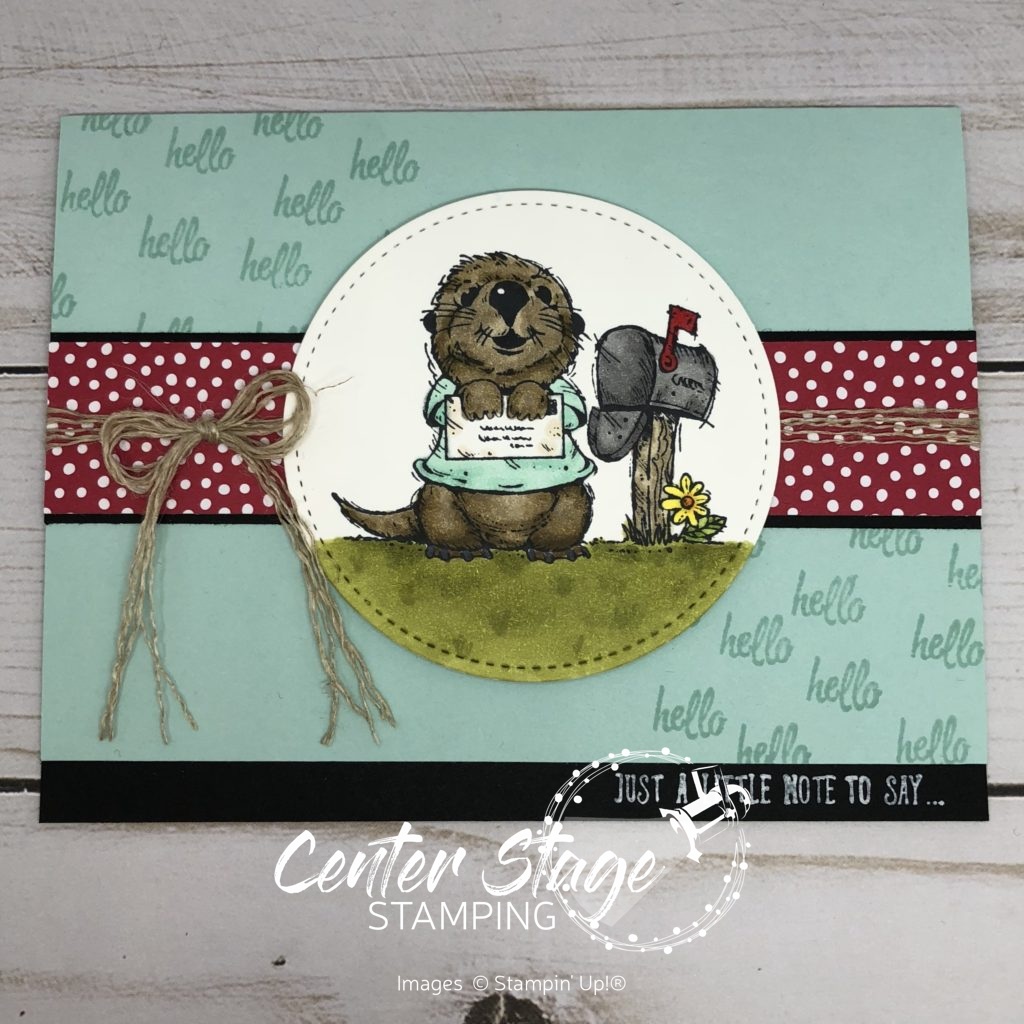
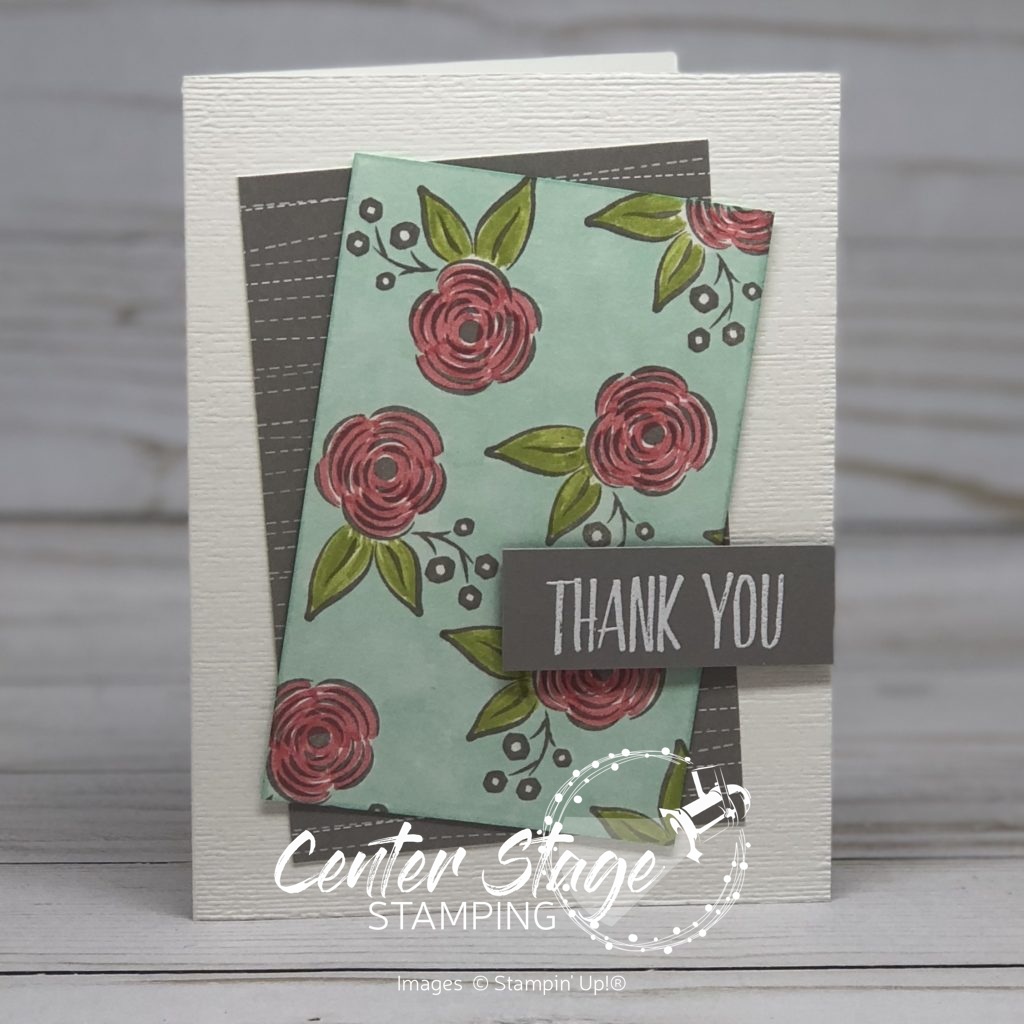
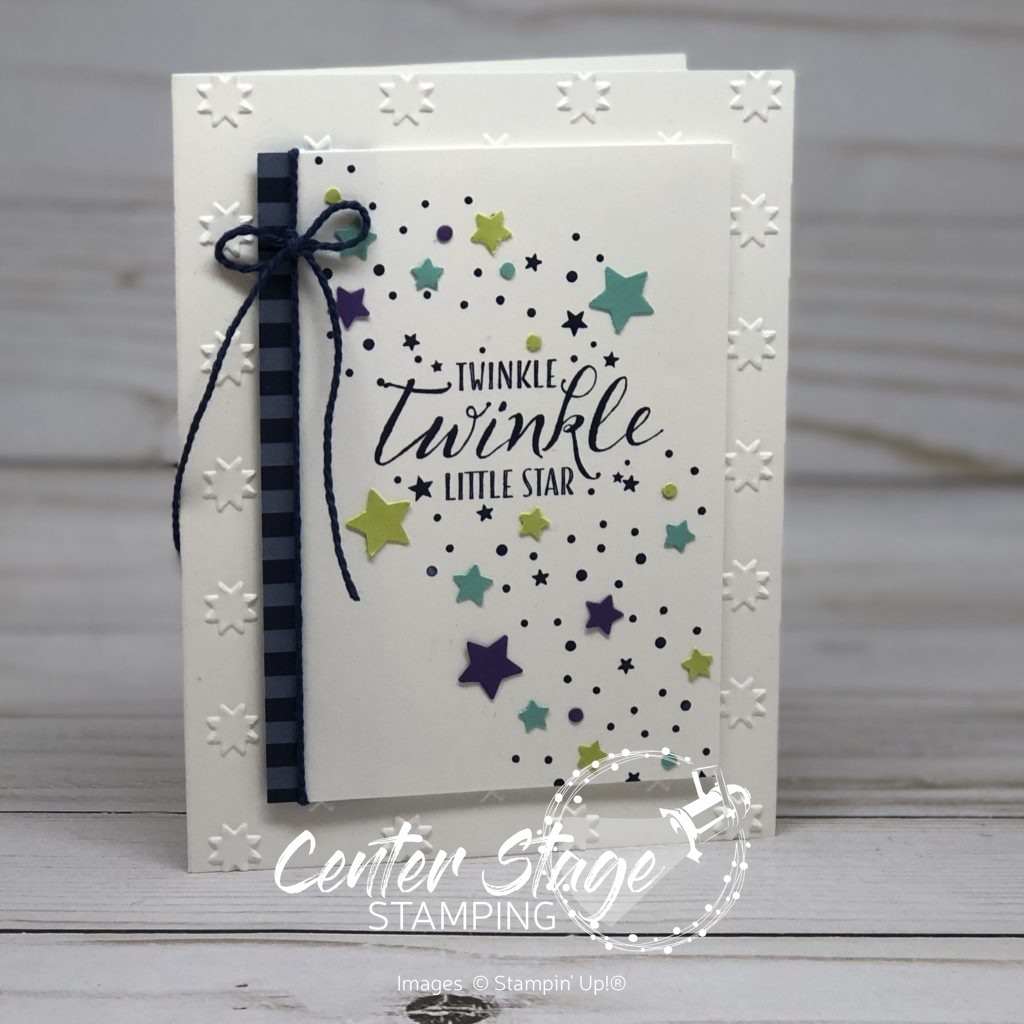
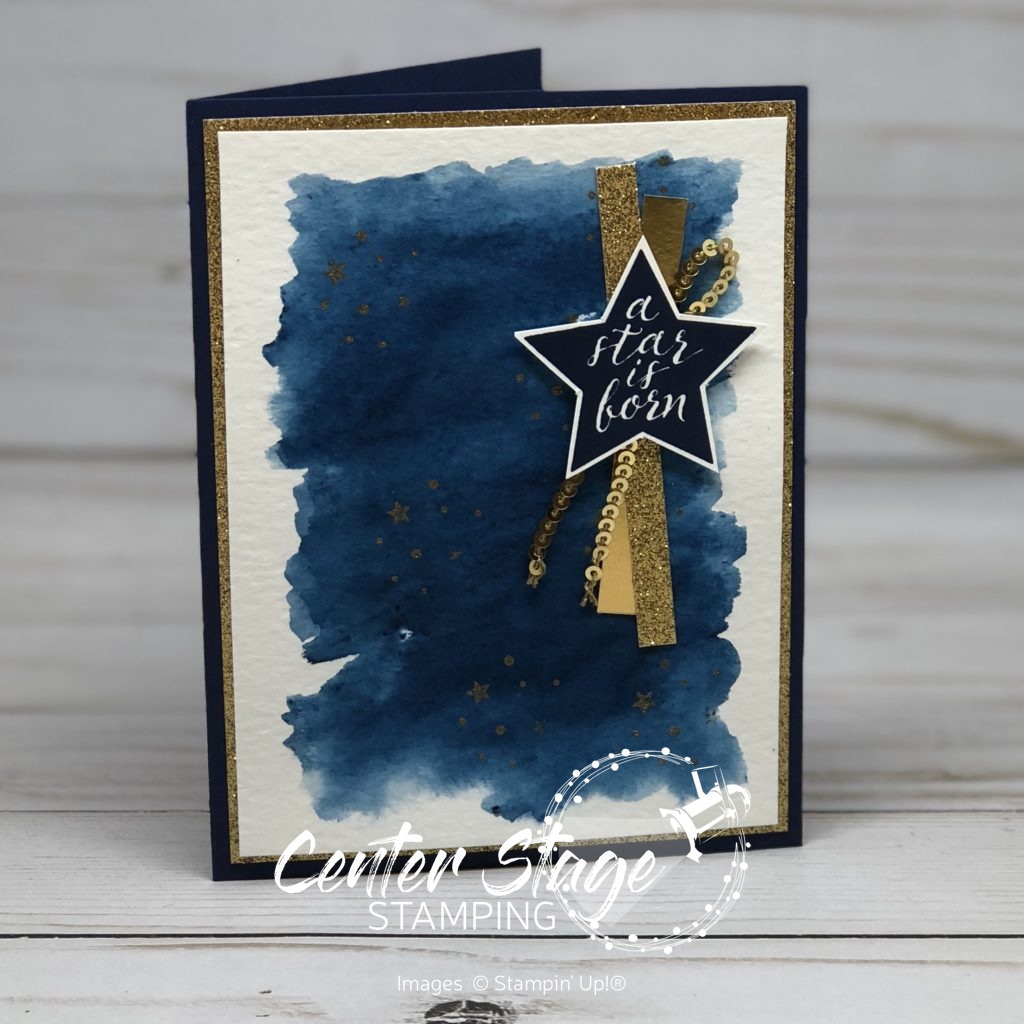
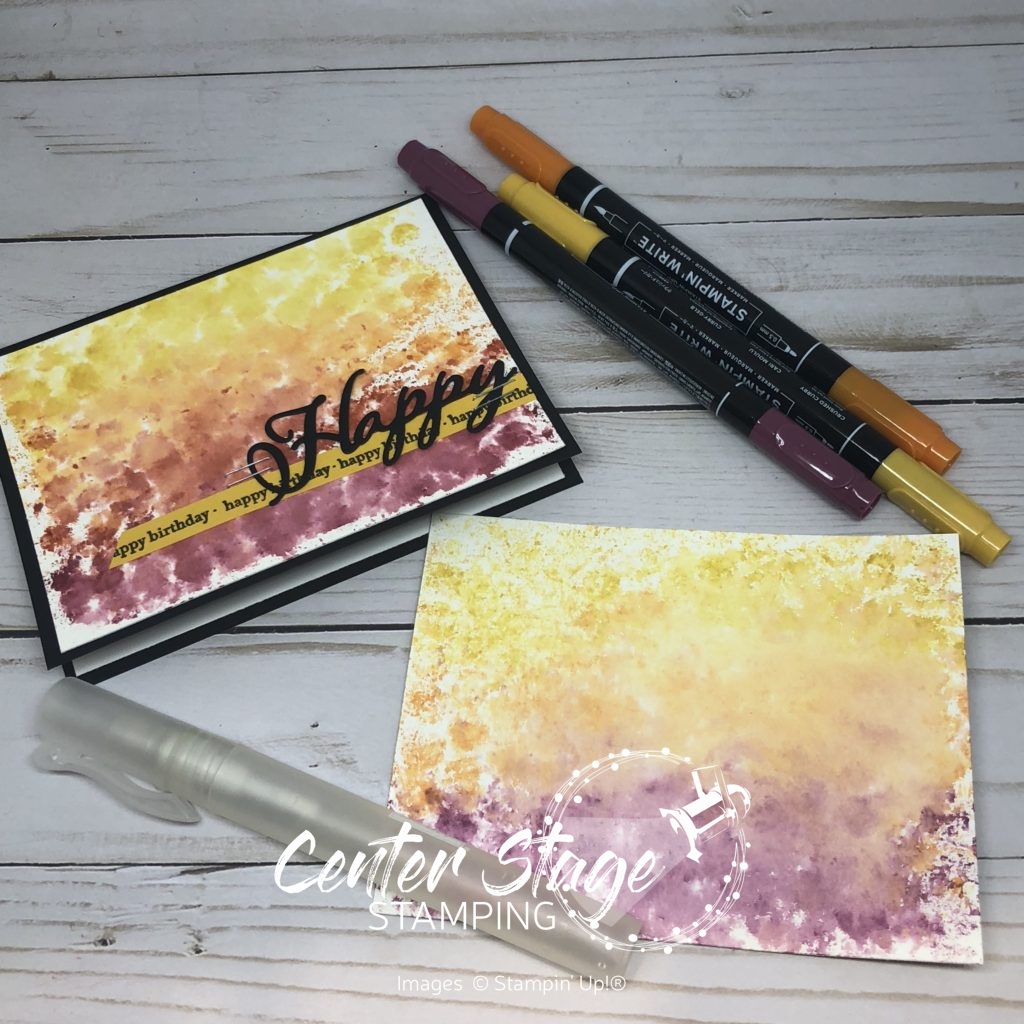
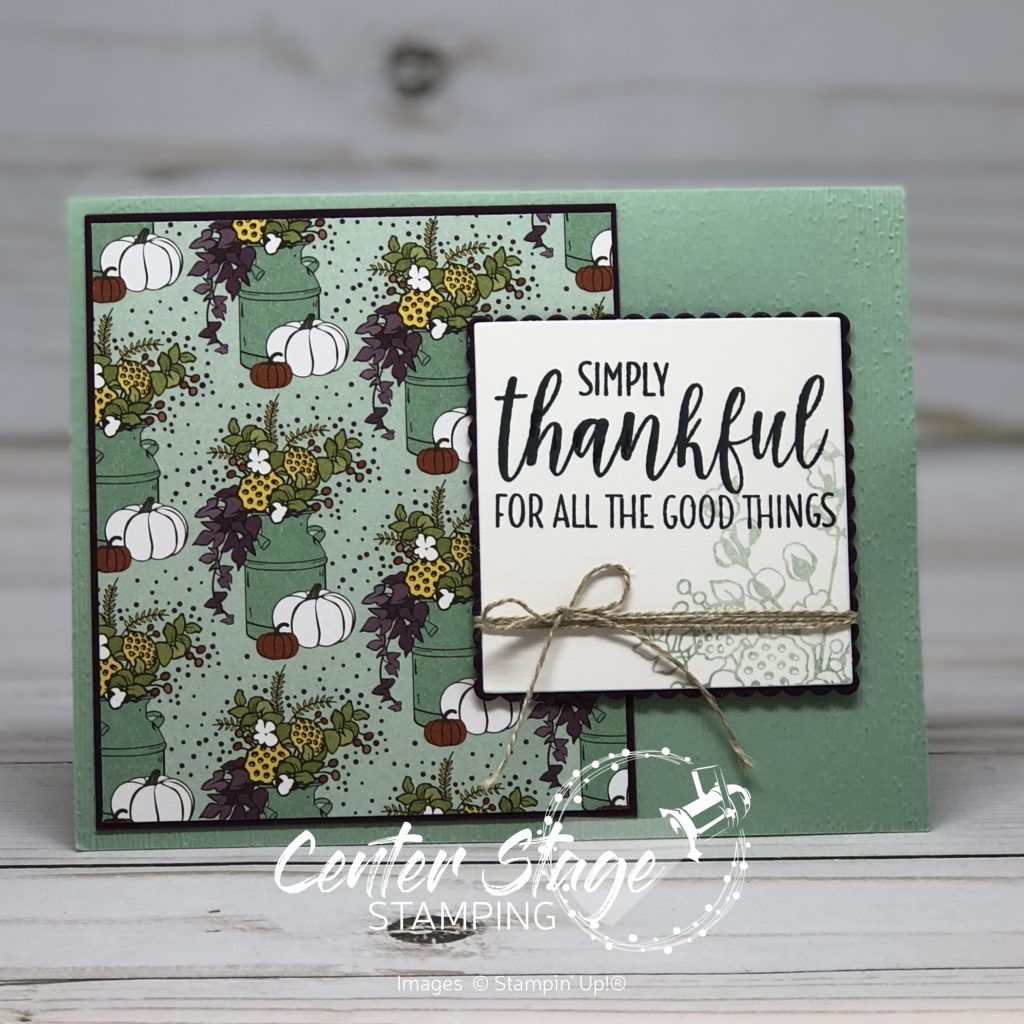
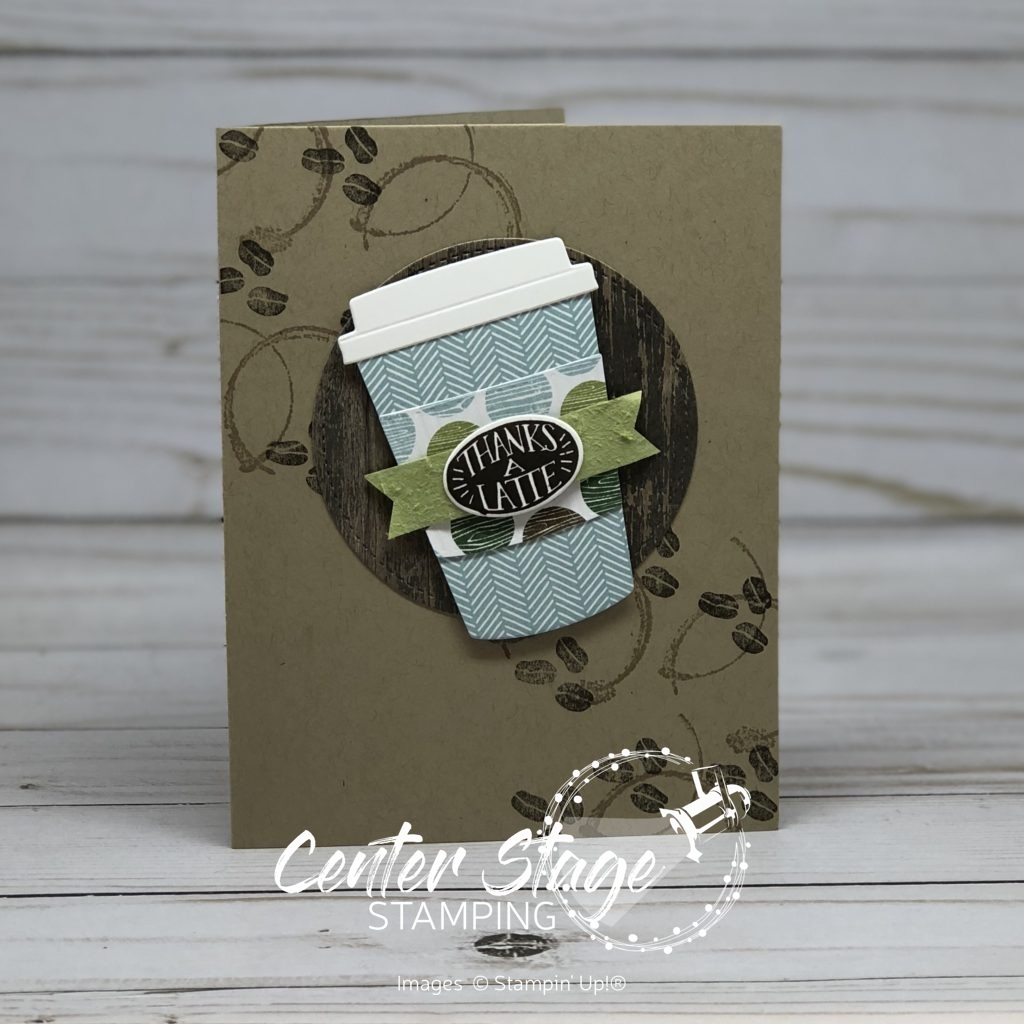
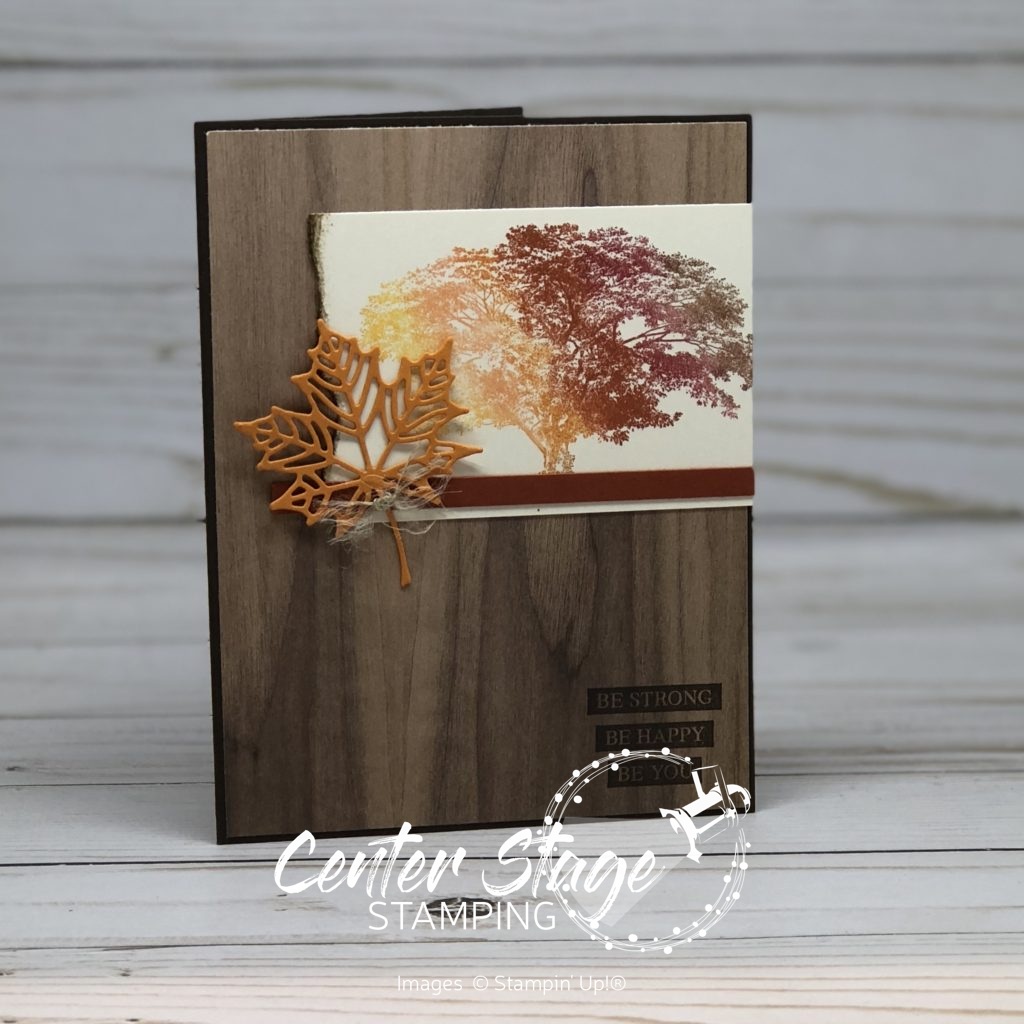
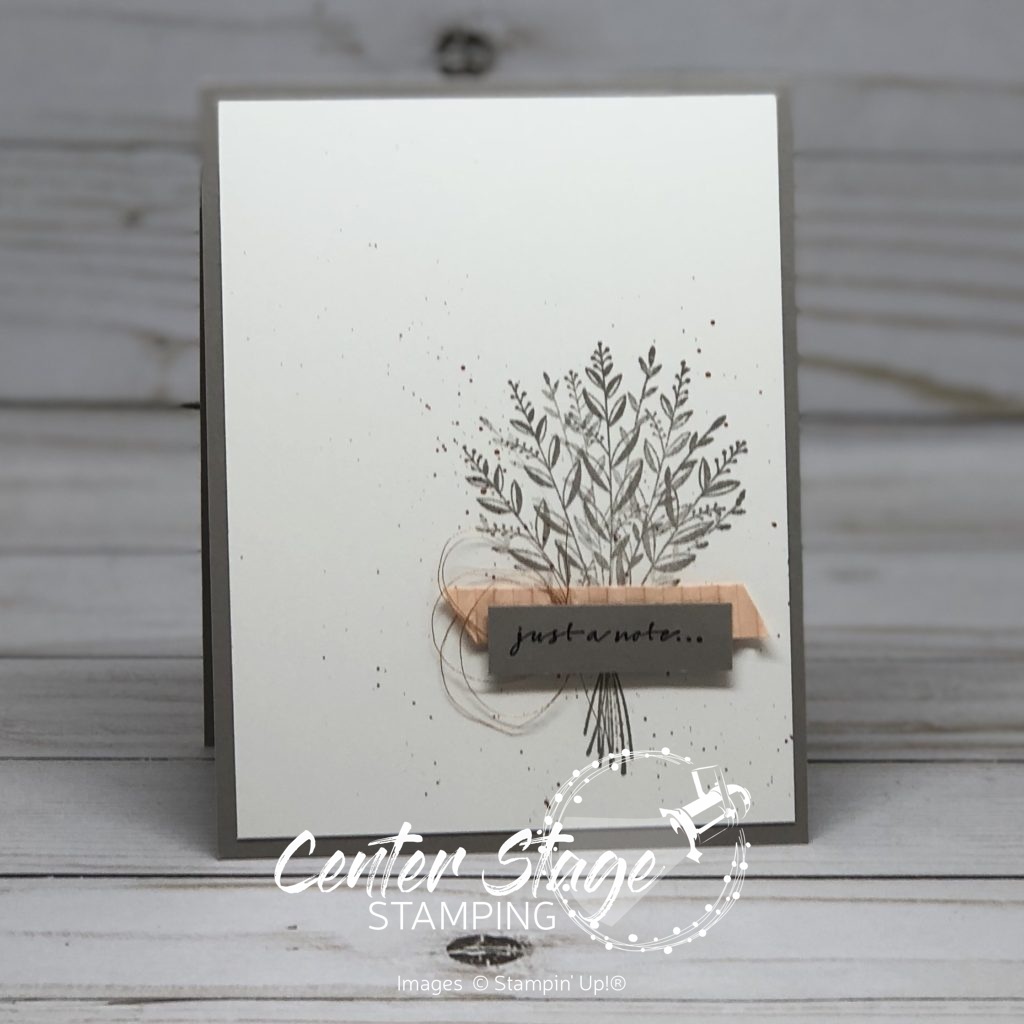
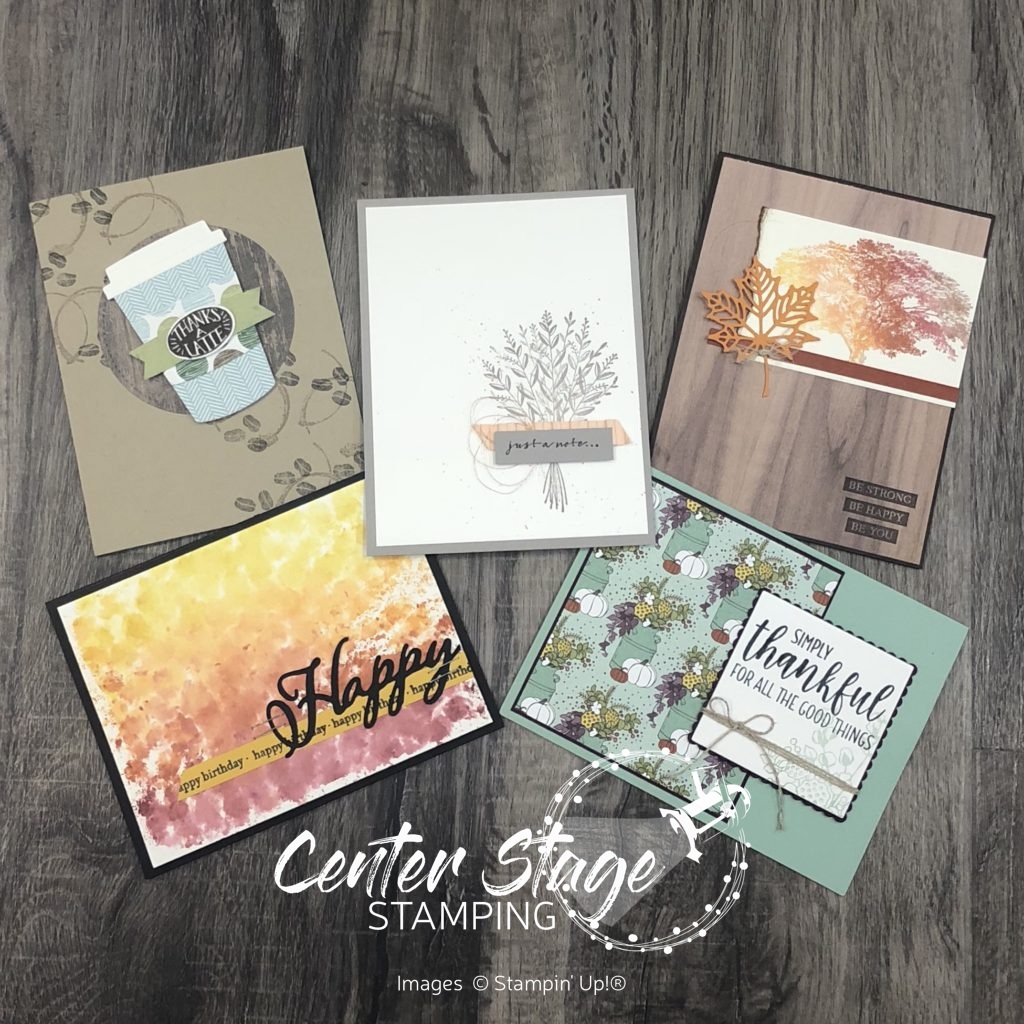
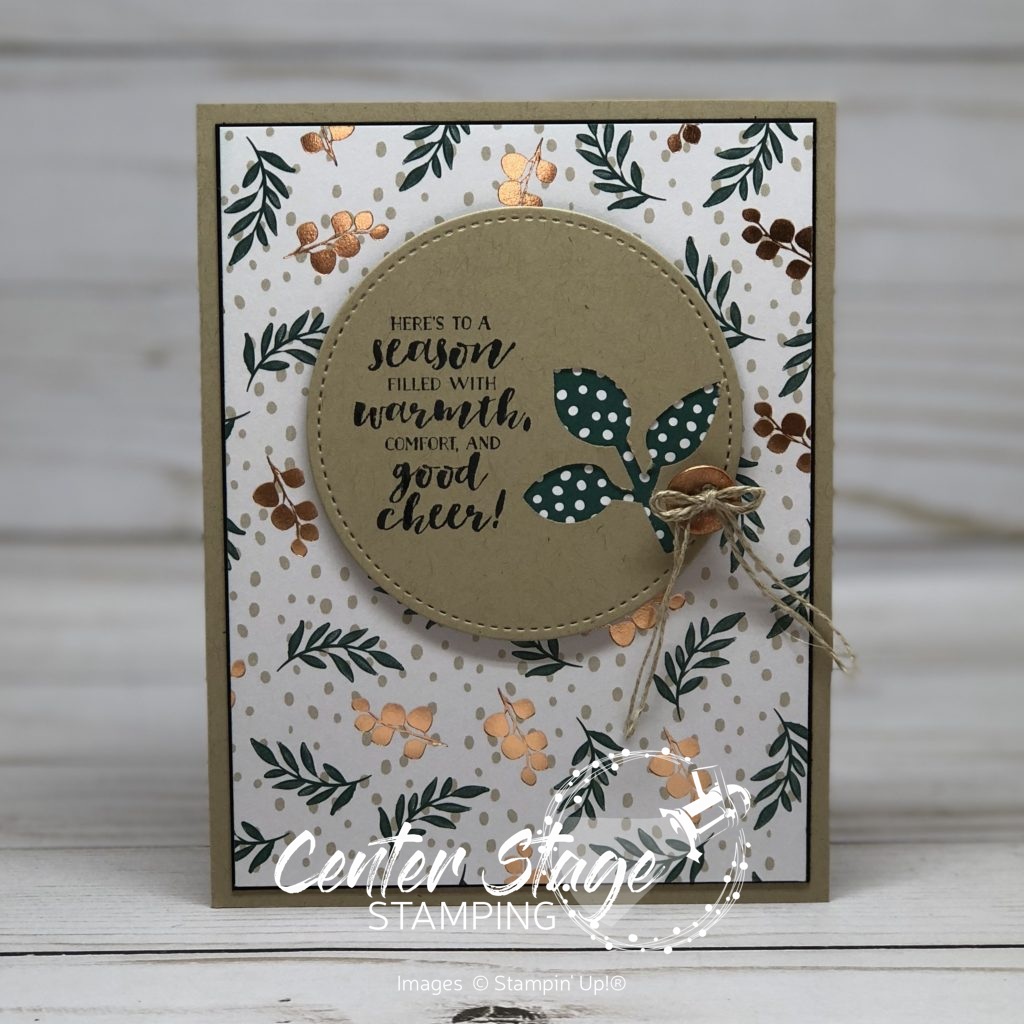
These were the make and take projects featuring four new product suites and a preview of the May Paper Pumpkin kit – designed with Stampin’ Up! cofounder Shelli Gardner.

Now that my calendar is a bit more open, I hope to get back to creating in my studio again. Not going to lie, kind of feel like my mojo is still hibernating from the ridiculously long winter. Time to get inky!

Thanks for staying with me! Join me again to shine a spotlight on creativity!

Share with your friends:

osat blog hop: #simplestamping

It is the second Thursday of the month. That means it is time for another One Stamp at a Time blog hop! The theme for this month is #simplestamping. Stampin’ Up! challenged us this year to get back to basics: stamps, ink and paper. As fun as it can be to go crazy with layers, embellishments and details, clean and simple can be just as effective.

Varied Vases is a great set for simple stamping! Stamp a few vases and a bold greeting and you have a great card to send someone a little hello. Vase colors are Pear Pizzazz, Calypso Coral and Petal Pink.

Varied Vases:  sour cream treat container - Center Stage Stamping

Simple Stamping also works for a cute little treat like this little sour cream container. I added a 1″ circle punch and a bit of Petal Pink metallic bakers twine for the little tag. Perfect for a couple of Hershey Kisses – chocolate is always a win!

Be sure to check out everyones #simplestamping creations on the blog hop and then give it a try yourself. Don’t forget to upload your creation to social media with the hashtag #simplestamping. You can find the full blog roll call by clicking on the little blue rectangle below.


Thanks for stopping by. Join me again to shine a spotlight on creativity!

Share with your friends:

stamp review crew: first frost

Welcome to another Stamp Review Crew blog hop! *The Stamp Review Crew is a group of International Stampin’ Up! demonstrators who want to show you how much you can do with ONE stamp set. Each edition the SR Crew will showcase a new featured stamp set. Each stop along the hop will show you a different idea, or ideas using that set!* Today we are hopping to bring you some inspiration for the beautiful First Frost stamp set.  This set is part of the gorgeous Frosted Floral Suite in the 2018 Holiday Catalog.  It is perfect for occasions year round.  If you have already started the hop, you have come here from Nikki and her beautiful creation.

My first card pairs this set with the stunning Frosted Floral specialty dsp/ . This paper has a beautiful pearlized frosted look.  Trust me.  The picture doesn’t capture its true beauty.

First Frost: Wishing You All the Best - Center Stage Stamping

I cut a slightly smaller square of vellum to soften the dsp and layered a small Crumb Cake square that I ran through the Corrugated Textured Embossing Folder.I stamped the flowers and stems on Shimmer White card stock to carry over the shimmer.  The dark stem is actually cut from Copper foil and there is a bit of Copper Thread peeking behind the large flower.  The sentiment is stamped on vellum which is only adhered behind the flower. The edges of the card base were stamped with an image from the Timeless Textures set to give it a distressed look.

For my second card I had to pair this with what else but the Wood Textures dsp.  I seriously don’t know what I am going to do when this stuff retires.  I better start hoarding it soon! (Who am I kidding, I have already been hoarding it!)

First Frost: good cheer - Center Stage Stamping

I stamped the flower in Flirty Flamingo and the leaves in Lemon Lime twist and Tranquil Tide and cut them out with the coordinating Frosted Bouquet Framelits. I added some Champagne Shimmer Paint on the berries of the vellum sprig.  The sentiment label is wrapped with Linen Thread and layered on a Pool Party panel.

Thanks for stopping by!  I am sending you over to Holly for some more gorgeous inspiration!  Enjoy the hop and join me again to shine a spotlight on creativity!


Share with your friends:

inky friends: thankful for… blog hop

Today, I am joining My Inky Friends Thankful For… blog hop. You are in for a great variety of inspiration on today’s hop.  We are each featuring a Stampin’ Up! stamp set or product that we are thankful for.  If you are following in order, you have arrived here from Holly and her wonderful projects.  Weren’t they great.  If you are starting here make sure you check out all the stops and see what everyone is thankful for!

I am thankful for… Stampin’ Blends!  These markers are so amazing and really easy to use.  They make me feel like a real artist!  There is so much you can do with them!

First off, how about no-line coloring.  I’ve seen it done with watercolors and thought why not try it with my Stampin’ Blends!  I love the outcome!

Country Home: no line with blends - Center Stage Stamping

I stamped the milk can and flowers in Sahara Sand that was stamped off to make it lighter.  Then I colored it in.  I used the stamps as a guide if I could no longer see the inked outline.  I really like how the milk can turned out! It’s even better in person.

Next up, I went with basic coloring.  Postcard Palls is a great set for this.  Isn’t that little otter just adorable!  The Stampin’ Blends make it possible to get so much depth with the shading.

Postcard Palls: Otter - Center Stage Stamping

Finally, I made my own designer paper – the flowers and background are colored with Stampin’ Blends.  The possibilities are endless!Perennial Birthday: stampin' blends - Center Stage Stamping

If you haven’t tried Stampin’ Blends yet, you need to.  They make coloring so much fun!  I now send you over to Cindy and her fantastic creations!

Thanks for stopping by!  Join me again to put a spotlight on creativity!


Share with your friends:

stamp review crew: little twinkle

It’s time for a bonus round with the Stamp Review Crew!  Join us for an inspirational blog hop shining the spotlight on Little Twinkle!  This is a very fun set and is part of the sweet Twinkle Twinkle product suite. (See what I did there?) I have previously shared a couple of cards I made with this suite.  You can see them HERE and HERE.  This time around I wanted to try something different.  I decided I wasn’t going to use the coordinating Tinkle Twinkle Designer Series Paper or similar colors – with the exception of Night of Navy.  I also wanted to see if I could come up with something other than a baby card.

Little Twinkle: Little Star - Center Stage Stamping

This card started with a White card base embossed with the Oh My Stars embossing folder.  I stamped the sentiment and stars in Night of Navy on a smaller white panel.  I used stars and dots punched from the Twinkle Builder punch in Lemon Lime Twist, Gorgeous Grape (for some reason, the Gorgeous Grape stars look Navy in the photo) and Coastal Cabana and glued them on randomly. The Take Your Pick Tool came in handy for this task!  I added a strip of Night of Navy striped pattern from the Neutrals DSP stack and tied some Night of Navy Medium Bakers Twine.  I love the bright color pops on this card.

Little Twinkle: a Star is Born - Center Stage Stamping

For this next card, I decided to have a go with my Brushos.  Would you believe I have had them since April and this is the first time I have used them!  Crazy, huh?  I started with a pice of watercolor paper.  I wet it down and sprinkled some Prussian Blue brusho on.  I moved it around with my aqua painter and added more Brusho until I got the depth of color I wanted.  Once this panel was completely dry, I stamped the small stars and embossed them in gold.  I stamped the star in Night of Navy and cut it out.  I added some Gold Foil, Gold Glimmer Paper and Gold sequin trim behind the star for  extra texture contrast. The watercolor paper panel  is layered on Gold Glimmer paper and a Nigh of Navy card base.  This would be a great card for many different occasions!

I hope now you look beyond just baby cards for this fun set.  Make sure you travel through the entire blog hop for more amazing Little Twinkle inspiration! You can head on over to Tanya or go back to Stesha and remember you can always find the full blog hop list on the Stamp Review Crew page.

Thanks for stopping by!  Join me again to put a spotlight on creativity!


Share with your friends:

inky friends: dc 11


It is time for another design challenge with My Inky Friends!  This one is based on a card layout on page 122 of the 2018-19 Stampin’ Up! catalog.  Here is my creation.

Inky Friends DC11: Dashing Deer - Center Stage Stamping

I used Dashing Deer and Detailed Deer Thinlits.  I think this is my favorite Christmas bundle in the Holiday Catalog.  The Crumb Cake card base has a Crumb Cake layer that I ran through the Corrugated Dynamic Textured Impressions Embossing Folder.  The sentiment is from Merry Christmas to All.  I colored it and the swag with Cherry Cobbler, Mossy Meadow and Crumb Cake markers to get the multi color images.  It is hard to see in the photo, but the Cherry Cobbler circle was stamped with the Burlap background stamp before I cut it out with the Stitched Shapes circle.  I finished off with a few strips of Festive Farmhouse designer series paper and some Linen Thread.

Make sure to check out what the rest of the design team has created for this challenge and then play along!  Make your own creation based on the sketch and share it by linking it to the My Inky Friends page.

Thanks for stopping by! Join me again to shine a spotlight on creativity!


Share with your friends:

bubble wrap background

Hello!  I’m back with a quick tutorial for that fantastic watercolor background featured on this card yesterday:

Happy Birthday: bubble wrap water color - Center Stage Stamping

Would you believe it is done with bubble wrap?!  Seriously… it is!  It is really easy, you just have to resist the urge to pop all of the bubbles!  You will need watercolor paper, markers (I used Crushed Curry, Pumpkin Pie and Rich Razzleberry) a spritzer filled with water and of course bubble wrap.


Bubble wrap background: supplies - Center Stage Stamping

Use your markers to color directly on the bubble wrap, starting with the lightest color.  Make sure you color on the bumpy side, not the smooth or you won’t get the dot effect.

Bubble wrap background: color on bubble wrap - Center Stage Stamping

Next spritz the water color paper with water.  Make sure to get it good and saturated.  less water means a more dotted, less blended outcome.

Bubble wrap background: spritz paper - Center Stage Stamping

Next press the bubble wrap colored side down onto the wet watercolor paper.  You can lift and set back down to fill in light areas or to blend colors more.

Bubble wrap background: step3 - Center Stage Stamping

Let the paper dry fully before assembling the card.

Bubble wrap background: step 4 - Center Stage Stamping


Every time you do this it will turn out a little different.  Use less water if you want more of the dots to show, More water if you want it more blended.  Color options are endless.  Let me know if you give it a try!  I’m off to finally pop that bubble wrap…then go get some more!

Bubble wrap background - Center Stage Stamping

That’s a wrap for today.  Join me again to put a spotlight on creativity!


Share with your friends:

october creative class projects

I taught a Creative Class at Stamp-n-Storage on Saturday, October 20.  We had a great time stamping and creating five fall themed cards.  I thought I would pop on today and share those projects with you.

Country Home: Thankful for all the good things - Center Stage Stamping

Coffee Cafe: thanks a latte - Center Stage Stamping

Rooted in Nature: Be Bold fall - Center Stage Stamping

Wishing You Well: just a note - Center Stage Stamping

Happy Birthday: bubble wrap water color - Center Stage Stamping

We had a lot of fun putting these cards together.  Especially that last one!  I was able to teach a fun new water color technique.  I will be back on Wednesday with a quick tutorial for this.

Stamp-n-Storage Oct Creative Class projects - Center Stage Stamping

Here is everyone with their finished projects!  They all did a great job.

Stamp-n-Storage Oct Creative Class group photo

The next Stamp-n-Storage Creative Class is Saturday, November 17 at 1:00PM.  You can find more details and register for the class over on the Stamp-n-Storage website HERE.  I’d love to have you join us!

That’s a wrap for today.  Join me again to put a spotlight on creativity!


Share with your friends:

a season of good cheer

Hello crafty friends!  I have a quick and easy card to share with you today.  The Joyous Noel designer series paper does the work to give this card a wow.  Don’t you just love those copper accents?  They really make this card POP!

First Frost: Season of Cheer - Center Stage Stamping

The DSP has a layer of Basic Black card stock underneath it to help give it a bit more depth.  I cut a Stitched Shapes circle out of Crumb Cake and punched out the leaf punch on the edge of the circle.  I put a circle of Tranquil Tide dots pattern from the 2017- 19 In Colors DSP stack behind the leaf outline.  The sentiment is stamped in Memento Black Ink.  I took one of the Galvanized Buttons and covered it with Copper Shimmer Paint.  Once dry, i threaded it with Linen Thread and adhered it to the stitched circle.

That’s a wrap for today.  Join me again to put a spotlight on creativity!

Share with your friends:

happy 20 my son

I am trying to wrap my head around the fact that my son…my youngest child…my baby boy…turned 20 on Monday.  I no longer have any teenagers.  When did this happen?  I swear he was just starting Kindergarten.  Now, he is in his second year of college.  I wanted to share the card I made for him.  Full disclosure: it uses some retired paper and ink colors.

Happy 20 - Center Stage Stamping

I made a shaker card with 20 candles in the “0”! The “Happy Birthday” (stamped in Crumb Cake) is from Picture Perfect Birthday. The banner is from Birthday Banners and sentiments are from Broadway Birthday. I used a white gel pen to make the dots around the shaker panel. I am happy with the final result, but it took me a while to get there.  It is hard making a card for a 20 year old boy…um, young man….er, guy. I think I need more time to full grasp this milestone.  But, another is right around the corner.  In 10 days, my middle child turns 21!!  Someone hit the pause button.  Time is moving too fast.

Thanks for stopping by! Join me again to put a spotlight on creativity!

Share with your friends: